

Creating any object you want is as simple as point and click if you have a 3D printer at home. If you don't have one handy, there are a few companies that offer printing services online. But to help services realize your design in extruded plastic, you have to make a 3D computer model for the printing machine. For beginners, the free Google SketchUp application is the best choice of software. Using only a few tool bar buttons and a scroll wheel computer mouse, you can model literally any object you want!
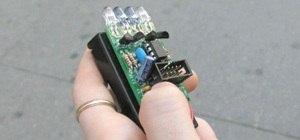
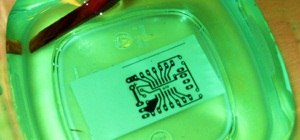
In the first part of this series, we learned how to design a circuit board to give functionality to our creations. Now we design the body and bring corporeal form to our flights of fancy.
Step 1 Download Google SketchUp
Google SketchUp is available free of charge here. While it is only available for Windows and Mac, the popular Wine Windows emulator will run the program perfectly in Linux. Follow the instructions on the download page to install SketchUp on your operating system.
Step 2 Getting Started
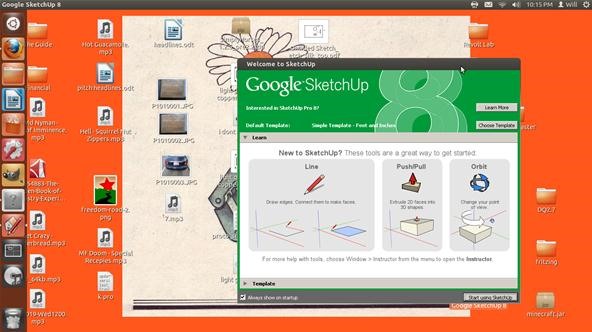
When you first open the program, you will be greeted by a window with a green header as shown below. Click the "Start Using Sketchup" button on the bottom right of the screen to begin.
Step 3 Controlling the View
It is possible to use SketchUp without an external mouse, but the mouse makes switching between angles and distances at least 10 times faster. The scroll wheel on your mouse zooms in and out, and the scroll wheel button allows you to pivot your point of view when you hold it down. Those are all the navigation skills you need for SketchUp!
Step 4 Get to Know the Program
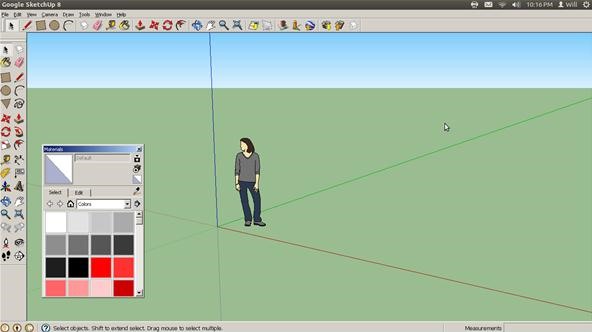
The buttons for SketchUp are located in the toolbar on the left side of the screen. We won't need all of them for this project, but we will cover the important tools. When you start, you will be presented with a blank 3D space with a loitering human smack in the center.
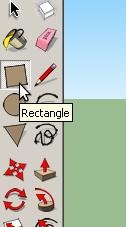
We are going to design a camera case for our lone Homo sapien. Go to the tool bar on the left and select the rectangle tool.
With the rectangle tool selected, bring your mouse to the work area and drag it across the flat plane that looks like the ground. A box will appear as you drag the mouse.
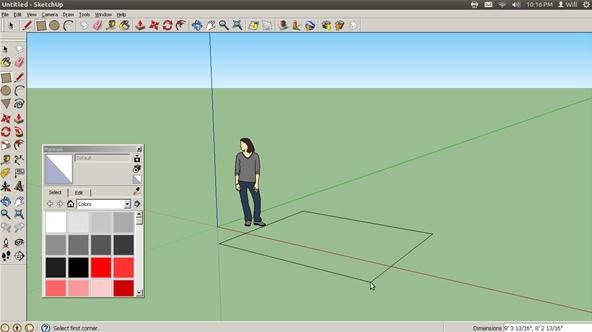
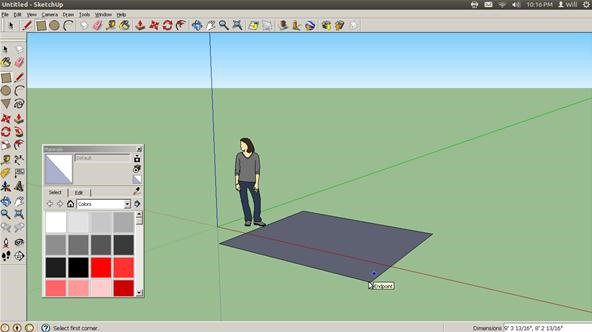
When you are satisfied with the size of your rectangle, release the mouse button. The area within the rectangle will turn grey indicating you have placed a shape down.
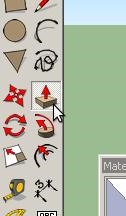
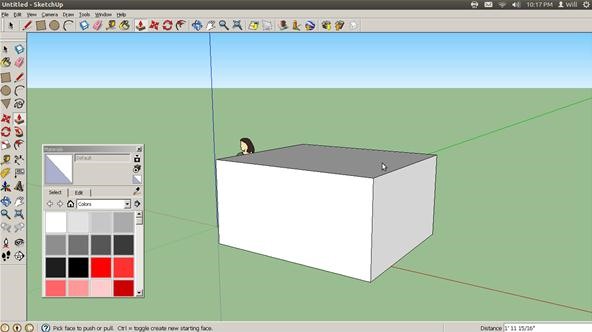
Step 5 Create Rectangular Prism
Now that we have a rectangle, we can make a box! Select the push/pull tool from the toolbar as shown below.
Click the surface of the rectangle and drag it upward. The rectangle will transform into a 3D box.
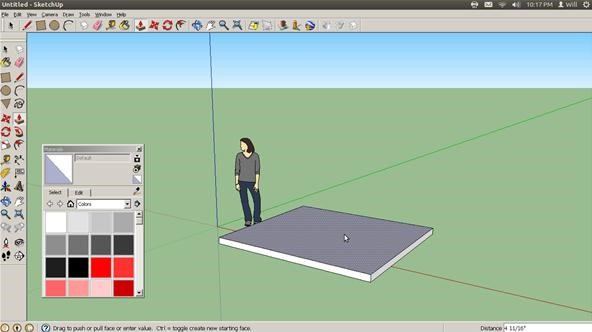
You can stretch the object as high as you like.
The push/pull tool works on all flat surfaces and sides!
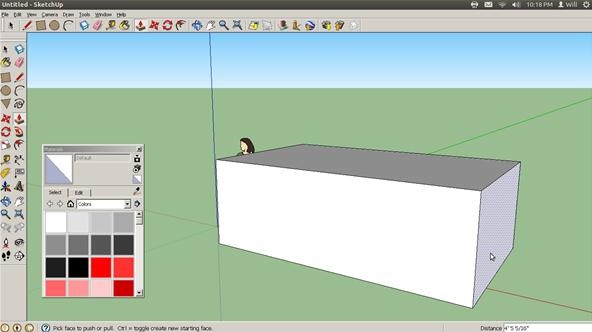
Release the mouse button when you are satisfied with your box dimensions.
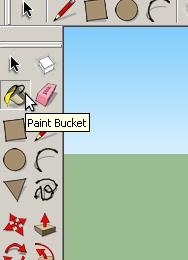
Step 6 Color It In
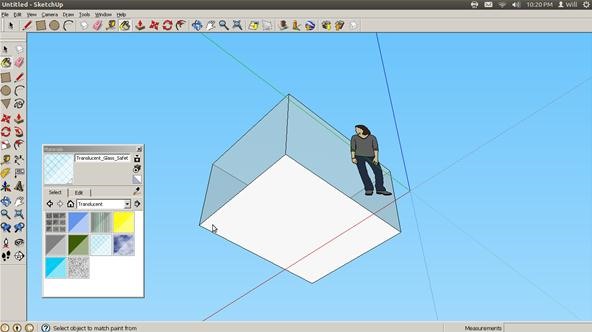
Coloring your project in SketchUp is the exact same process that you would use in a 2D paint program. Select the paint bucket tool from the left toolbar.
In the window to the bottom left of the screen, select the texture you want to paint the box.
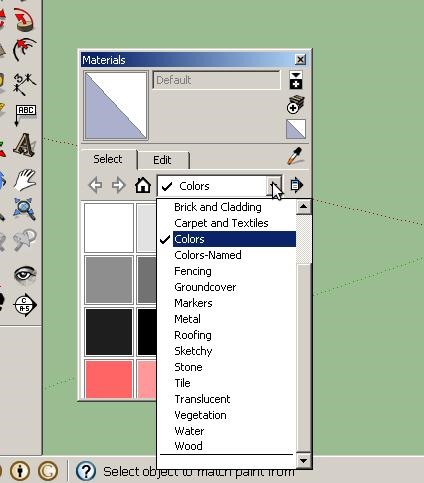
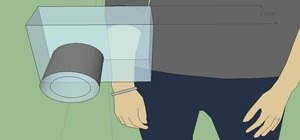
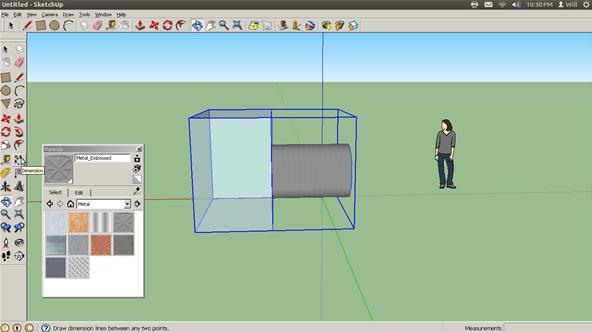
I like using odd textures, so I chose translucent safety glass for the box. There are tons of textures including plain colors, woods, metals, grasses, and lots more.

Be sure to fill in every side with the paint bucket!
Step 7 Circles and Cylinders
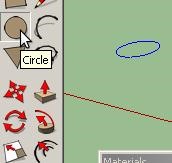
Yay! We have a basic camera housing! Now to add a space for the lens. Select the circle tool from the left toolbar.
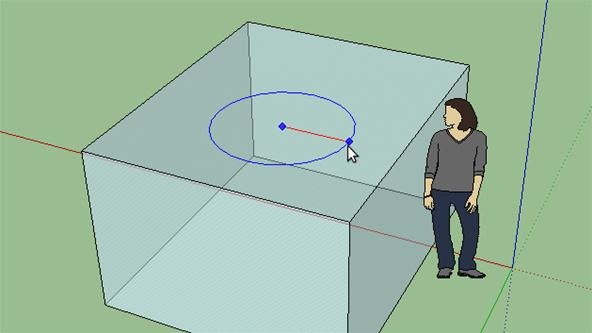
Bring your mouse to the surface of the box until the tiny "On Face" notification appears. This lets you know that your cursor is on the side of the box and not a hundred feet behind the box.

Click and drag the cursor just like we did with the rectangle tool. Create a circle the size of the one below.
Just like with the box, use the push/pull tool to raise the circle into a cylinder.
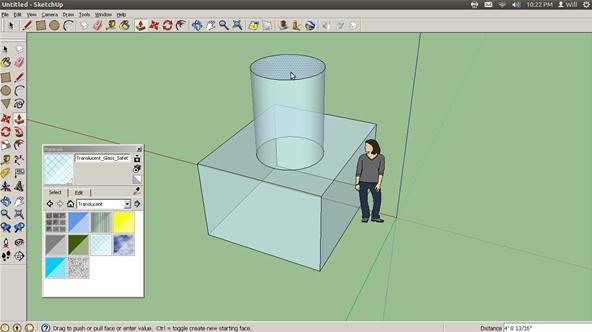
Rotate the view to the top of the cylinder using your mouse, and lay down a smaller circle within the larger one.
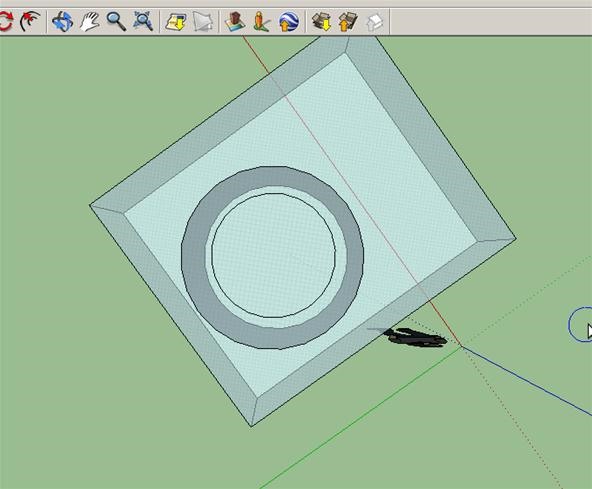
Use the push/pull tool to push the small circle down into the cylinder. Good job! You just made a tube!
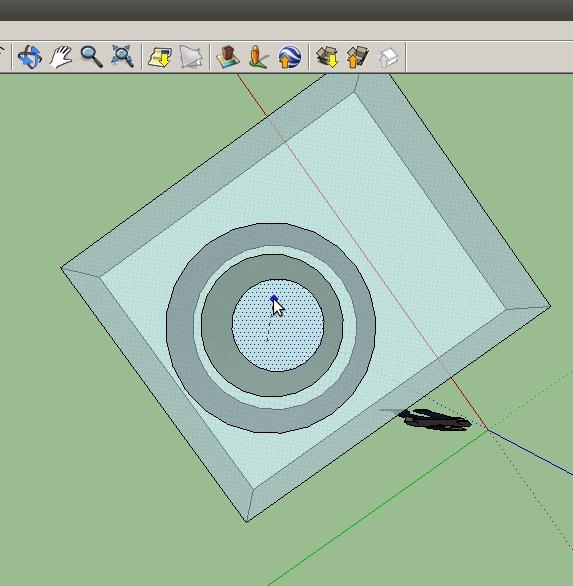
Be sure to check all the angles to be sure the tube is properly formed. Below, I pushed too far and the inner circle went into the box we made. Just pull it back with the same tool to solve this problem.
Step 8 Making and Manipulating Components
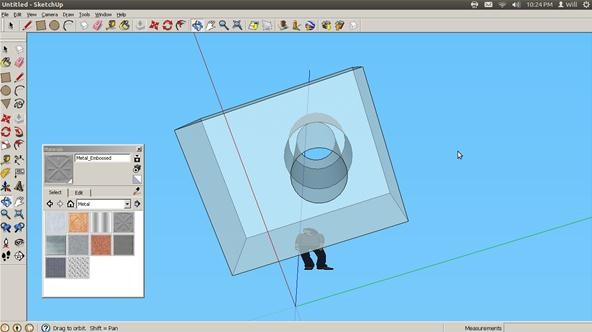
Now we have a rough model of a camera case. While we see it as a single model, before we edit it as a whole we must tell SketchUp that the cylinder tube and box are all one object. Select the entire object with your cursor until every side turns dark blue.
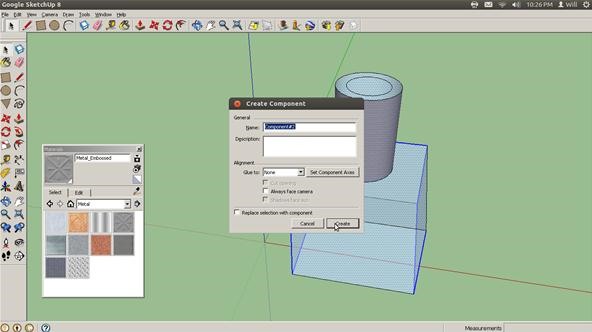
With the entire project selected, click the Make Component button on the left tool bar. You now have a single complicated object instead of several simple objects.

When you create a component, SketchUp will prompt you to name it. If you are starting an involved project, keep names simple.
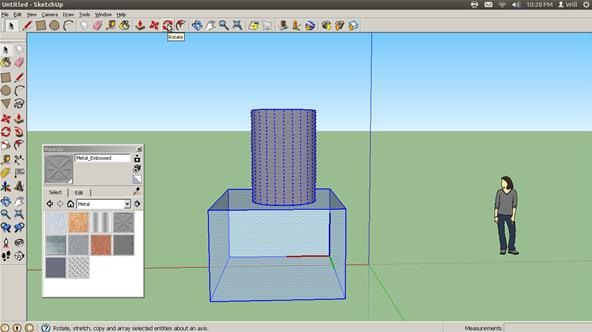
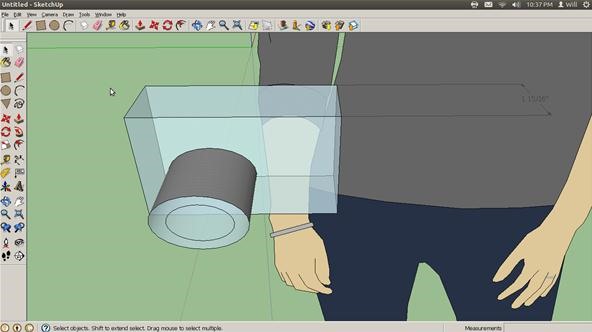
Okay, now that our upwards facing camera is in one piece, we can rotate it so the lens is facing horizontally. Select the rotate button from the upper menu.

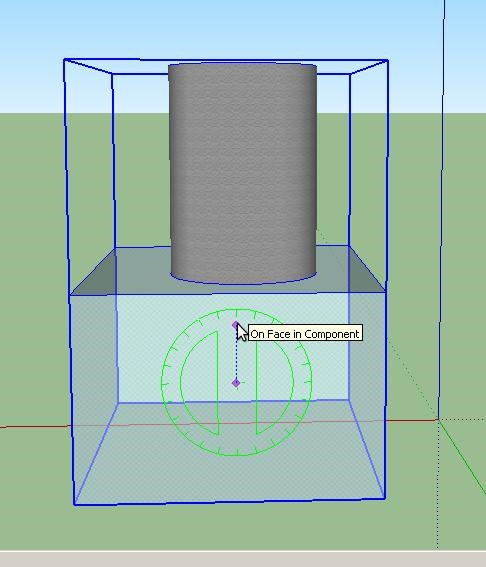
Your cursor will appear with a full circle protractor around it when placed on any flat surface. Click near the center of the box side to anchor the protractor.
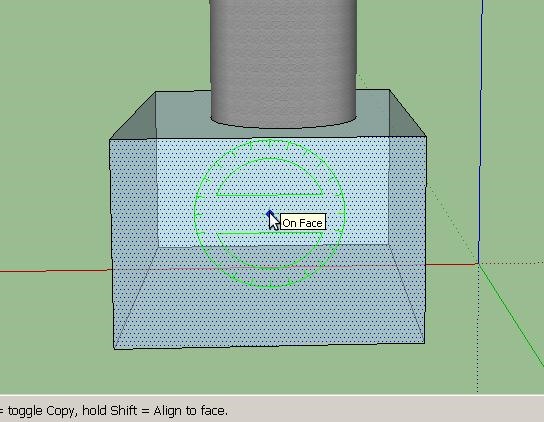
Click a short distance above the center of the protractor to set your rotation angle. When your protractor has two purple dots as shown below, move your mouse up and down to rotate your object.
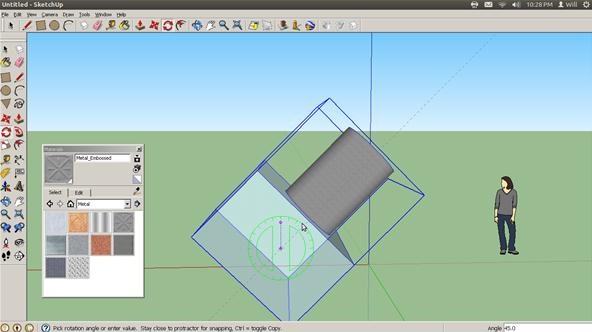
You can stop the rotation whenever you like by clicking your mouse. Below, I stopped at 45 degrees, but decided that it was an odd angle for a camera.
90 degrees. An agreeable camera angle.
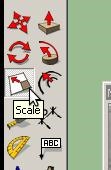
Now we have a single complicated object facing in the direction we want. Time to cut it down to size. Select the scale tool from the left toolbar as shown below.
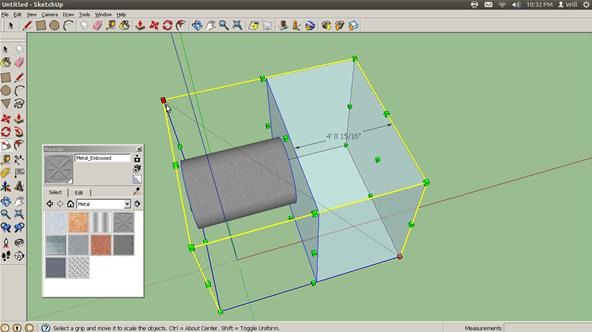
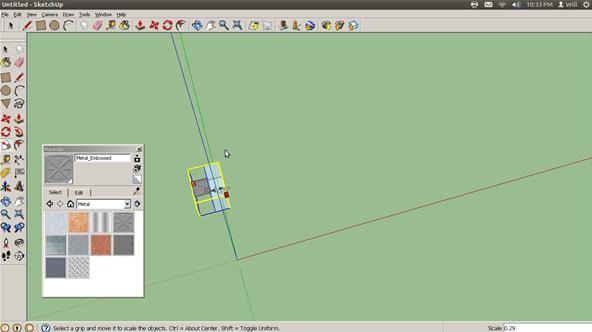
Click on one corner of your object and drag it to scale the entire object. It's just like scaling an image in a 2D program!
This seems like a more manageable size for a camera.
The great thing about SketchUp is that it makes it easy to include scenery and backgrounds for your projects. I just placed the camera model in front of the lonely human to cheer them up.
There you have it! With just a few buttons we can make cohesive 3D models of whatever we like!. If you are designing an enclosure for one of your own custom circuit boards, be sure to take measurements of the board so you know how large an enclosure you need. You can also design enclosures with pre-made mounting holes for buttons, switches, and even embedded battery holders!
What do you want to make? Share your ideas for Sketchup projects in the comments below. If you are having trouble with the tutorial, please comment, message me, or post in the forum. I shall not rest until every Mad Scientist can design a 3D model in his/her sleep!
Don't forget! We are currently accepting entries into our photo contest for a chance to win your very own lucid dreaming goggles kit! Just post a picture on the corkboard of a project you have made or are working on. All projects are welcome. Here is my example entry.
Just updated your iPhone? You'll find new emoji, enhanced security, podcast transcripts, Apple Cash virtual numbers, and other useful features. There are even new additions hidden within Safari. Find out what's new and changed on your iPhone with the iOS 17.4 update.


3 Comments
This is a fabulous article, as was the first in the series!!! Awesome job, very informative :)
Thanks Christopher!
Very good tutorial of how to video! http://howtovideosis.blogspot.com/
Share Your Thoughts