

Ever wonder how all of those tiny chips and components can fit inside your laptop or smartphone? If you tried to squeeze them in there yourself, your laptop would quickly become too heavy for your lap, and your mobile phone would need wheels to stay mobile.
The secret to miniaturization is surface mount soldering. Surface mount soldering is peformed in a temperature controlled oven so that the components solder themselves to the circuit board. Today, we make a surface mount soldering (or reflow) oven using a regular countertop toaster oven and an Arduino.
Materials
- Toaster oven
- Arduino
- Extension cable
- K-type thermocouple
- Thermocouple amplifier
- 5 volt relay
Step 1 How Do We Do This?
There are a lot of different reflow oven projects out there on the Internet. Most of them involve dismantling the toaster oven in some way. This allows you to control the upper and lower heating elements independently for a more precise temperature control. Taking the oven apart also lets you install any electronics safely out of site inside the oven casing.
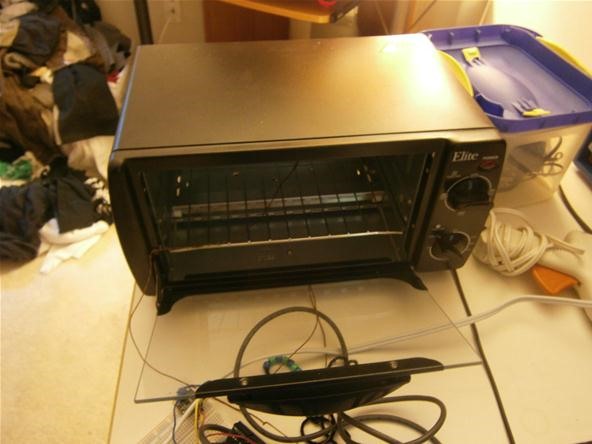
I wanted to keep my toaster oven under the warranty, just in case. Instead of installing two relays inside the oven, I decided to install one relay in line with an extension cord plugged into the oven. This way, I can control the main power without damaging the shiny new oven.
Step 2 Thermocouple?
A thermocouple is a temperature sensor for high-temp applications like reflow soldering, brewing, or engine monitoring. Unlike an anolog sensor that changes its resistance with the temperature, a thermocouple actually generates different voltages depending on the temperature.
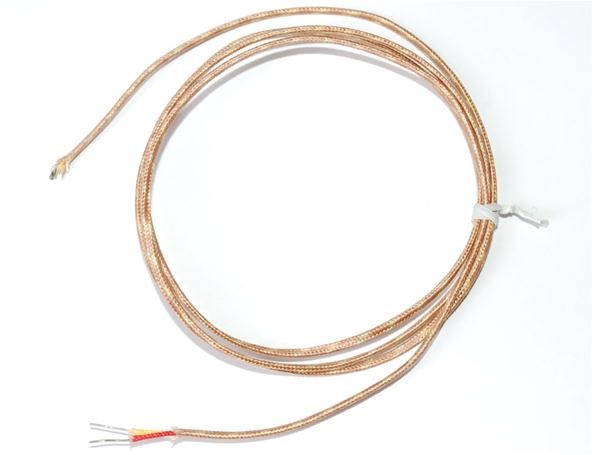 Photo by Ladyada
These voltages are very small millivolts and cannot be read by the 5 volt logic of our Arduino. To solve that problem, we need an amplifier. I bought my amplifier and thermocouple from Adafruit. Whenever you have a critical component that requires some extra parts, try to get it all in one place.
Step 3 Wiring the Thermocouple
I like adafruit because they have really nice tutorials for all of their awesome products. This thermocouple and amplifier tutorial will get you up and running in no time. But here are a few short notes from me on the side.
- The amplifier chip was recently changed, so be sure to download the most recent code.
- The direct-to-arduino wiring shown in the Adafruit tutorial no longer works because the new amplifier has more pins. Connect the wires as follows:
Vin - 5V
GND - GND
CLK - Arduino Pin 5
CS - Arduino Pin 4
DO - Arduino Pin 3
Step 4 Testing the Thermocouple
Time to test this sensor. Put the end of your thermocouple in the oven.
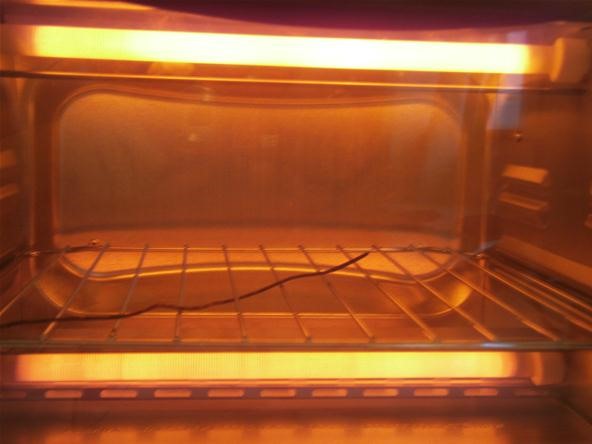
Load the code from the Adafruit tutorial onto your Arduino and open the serial monitor in the Arduino program. You should see a readout of temperatures in both Celsius and Fahrenheit. Congrats! It is working! If you turn your oven on and the temperatures begin to drop, switch around the thermocouple wires connected to the amp. If you have thermocouple backwards, it outputs a negative voltage giving you negative temperatures.
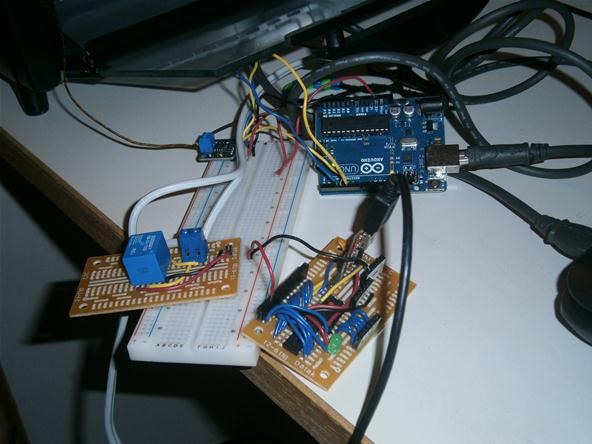
Step 5 Wiring the Relay
If you are new to relays, check out my explanation in this article. All we are doing is cutting and stripping one of the power cord wires and screwing them into the terminals on our relay board.
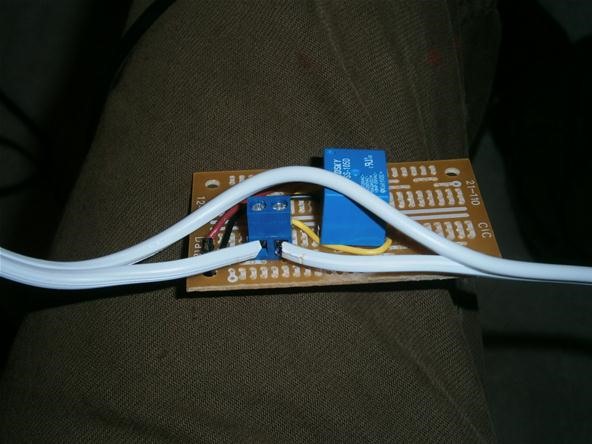
Warnings
- The extension cord carries 120 deadly volts! Cover the exposed bottom of the relay board with tons of electricalt tape while prototyping.
- Enclose the relay and Arduino completely for permanent installation.
- When you are working on other parts of the circuit, unplug the extension cord!
The relay itself is controlled by the Arduino.
Step 6 Code Considerations
There are a few ways to control the temp using a relay. You could set the Arduino program to follow a desired temp profile and turn the relay on and off to keep the temperature movement steady. You could also use the Arduino PID library for an extra precise (and complicated) reflow control. Eschewing all the cool options, I decided simply to do some empirical tests on my specific oven and just use a preset timing to achieve the desired temperature profile.
 Image by Maxim
Using the chart above as a guide, I expermiented with plugging and unplugging the toaster oven at different intervals and found a pattern that worked for my oven. You need the thermocouple for testing purposes only in this setup.
Step 7 Code
You can download the final code here. For the amount of work I put into this project over the last few weeks deciphering new amplifier code, trying to make my own amplifiers, figuring out that my Arduino was broken, this code is stupifyingly simple. It literally just turns on the oven and waits over and over again until the soldering is done. Remember that you will most likely have to change the amount of time the Arduino waits before turning on and off.
Step 8 Live Free
Now you have the power to create the tiniest of circuits! Go make that digital GPS watch you've been thinking about. While I havent tested it yet, all of the readings are great! I have some surface mount LEDs ready for the next article!
Afterthoughts
I had to move my whole electronics lab upstairs because I was running out of desk room and the reflow oven was the last straw.

I programmed my perfduino to control the oven, and measured the resulting temperatures with my Arduino Uno. Sure, you could write some complicated code to do both automatically, but where is the fun in that?
The most time consuming part, once I knew what I was doing, was waiting for the oven to cool down so I could get a fresh reading of the temperature profile.
Just updated your iPhone? You'll find new emoji, enhanced security, podcast transcripts, Apple Cash virtual numbers, and other useful features. There are even new additions hidden within Safari. Find out what's new and changed on your iPhone with the iOS 17.4 update.


Be the First to Comment
Share Your Thoughts