
I love making my own printed circuit boards. It really gives a professional look to a finished project, and having all the design files means I can whip up another batch whenever I need to. However, when I need to make, say, three thousand swarmbots or fill an order for a dozen PCBs, the traditional etching process can slow down the operation to a crawl.
Luckily, you can rapidly speed up etching time by making a homemade etch tank.
Materials
Step 1: Choose a Container
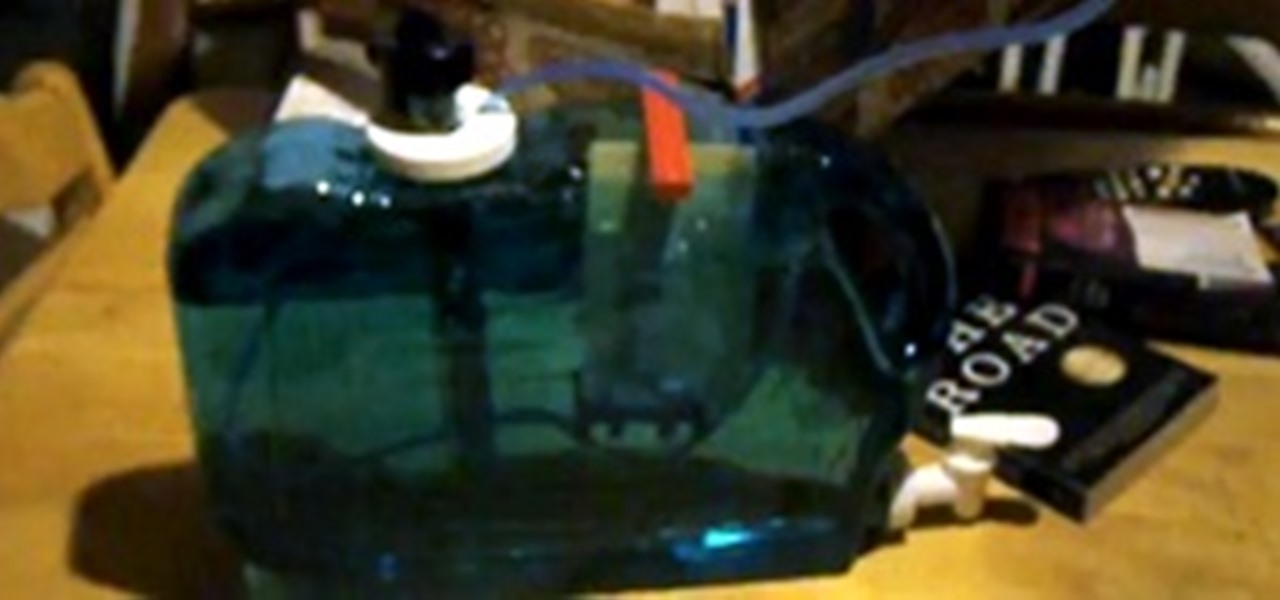
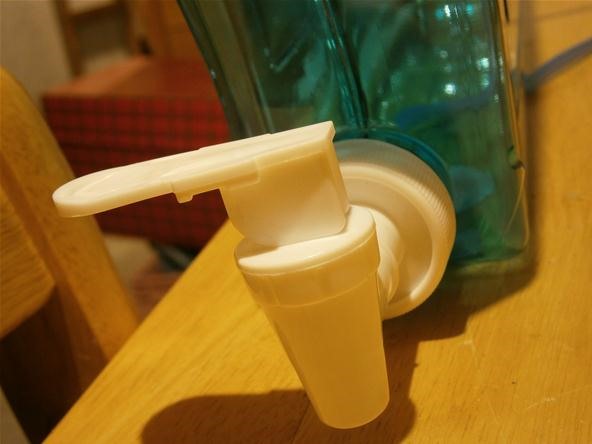
This is the most important step in making an etch tank. The ideal container will be thin with a nozzle at the base for draining etchant solution. I found this perfect water jug at the super market for 4 bucks!
If you cannot find a suitable container, you may make one using plastic sheets and a plastic valve. Simply cut out your plastic sheets to form a thin box and use your preferred sealant to bind it together. Note that if you do make your own container, you will have to make a watertight valve connection at the base.
Step 2: Prepare Tubing
The tube will bring air to the bottom of the tank forcing bubbles to move over the surface of the circuit board. To accomplish this, we must first block off the end of the tube with some hot glue. Next, use an X-Acto knife or drill to make a series of holes along the tube to allow bubbles to escape.
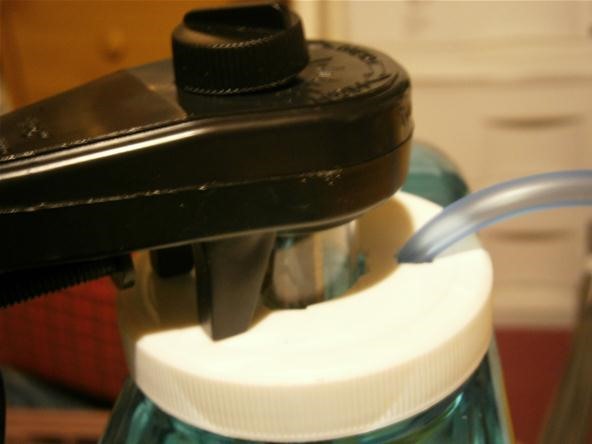
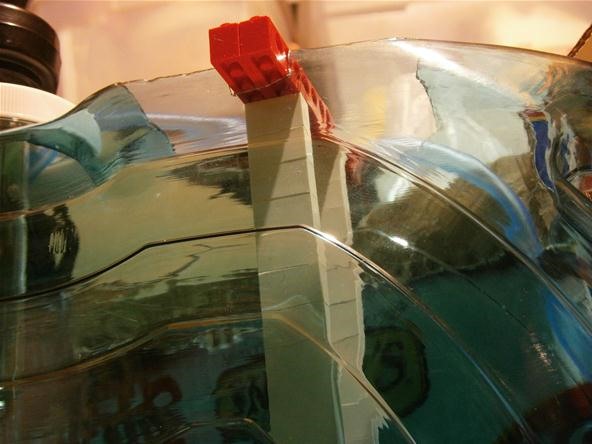
Step 3: Mount Aquarium Heater
Choose a place near the side of the tank to install the aquarium heater. The heater will keep the etchant warm and the copper dissolving at maximum speed. My container had a convenient screw cap that allowed me to mount the heater perfectly.
If you are using a box design, the aquarium heater has a fastener perfect for mounting to straight edges.
Step 4: Install Air Tube
Place your tubing inside the container with the perforated end laying at the bottom of the tank. Run the other end up and out of the tank so it can connect to the air pump. It is important not to run the tube directly out the bottom of the tank as etchant solution could flow down the tube and ruin the pump.
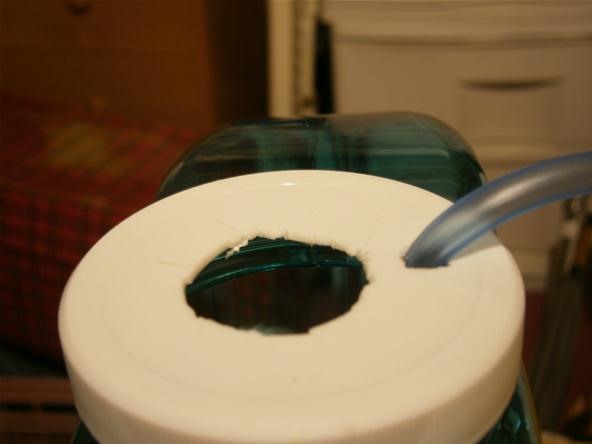
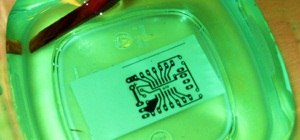
Step 5: Cut PCB Hole
Now that we know the position of the tubing and heater, we can pick a spot to cut the PCB hole where the boards will be lowered into the tank. Be sure the boards are not touching the heater and that the tube is directly below the boards.
Step 6: Make PCB Holder
There are a million ways to suspend your boards in the etch tank. The simplest way is to drill a hole in your board and suspend it from a zip tie. Whatever way you hack it together, the board holder must be made of plastic so that it does not corrode in the etchant.
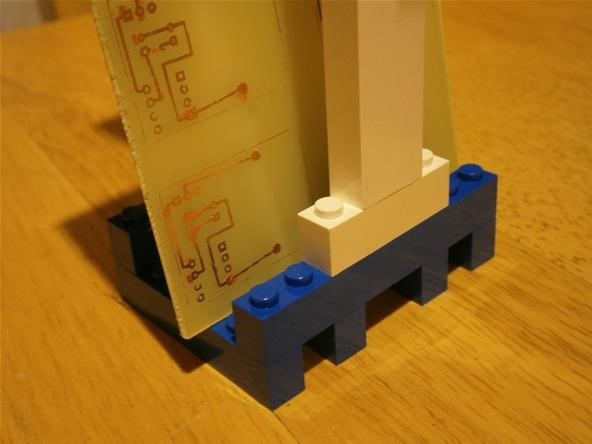
I used LEGOs to make my plastic board holder. It works well and a few dabs of epoxy will make it sturdy enough for hundreds of boards.
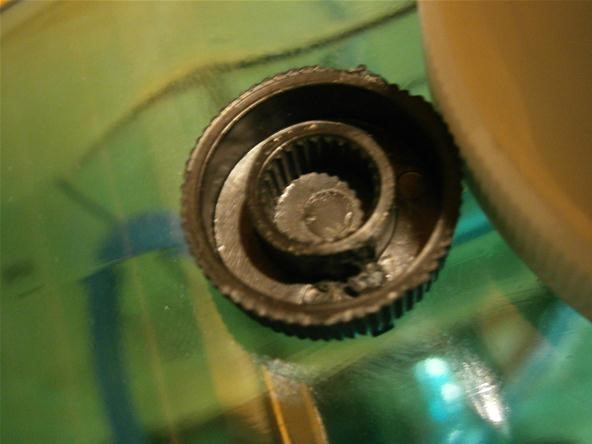
Step 7: Modify Heater
To make the heater hot enough to aid in etching, we have to hack the temperature control knob.
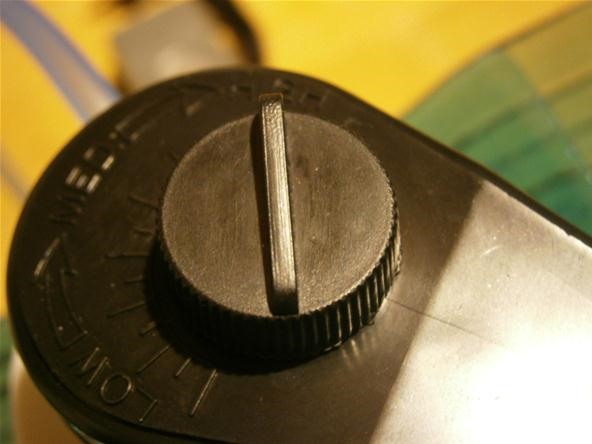
Pry off the knob and remove the limiting plastic nubs in the cap and in the rotary shaft.
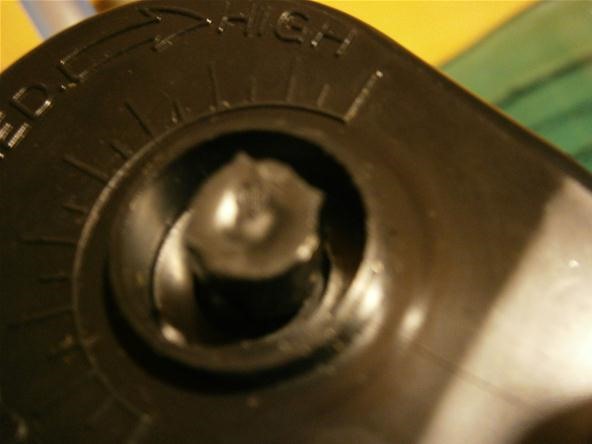
This will allow you to turn the temperature control up to maximum.
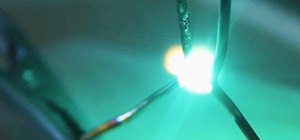
Step 8: Test
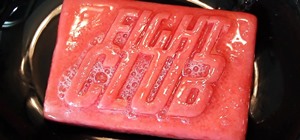
You are done! Fill the tank with the etchant of your choice and suspend the board in the tank. Plug in the pump and heater, and watch the magic happen!
When you are done, be sure to empty out the etchant into a resealable bottle for future use. The last thing you want is highly corrosive acid spilling all over your workbench.
Step 9: Final Thoughts
To improve safety, I suggest constructing a sturdy weighted base for the tank to avoid accidental acid spills. You may even want to make a cap for the PCB hole on the top of the tank. I suspect that there is a lot of potential for Oogoo molds in making the base and the cap.
Just updated your iPhone? You'll find new emoji, enhanced security, podcast transcripts, Apple Cash virtual numbers, and other useful features. There are even new additions hidden within Safari. Find out what's new and changed on your iPhone with the iOS 17.4 update.


Be the First to Comment
Share Your Thoughts