

Graffiti is a great way of getting your message out to the masses. The earliest known graffiti dates back to 30,000 years ago and used the traditional apply-paint-to-wall technique. Though our paint now comes in cans and not from scavenged berries, the actual graffiti process hasn't really evolved from those first cave paintings.
While Homo sapiens may not evolve new cognitive artistic perception in a few thousand years time, our societies and technology are changing faster than our brains can keep up. Getting your message noticed in a busy city means competing for attention. To make your message stand out for the post-modern human, make this simple solar charging, permanent light art graffiti.
Step 1 Circuit
Ours is the basic dark-detecting circuit from Evil Mad Science we used in our food alarm project.
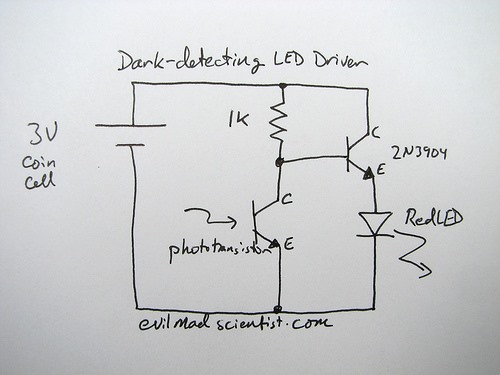 Image from EMSL
We will be using a light dependent resistor (LDR) in place of the phototransistor above.
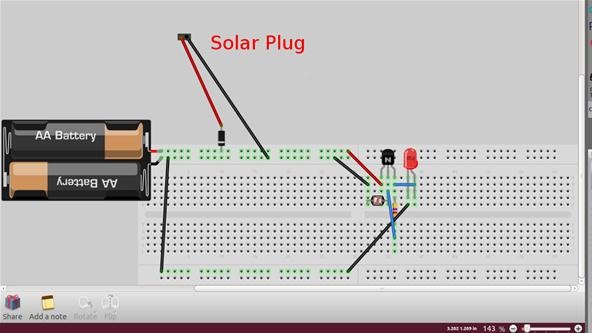
Since I have learned to make circuit boards, I've started every electronics project right here on the Fritzing breadboard window. Just lay your circuit out on the breadboard and Fritzing automatically starts creating a printed circuit board design in the next tab!
Components
There are only a few components in our circuit.
- LED to illuminate our graffiti image
- LDR to detect light and dark
- Solar panel and diode to charge 3 AAA batteries
- NPN transistor to power the LED
- 1K resistor
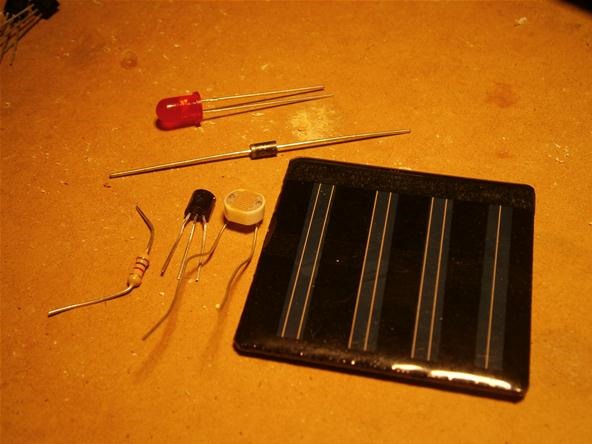
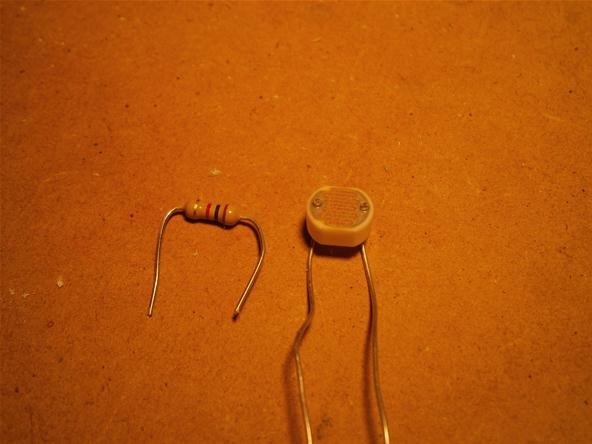
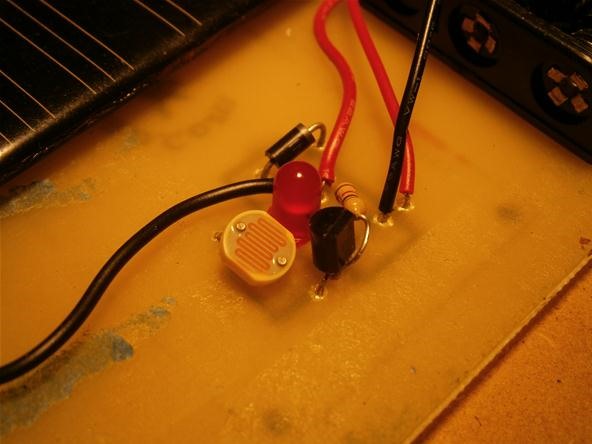
Below, the resistor (right) and LDR (left) are the only two unpolarized components. This means that they can be included into the circuit facing in any direction.
Below, the diode (left), LED (center), and transistor (right) each have a specific polarity and orientation in the circuit. The diode has a silver band at the negative end. The LED has a shorter negative wire lead and a flat spot on the plastic casing beside the negative lead. Below, the negative lead of our LED is on the left.
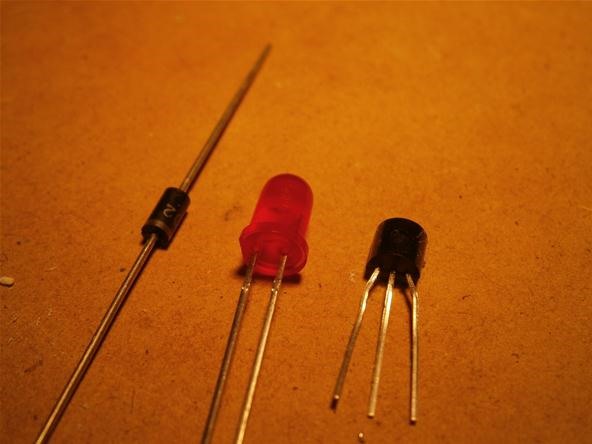
The transistor has three leads: the emitter, base, and collector. The middle base pin will be fed voltage from the LDR sensor. When the sensor is dark enough and the base voltage high enough, the emitter and collector pins are connected and current can pass through them to the LED.
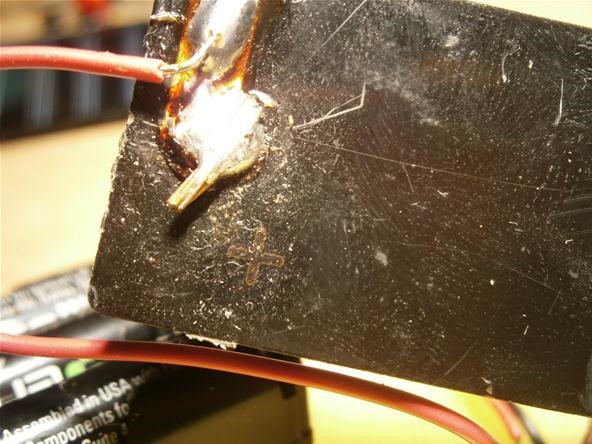
Solar panels also have a specific polarity. Most are labelled with positive and negative symbols.
Board
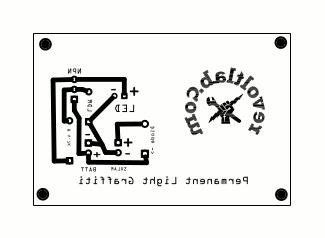
Now that we understand the components and the circuit, we can tidy up the final circuit board layout that Fritzing made for us. Below is the final board image as seen in the Fritzing program. Because I cannot add the white silkscreen layer, I have included copper text on the board to guide in assembly.

Fritzing will not automatically provide you with the easiest board to etch at home. I turn the trace width setting to maximum to ensure a steady connection. After hitting the Auto Route button at the bottom of the Fritzing window, adjust the trace widths and position your traces as far apart from one another as possible to avoid short circuits.
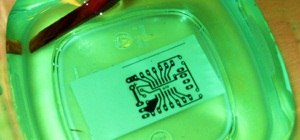
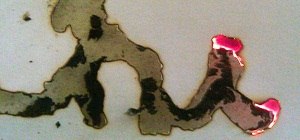
This is the final board image I use to etch my copper clad boards...
I had room for two circuits on this on board...
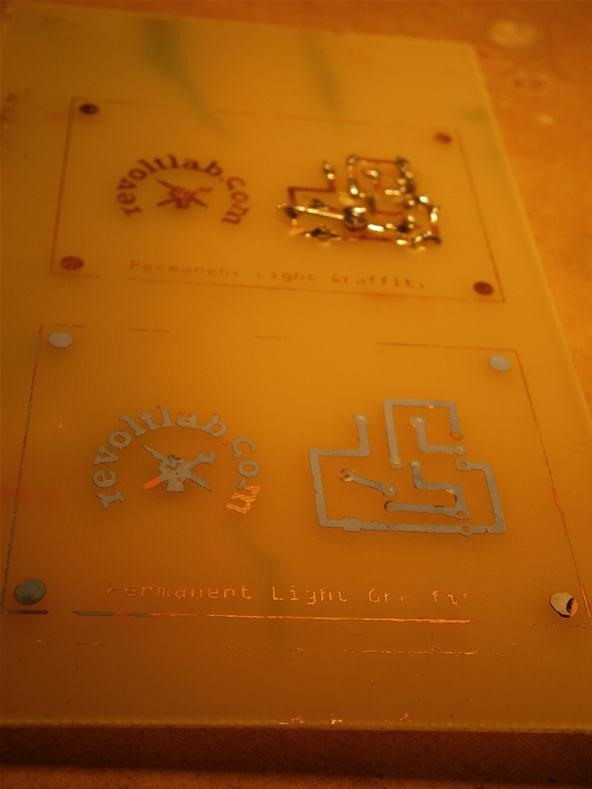
My first iteration had some flaws. I patched them up with a component lead and some careful soldering. The current design has been fixed.
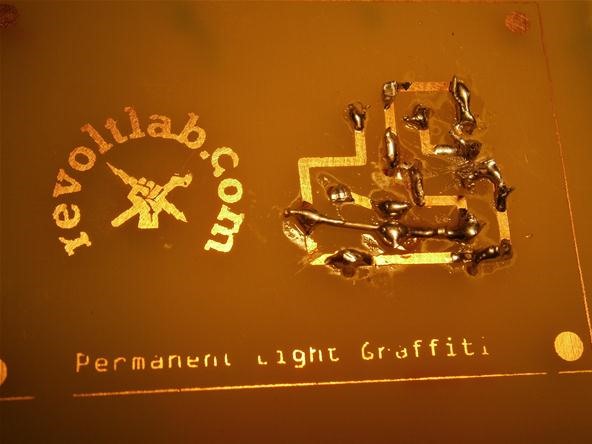
I originally forgot to include the 1K resistor in the circuit schematic! Luckily, the holes I drilled were big enough for the resistor leads to fit.
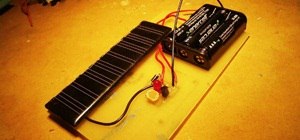
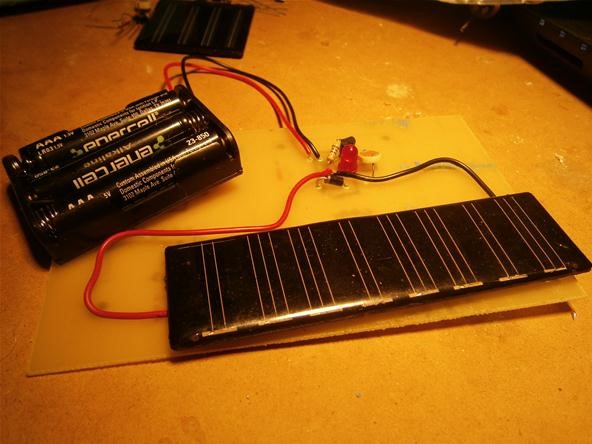
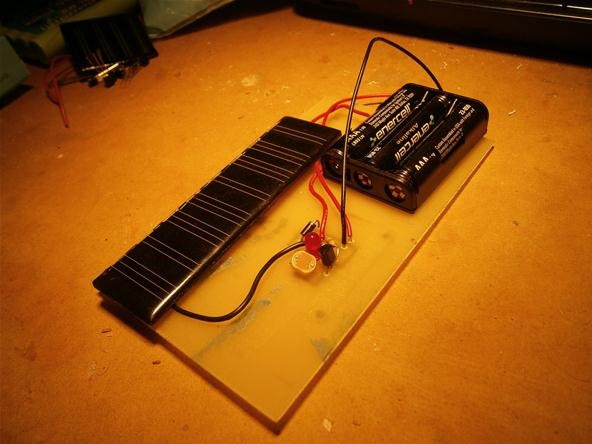
Three AAA batteries keep the LED lit at night. When the morning comes, the LDR switches off the light and lets the solar panel charge up the batteries!
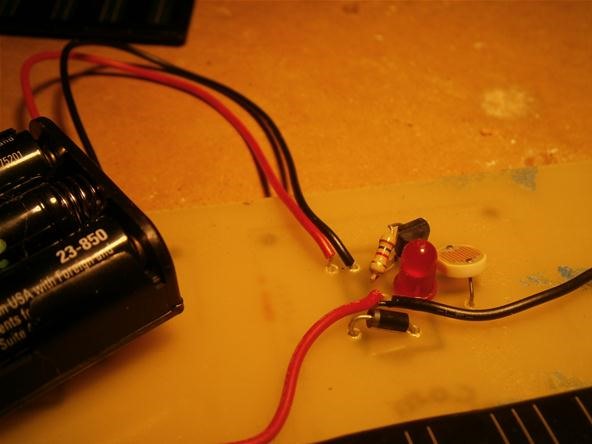
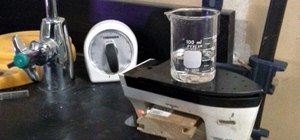
This solar panel is rated at 4.5 volts, which is perfect because three AAA batteries add up to exactly 4.5 volts.
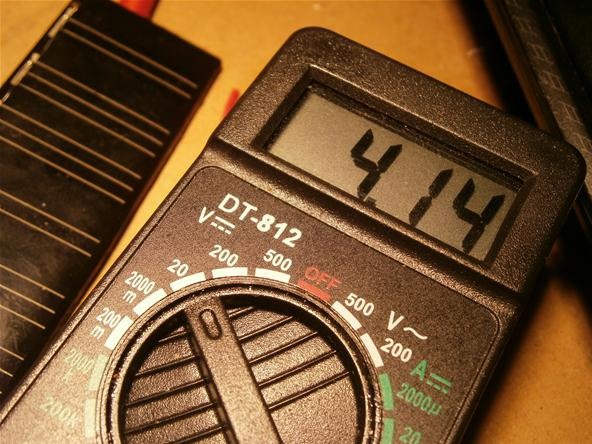
Under a normal halogen lamp, the panel is getting 4.14 volts! If the batteries ever ran out, a full day of charging at 4.4 volts will bring the graffiti back online before nightfall.
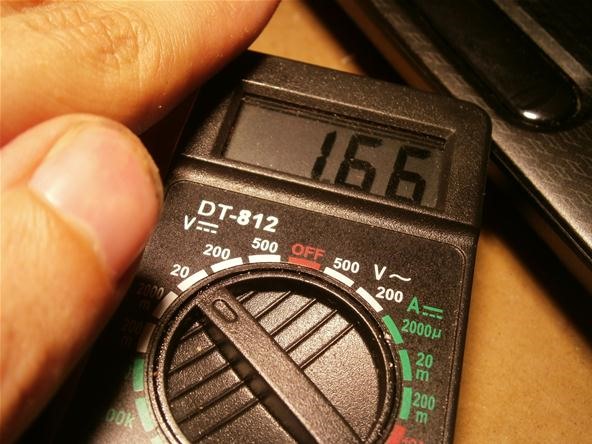
Even completely covered, this panel is dishing out 1.6 volts!
Step 2 Enclosure
A sturdy enclosure is important for long lasting light graffiti. Ideally it should be able to stand up to wind, rain, hail—even floods. I used this black plastic project box. It has convenient holes for mounting boards, batteries, and panels with screws.
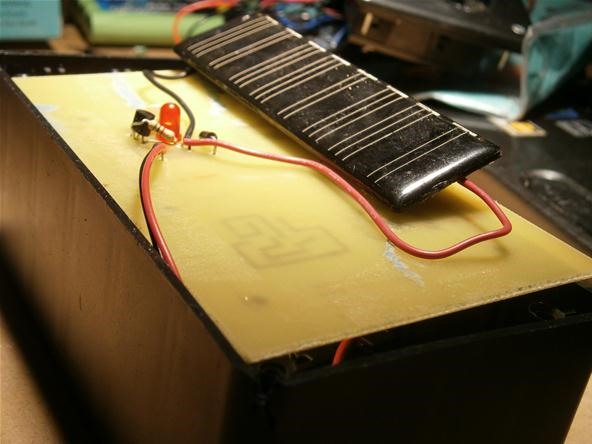
I used solid core wire to attach the panel. Now I can bend it in any direction to face the sun!
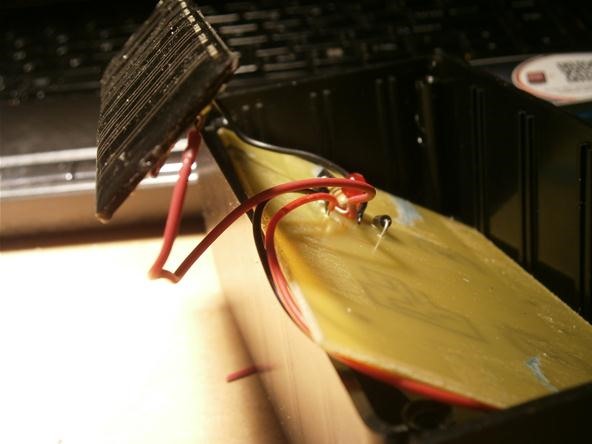
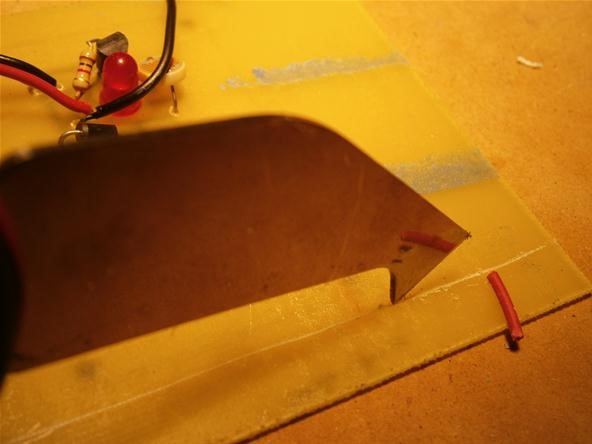
If your board is too big for the enclosure, you can always cut it to size. The glass in the board is not great to inhale as dust particles, so I advise against cutting with a rotary tool. Use a plastic scoring knife or a hacksaw while wearing respiratory safety equipment.
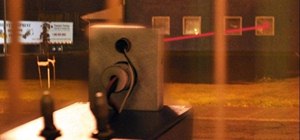
I am really pleased with the final board. It is sturdy, sleek, and self-perpetuating.
Here is a video of the circuit responding to light and dark.
Step 3 Magnets
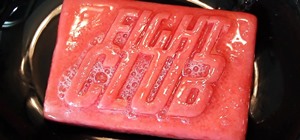
To turn your light graffiti into throwable art, we need attach some rare earth magnets to the enclosure or circuit board. I find that epoxy works pretty well for keeping the magnets on. With magnets firmly affixed, you can throw your image up on any ferric metal surface. With the power of magnetism, you can get you graffiti into unreachable places where it can stay undisturbed silently spouting your eternal propaganda.
Step 4 Exhibit
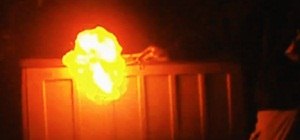
We need to make this LED light up our artwork. Normal computer paper will do in a pinch, but overhead transparencies make a great printable waterproof cover. Print out your image and fix it so that it is held in front of the LED. Alternatively, you could alter the circuit to allow for an entire graphic made of many LED lights! If you were a totally evil person, you could replace the LED with a buzzer that went off every night all night until the end of time.
Time to find a spot in the urban hellscape to claim as our own. Metal buildings and bridges are great canvases. If you can lob your graffiti up high enough, it will be years before anyone bothers to take it down. Most street poles can hold up your light board, but they will likely get taken down right away.
Show Us Your Graffiti...
What are the best spots for these permanent art installations in your neighborhood? Make your own this weekend and carve out a place for your eternally glorious works of art. Post a photo on the corkboard of this or any project for a chance to win a free lucid dreaming goggle kit! As always, if you have any questions feel free to post in the forum, message me directly, or ask away in the comments below.
Just updated your iPhone? You'll find new emoji, enhanced security, podcast transcripts, Apple Cash virtual numbers, and other useful features. There are even new additions hidden within Safari. Find out what's new and changed on your iPhone with the iOS 17.4 update.


6 Comments
How about using electroluminescent paper for the message, instead of the led?
Good idea! Be sure to include an AC converter if you use el paper or el wire.
Those look pretty cool, wouldn't mind making a few if I had the mats.
You should be able to get all the materials online or if you are really desperate, you could find the nearest radioshack.
I think you should put together some DIY kits and sell them for the people that can't purchase the mats, don't worry I won't buy one (No magic plastic =( ), but you really should put together the sets and make a few bucks
Alas, the writing takes up all my time. The designs are all open source though and anyone who wants to can make a kit! Perhaps one day when I am devastatingly productive I will have time make some kits.
Share Your Thoughts