

Even if you live in a big city, chances are you have some wild raccoons or foxes that cannot abide a vertical trash barrel. While apparently omnipresent, these phantasmic critters usually vanish in the night leaving only a shameless trail of refuse you never wanted to see ever again. While I haven't found a way to stop them, I can help you snap some photos of the dastardly creatures.
Let us get to know our enemy better by building a motion-triggered wildlife camera.
Materials
- Arduino
- Servo
- Ping ultrasonic sensor
- Wire
- Camera
- Project enclosure
- 9 volt battery
- Barrel jack connector
- Hot glue
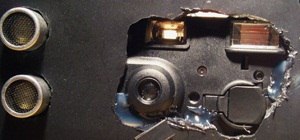
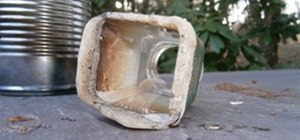
Step 1 Modify Enclosure
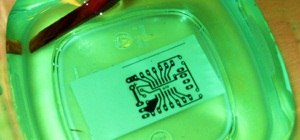
Cut holes for the ping sensor, camera lens, and camera flash. I used a disposable camera, but an old digital one would work better. You can remove the infrared filter if you want to hook up a night vision flash.
My disposable camera had a flash-charge button.
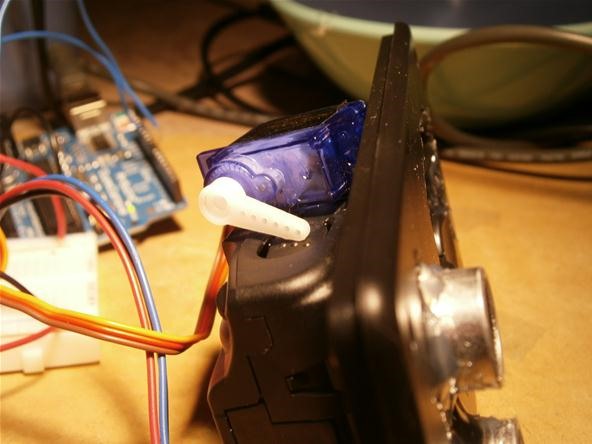
Step 2 Install Camera and Servo
Position the servomechanism on top of the camera so that the servo arm pushes down the photo button when activated. Hot glue the servo into position making sure the whole assembly still fits into your enclosure. Hot glue the camera assembly to the lid of the project enclosure.
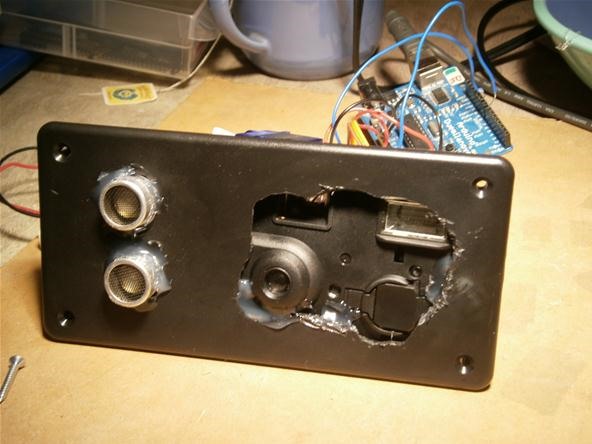
Step 3 Install Ping Sensor
Push the two metal drums of the ping sensor through the holes in the lid. Check to see that there is enough room for wires to lead out from the sensor.

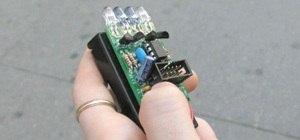
Step 4 Wire the Circuit
Follow the diagram below to wire your circuit. You can complete the circuit without a breadboard by running wires directly from the sensors to the Arduino.
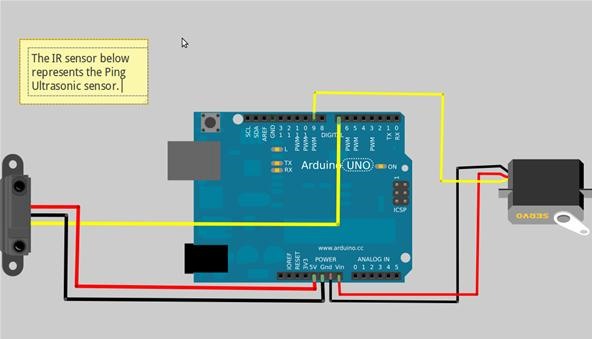
Because there is only one 5 volt pin on the Arduino, I plugged the servo power into the Vin pin. This pin is usually used to bring power to the Arduino board, which means it is connected to the 5 volt power rail.
You will need to connect the 9 volt battery using a barrel jack connector.
Step 5 Code
The code we are using is a slightly modified version of the ping code located in the default Arduino example programs. Navigate to File>Examples>Sensors>Ping. The ping sensor is a complicated module that requires some complicated code. We are simply going to add an if else statement into the Ping code to tell the servo when to activate the camera. Download the camera code here.
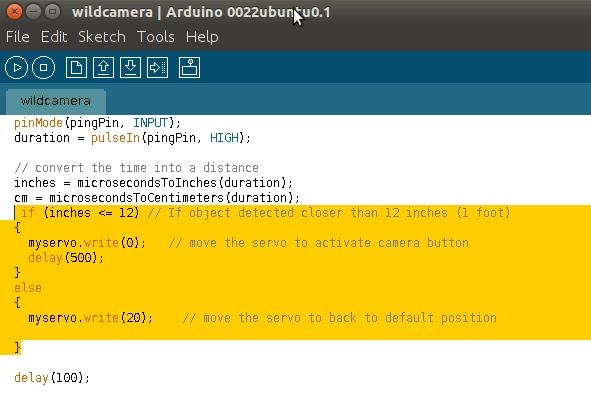
Highlighted above is the if else statement. After the ping code has defined inches and centimeters, we insert our code to set a distance that will trigger the camera.
Load the code onto the Arduino. Wave your hand in front of the ping sensor to ensure the program works. Your servo should move to one position and hold there while your hand is in front of the sensor and move to a resting position once you take your hand away. Adjust the servo horn so that the arm presses down the camera button at the correct angle.
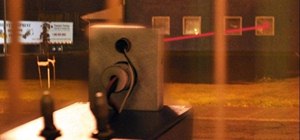
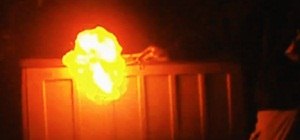
Step 6 Release into the Wild
Now that it all works, package up your camera and find a good place to ambush some raccoons. If you used a disposable camera, you will only be able to take one photo each time you reset the box. A digital camera can take many pictures, but requires more power than a disposable one. Be sure not to trigger the camera early, as you will waste the disposable camera flash and need to wind the film again before the flash resets.
Step 7 Make It Night Vision
As mentioned above, if you're using a digital camera instead of an instant, you can remove the infrared filter if you want to hook up a night vision flash. It's the best way to go for capturing those critters in action.
Show Your Builds (And Pics)!
I want to see what creatures you catch lurking around the garbage. Post up your pics on the community corkboard. I would also be interested to see what kinds of cameras you all can incorporate into this design... maybe one of those disposable digital cameras? Ask any and all questions in the forum or send them my way.
Just updated your iPhone? You'll find new emoji, enhanced security, podcast transcripts, Apple Cash virtual numbers, and other useful features. There are even new additions hidden within Safari. Find out what's new and changed on your iPhone with the iOS 17.4 update.


3 Comments
Right after I finished this article I had a confrontation with a raccoon while taking out my trash!
Thanks for sharing the information,this would useful while clicking the pics when on wildlife safari.
Do you often go on safari?
Share Your Thoughts