


What's the first thing you would do once you realized you were lost in, say, a desert? If you're like me, you would immediately pull out your cell phone and start dialing every number. But what if you have no service? What if your battery is dead?
If you make this survival solar box, you can charge up that phone for that crucial delirious nightmare-ridden night when you finally realize you have reception in this horrid wilderness.
Materials
- 9 volts of solar panels (could be one or several small ones together)
- Diode 1n4001
- Phone charger
- 7805 voltage regulator
- (2) 10uF capacitors
- Perfboard
- Sturdy box
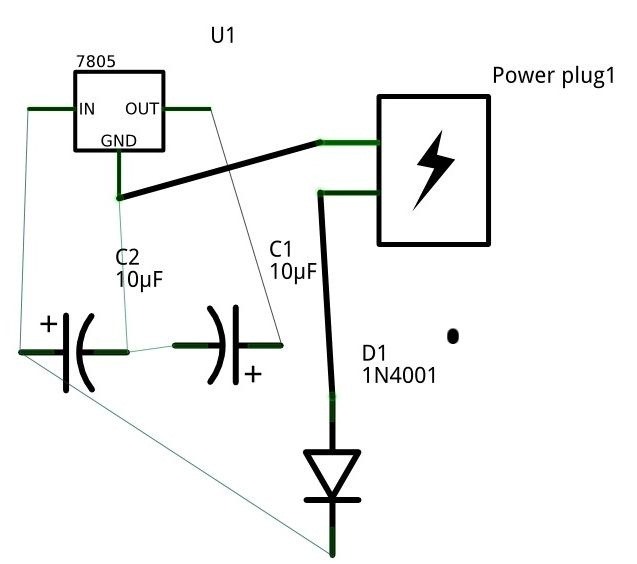
Step 1: Schematic
Our schematic is not too difficult. Power enters on the left, flows through the diode, and into the left leg of the voltage regulator. Excess power and heat are sent to the middle ground pin. A nice steady 5 volts exits the circuit at the rightmost regulator pin.
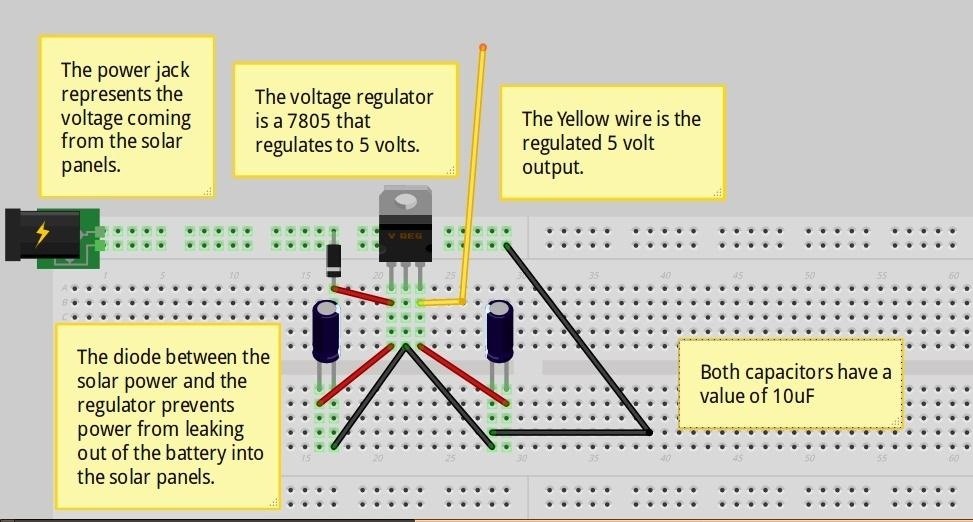
The two 10uF capacitors simply ensure that the current remains steady with all this voltage limiting and heat dissipation going on. Use the real solar panels for an outside test. Check to see that the input is between 9 and 12 volts and that the output is close to 5 volts.
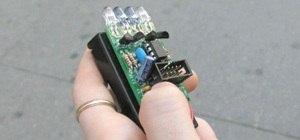
Step 2: Solder
Because this is a survival generator, we can't just tape the breadboard down in a box and hope it keeps working. Solder you components on a perfboard.
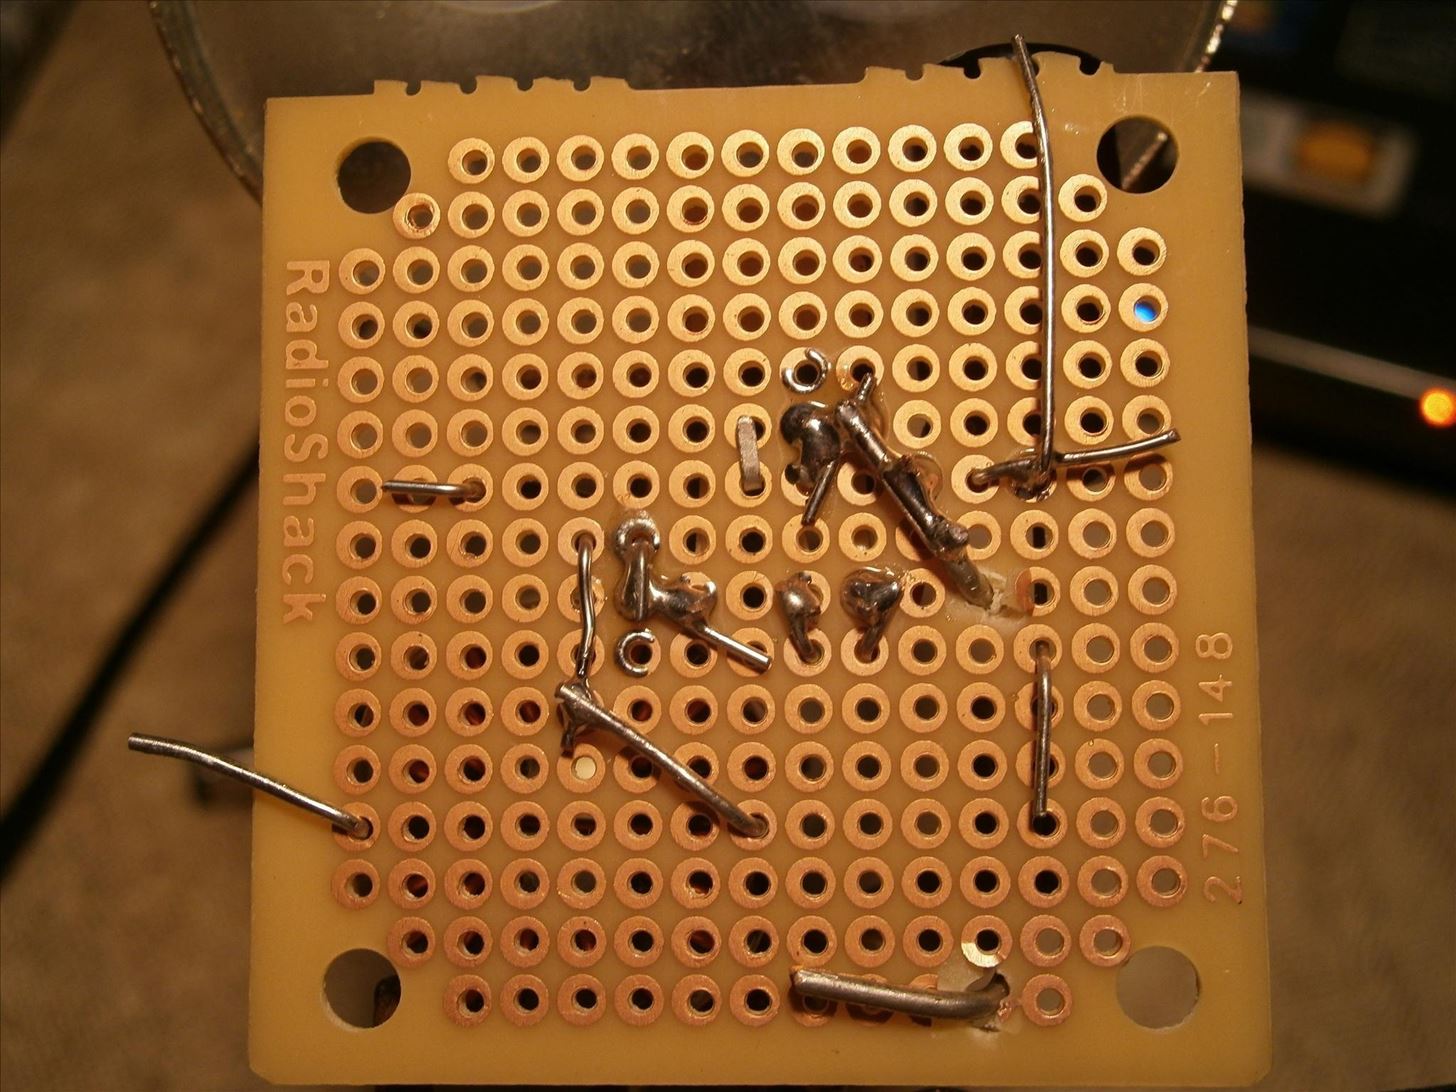
Make sure to leave mounting holes where you can screw the board down inside the box. You may also want to cover all electrical connections in electrical tape or hot glue in case of wear or water.
After everything else is soldered, cut the phone charger and solder it to ground and the 5 volt output from the regulator. You can now power your phone on a safe replenishing supply! If you don't have an extra phone charger around, use a female USB cord. Almost all phones these days come with a USB charging cable.
Step 3: Install
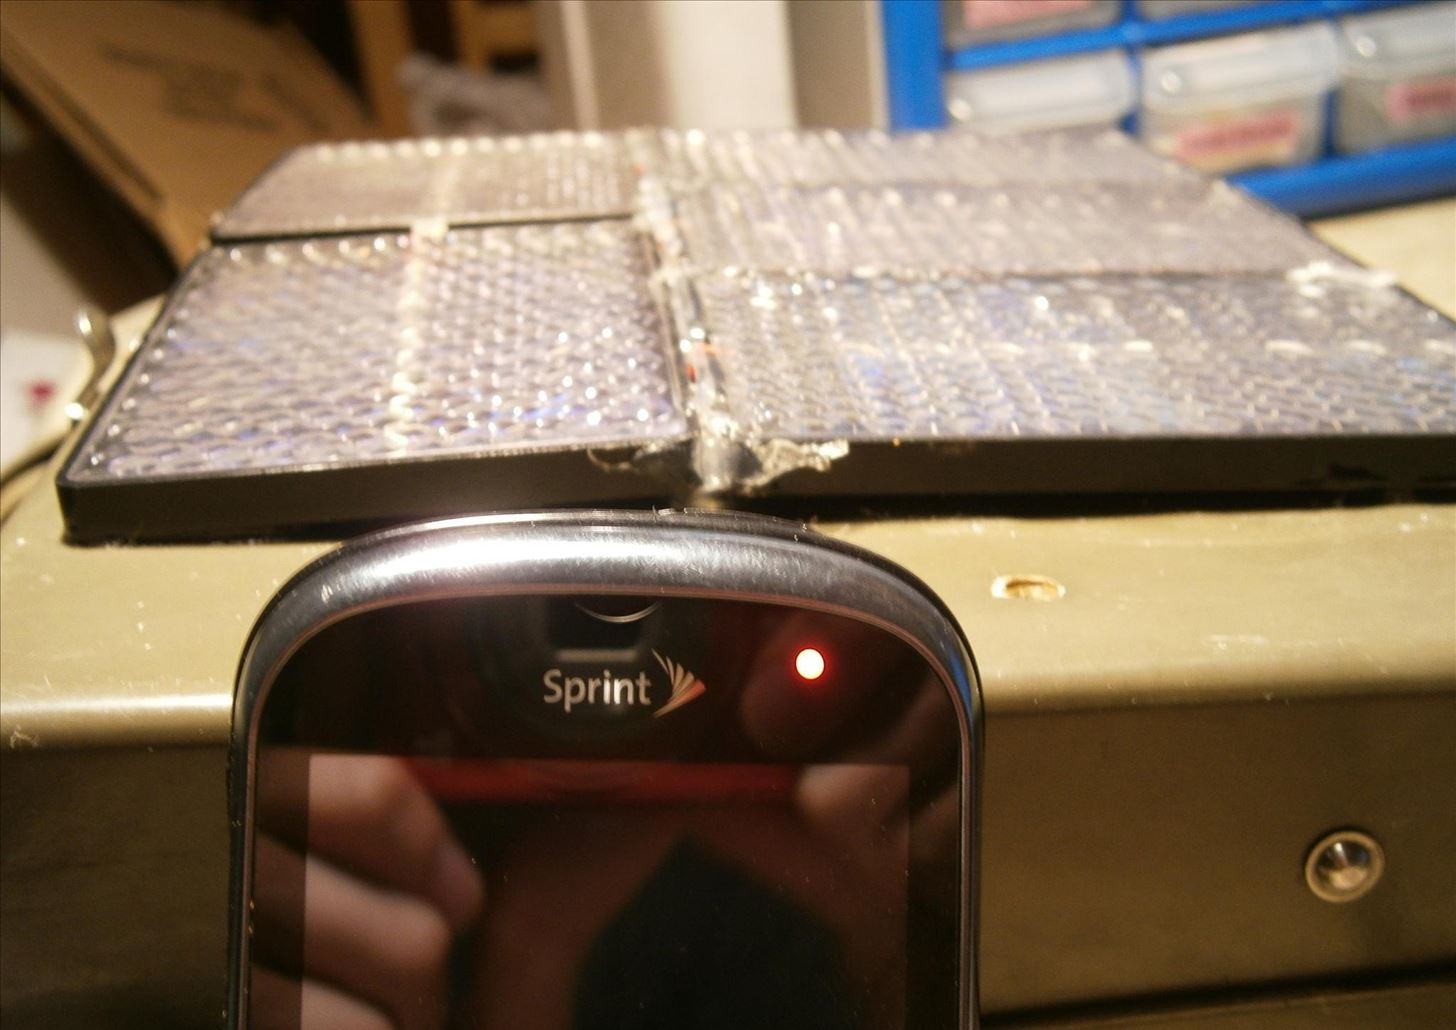
To install the electronics, we first need to situate the solar panels. Use epoxy to fasten your panel onto a face of the box. You may need to make a tiny hole for the panel wires to enter the box. It's okay if you have to resolder the panel at this point. I had to, as well!

Screw down the board and be sure it won't come out from jostling around a barren dessert.
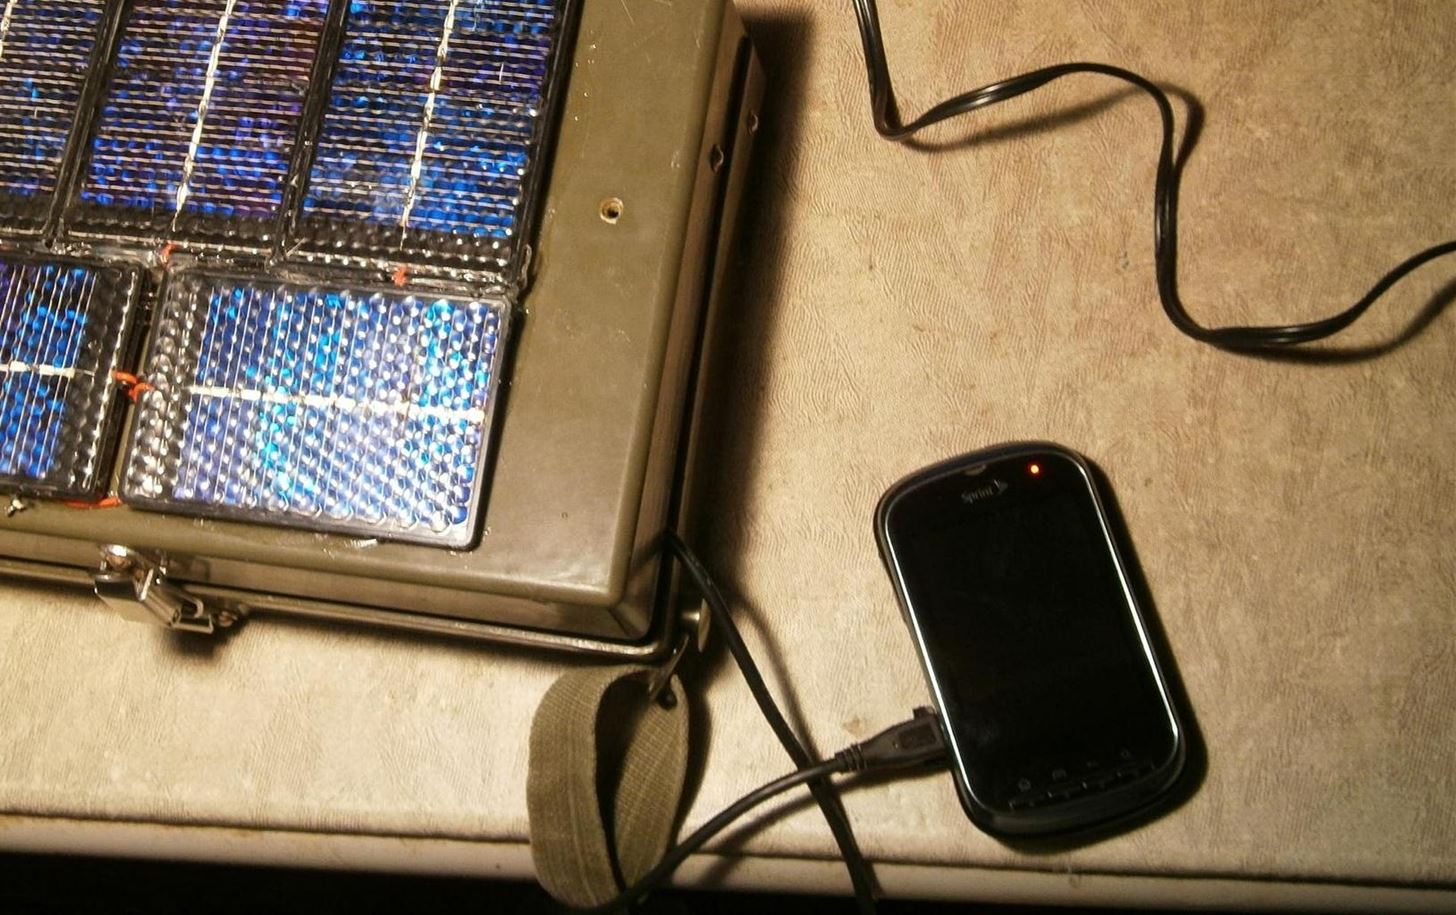
You can now charge any USB device using the sun! While this will work for emergency phone calls, it will also take a while to charge up. This will not keep your smartphone working constantly, so you will need to decide when you want to search for a signal and when you want to soak up the sun. I imagine this stuck at the top of a backpack shading your head and creating electricity at the same time.
How would you use a survival sun satchel? Let us know in the comments below. If you have even the slightest question about this project, ask away and I will answer them! If you prefer not to comment, you can message me directly. And as always, the community is ready to discuss and answer questions in the forum.
Just updated your iPhone? You'll find new emoji, enhanced security, podcast transcripts, Apple Cash virtual numbers, and other useful features. There are even new additions hidden within Safari. Find out what's new and changed on your iPhone with the iOS 17.4 update.


4 Comments
Beautiful Idea. Good job man.
Awsome
Now, if you can make one that is pocket sized, or that can fit on the back of your phone. Then you would be in business! Awesome tutorial!! I am definitely trying this one out!
its too Good but it need some technical things which is not available on emergency time check this video Coin Emergency Power Bank (use coin as a battery) you can check a simple house hold version
Share Your Thoughts