


It turns out that the popularity of soft circuit electronics has leaked out of the interwebs and into the hands of the U.S. military. Soft circuit electronics allow you to literally sew electronics circuits into fabric using flexible conductive thread instead of wire. Soft circuits can be used for all sorts of fun projects, like the TV-B-Gone Hoodie and the Heartbeat Headband.
However, the military coordinator class is looking into ways to charge radios, flashlights, remote controls, night vision goggles, and anything else they can cram onto a soldier's back. With a fully integrated charging system, simply placing a gadget into a specific pocket could charge it up while walking. What's more, all the myriad devices could be run on a single battery to simplify charging and reduce messy wiring.
Today, we are going to show you some of the basics of soft circuit electronics to equip you with the necessary knowledge for the coming resistance.
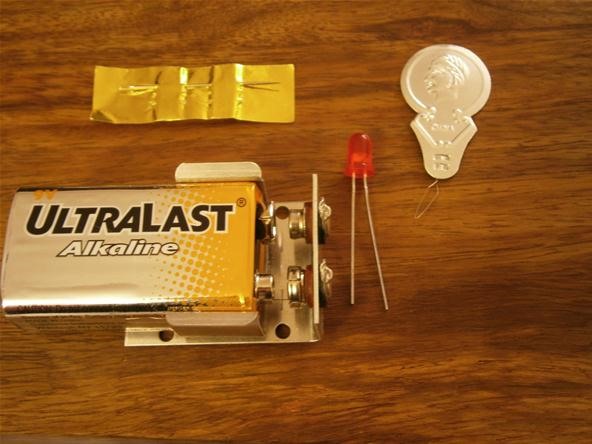
Materials
- Conductive thread
- Needle
- Scissors
- Fabric
- LED
- 100 ohm resistor
Step 1 Choose Project
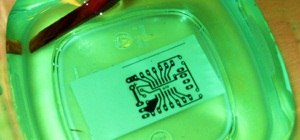
For demonstration purposes, I am going to show you how to light an LED using a 9 volt battery. You could use this technique to create any kind of circuit, from night vision to RFID tags to GPS mapping apparel. I decided to light up this old fabric with my website logo.

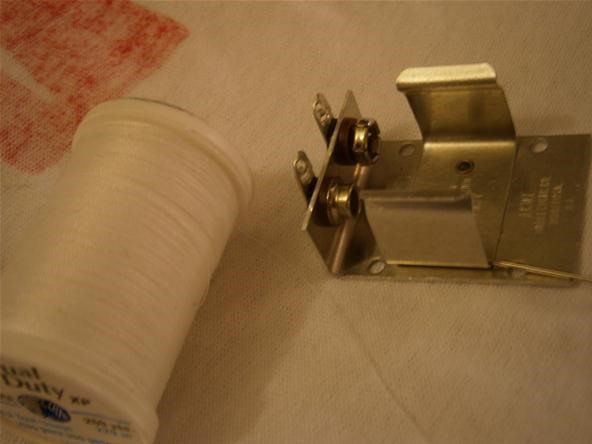
Step 2 Attach Battery
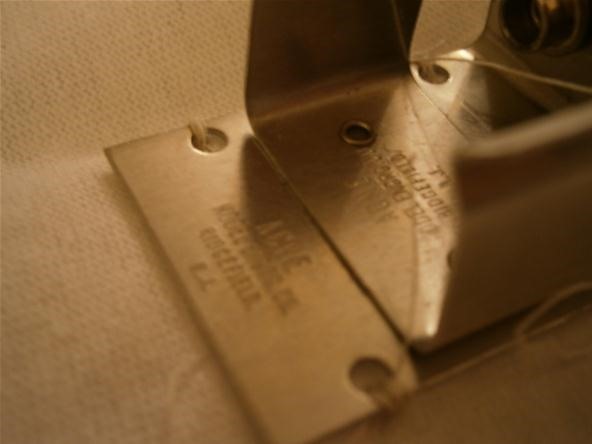
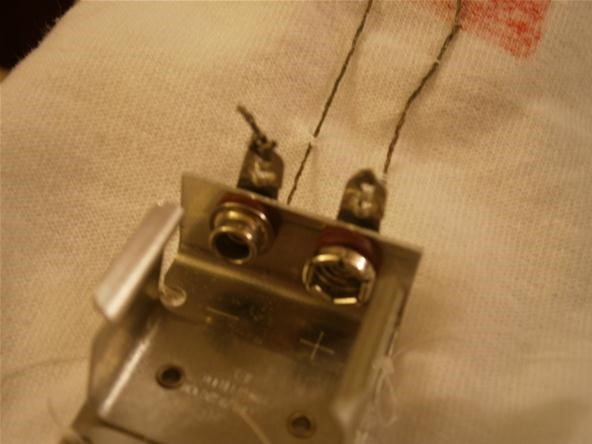
I used this metal 9 volt clip because it has lots of holes for mounting it to the fabric. Coin cell batteries work even better for soft circuit projects because of their small size. Special battery holders and connectors can be found here.
It is best to use thread the same color as your background fabric when making non-electrical connections.
Below, the battery clip is sewn onto the fabric.
Step 3 Prepare Components
As with the battery clips, there are specially designed components that make soft circuits easier. We will be using regular through-hole components to make it easier to get started. To use a regular component like the LED, splay out the leads in opposite directions.
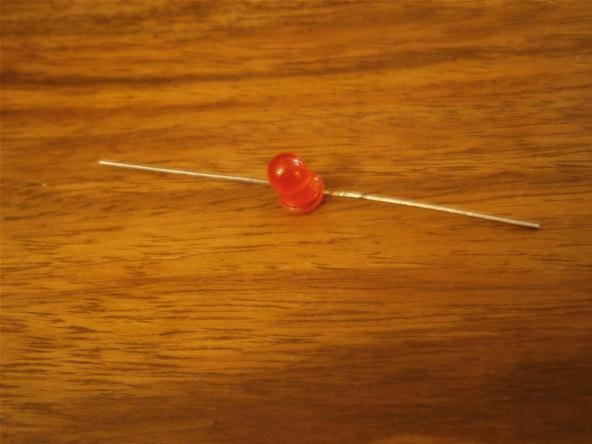
Use pliers to bend the straight leads into circles.
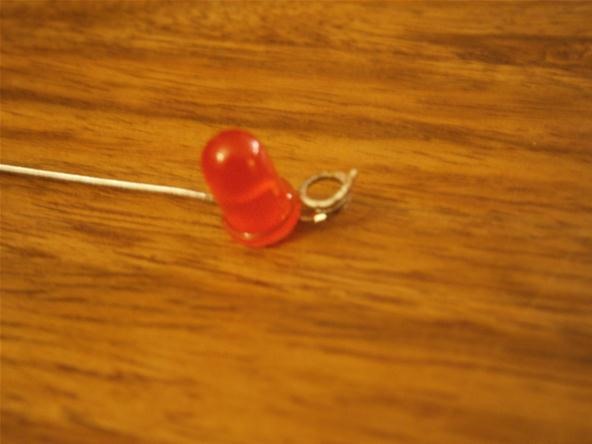
After the legs are curled, you can still tell the polarity of the LED by the plastic shell. The negative side of the LED has a flat plastic surface as shown below on the right.
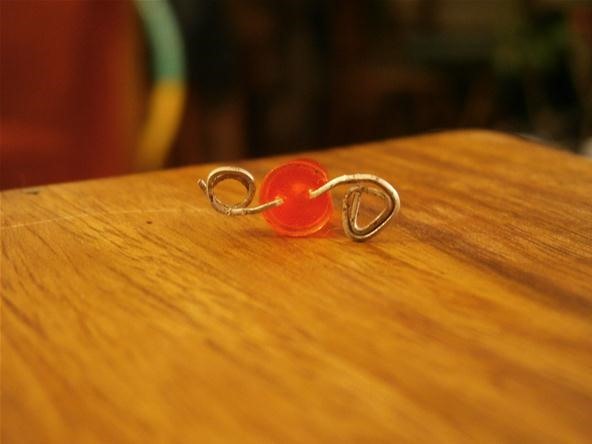
The rings help anchor the LED to the fabric while providing a large contact surface for the conductive thread.
Step 4 Sew
Conductive thread is thicker than normal threads. Be sure the thread can pass through the eye of the needle you are using.
Begin by sewing (or tying in my case) the end of your thread to the battery terminals. Sew a line of thread from the positive terminal of the battery to the positive lead of the LED. Try to minimize the amount of thread showing on the front of the garment.
If there is a pattern on your fabric, you can stitch along the lines to hide the thread better.
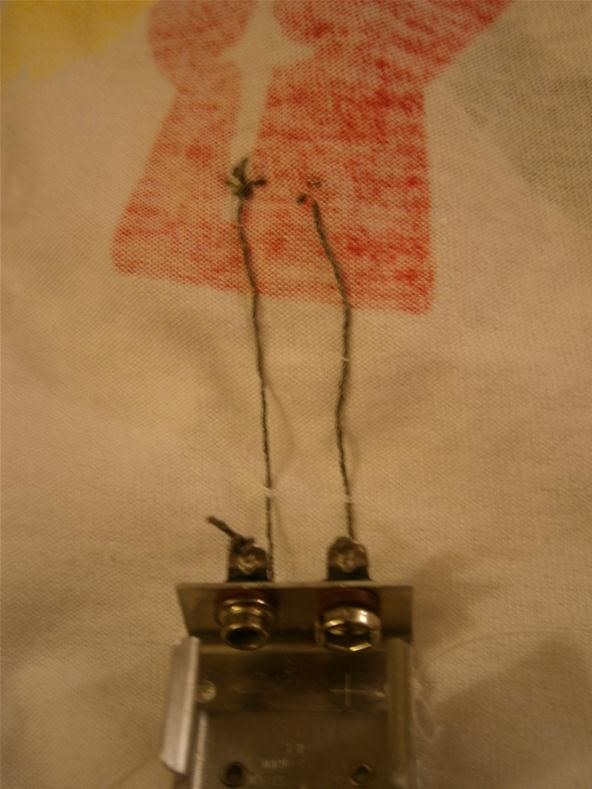
Be sure to place a 100 ohm resistor between the negative LED lead and the negative battery terminal. The thread is an imperfect conductor. Check the product information on yours to see how much resistance per foot your thread has. If you have no resistor, you can always sew a long strand of thread in a compact zigzag pattern to substitute as a resistor and protect the LED from burning out.
Step 5 Plug It In
Place the battery in the clip and watch the LED light up! If you did not include a resistor, the LED will glow for a few seconds and give off lots of heat before finally burning out. If your LED stays cool and bright, you did it!
Now to make many many lights dance to the music like szmoon:
To make a suit like the Empire's army apparel, you can replace the alkaline 9 volt battery with a rechargeable one. Sew some thread onto two button snaps. Solder the corresponding button snaps to the contacts on a solar panel or power plug. Now you are ready to charge your clothes wherever you are lay siege upon.
If you are going to experiment with higher voltage stuff, do not put it directly onto your body! There are also ways of embroidering the thread to effectively insulate them as rubber would do in a normal wire. In any case, never plug any of your clothing into the wall.
This project is very simple and I cannot wait to see how you in the community use the basics provided here to light up your kites on dark nights and hats in dim hallways, or radio tag your friend's coat. Share your thoughts in the forum and post your own soft circuit projects to the community corkboard. We love to hear from you!
Main photo by Gawker
Just updated your iPhone? You'll find new emoji, enhanced security, podcast transcripts, Apple Cash virtual numbers, and other useful features. There are even new additions hidden within Safari. Find out what's new and changed on your iPhone with the iOS 17.4 update.


5 Comments
this would be good for mountain climbers whose vitals got below a certain point and if a mini gps was attached as well!
Cool idea Alex!
he that's very useful, specially if you find a way to use static in clothes to charge someting like your phone
That's a cool idea! You'd have to make sure it didn't zap your phone.
ummm i'll work on that
Share Your Thoughts