

If you are a pet owner, going on vacation can be stressful. Usually, you need a friend or neighbor to come over everyday and feed your pets. However, by enslaving robots you can keep your pet happy and enjoy a stress-free holiday.
Today, we make an automatic pet feeder from cardboard, a glue stick, and an Arduino.
Materials
- Glue stick
- Cardboard
- Scissors
- Hot glue
- Continuous rotation servo
- Arduino board
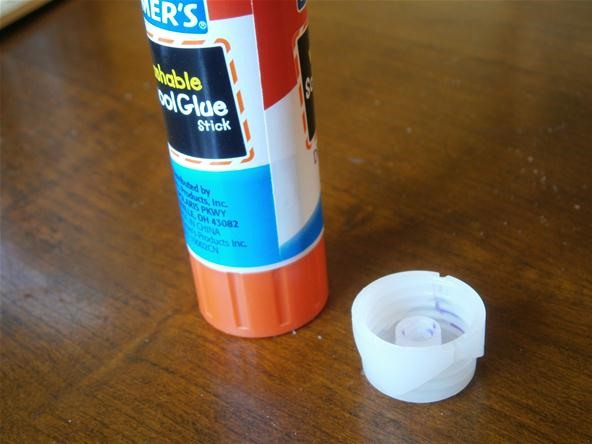
Step 1 Empty Out the Glue Stick
We will be using the glue stick case as a linear actuator. To attach it to our servo, we must first get rid of the glue.
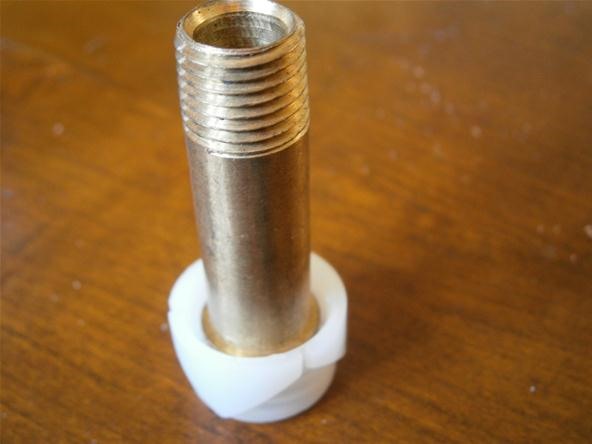
Step 2 Make Actuator Arm
The rotational motion exerted at the bottom of a glue stick causes a stick of glue to travel up a spiral rod and out the end of the cap. We are replacing the glue with a brass tube to make it sturdy. Hot glue the tube into the small plastic cup from inside the glue stick.
The brass tube fits easily back into the glue stick.
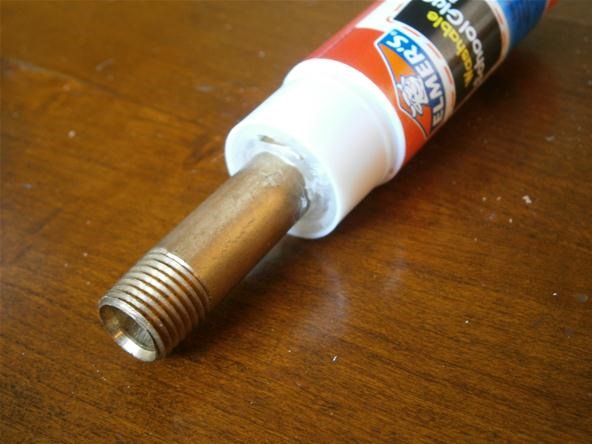
Our arm has a throw of 1½ inches.
Make four notches in the handle of the glue stick and fit them over the servo horn. Use hot glue to secure the connection. It is important to make sure the glue dries while the servo and glue stick are perfectly aligned. This will prevent wobbling.
The total length of the linear actuator is 7 inches.
Step 3 Attach Arm to Base
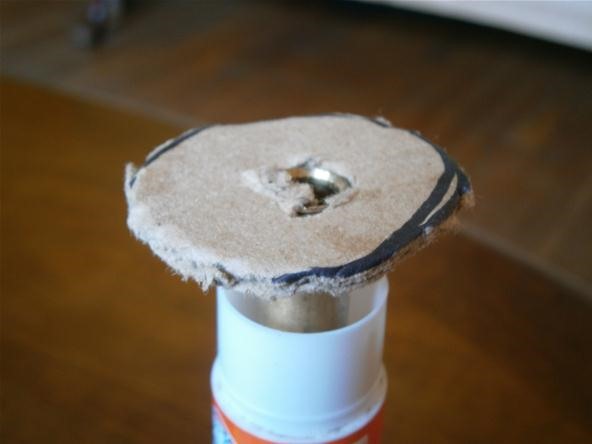
There are many methods you can use to attach the moving platform to the actuator arm. I hot glued a circle of cardboard to the arm and then glued the platform onto the circle.
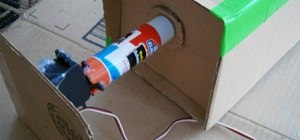
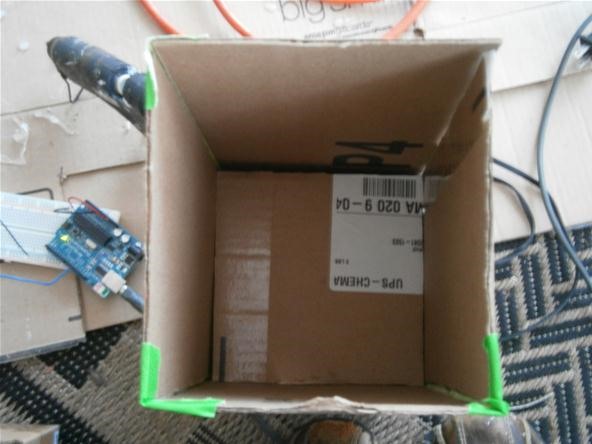
Make a box slightly larger than your platform to allow the platform to slide inside the box. Glue the bottom of the servo to a cardboard base.
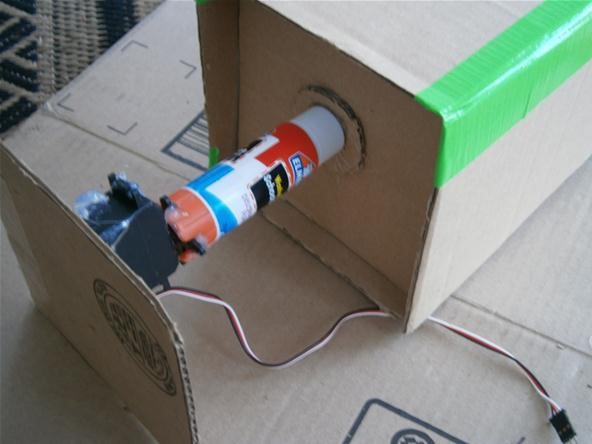
Push the actuator arm into the box and seal the bottom with hot glue or tape.
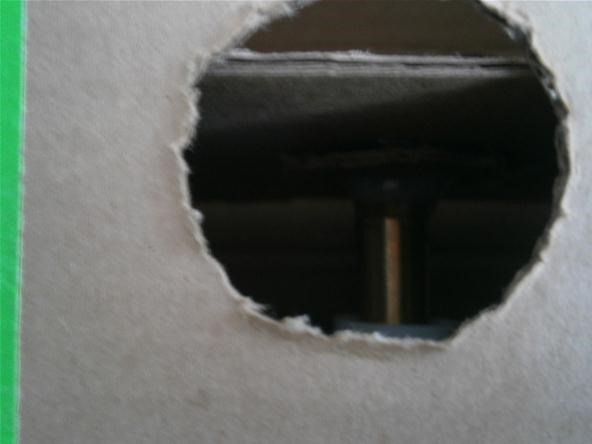
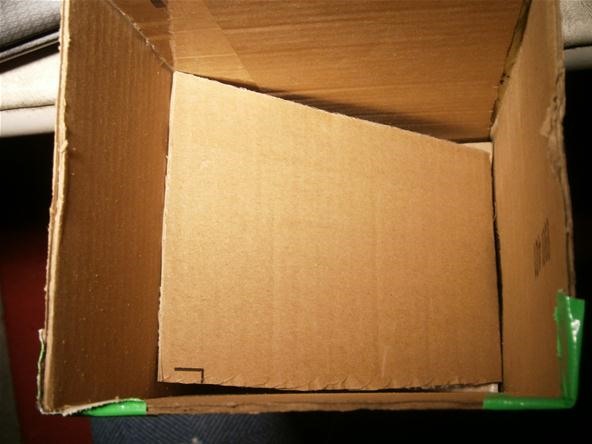
Cut a hole in one side of the box. The top and bottom of the hole should be at the low and high points of the actuator platform. Below, the platform is at the top of its range of motion.
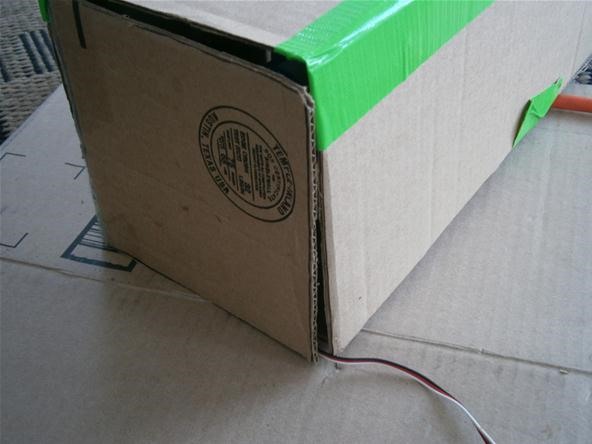
When the actuator is all the way up, the top of the box is sealed and ready to be filled with pet food.
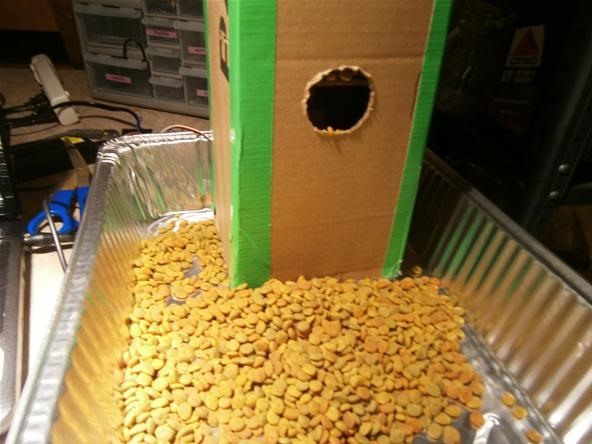
I experimented with inclines to help push the food toward the exit.
Below, you can see food peaking out from the top of the platform. The platform will lower every 12 hours allowing food to spill out.
Step 4 Circuit
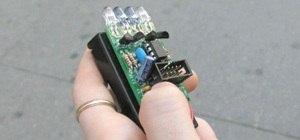
Our circuit is very simple. Connect the red servo wire to 5 volts on the Arduino. Connect the black wire to Arduino ground. Connect the white wire to Arduino pin 10. That's it!

Step 5 Program
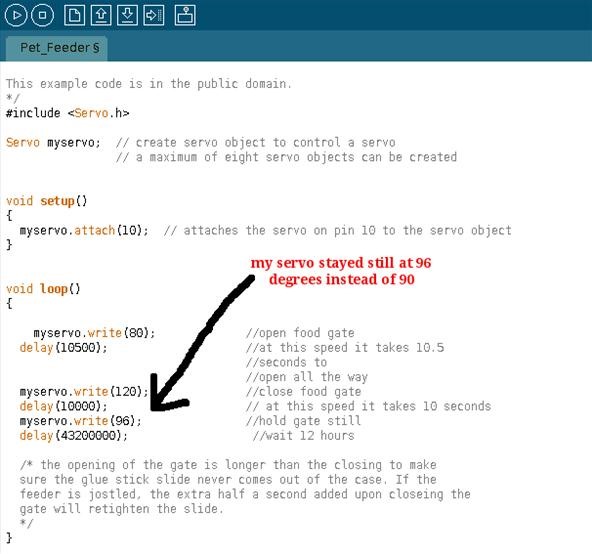
All our code does is lower and raise the platform every 12 hours. To do this, we need to tell the servo what direction to spin and for how long. This will vary depending on your servo and glue stick.
Continuous rotation servos are programmed differently from regular servos. Instead of being set to a specific angle like 45 degrees, continuous rotation servos are set to a direction at a specific speed. When set to 90 degrees, a continuous rotation servo should stay still. When set to above 90 degrees, the servo will turn right. Set below 90, the servo will turn left. The farther away from 90 degrees, the faster the servo spins.
You can download the code here.
Step 6 Feed!
Time to set up your feeder and hope it doesn't scare your pets! My cat jumped on the opportunity for extra treats when I tested it.
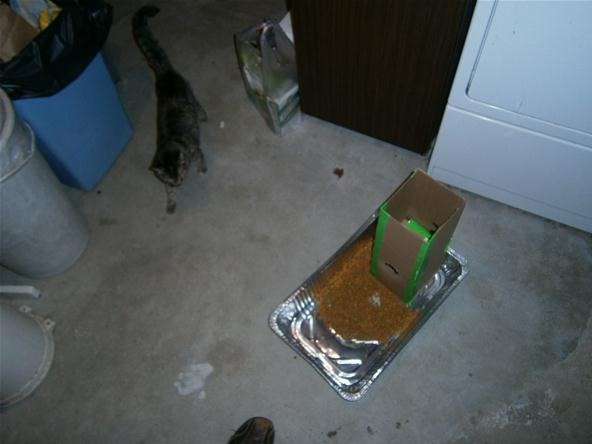
In a final version, it is a good idea to seal the top somehow to prevent industrious food thieving cats.
There are a bunch of ways you could use this linear actuator to serve pet food. You could even make a vending machine set up! Let us know how your projects turn out by posting them on the corkboard. Feel free to post adorable pictures of your pets. Any questions can be asked in the forum, by messaging me, or by commenting below.
Just updated your iPhone? You'll find new emoji, enhanced security, podcast transcripts, Apple Cash virtual numbers, and other useful features. There are even new additions hidden within Safari. Find out what's new and changed on your iPhone with the iOS 17.4 update.


5 Comments
Wow, Arduino code looks a lot like Java. :P This is a really genius solution to translate rotational force (relatively easy to produce with motors) into lateral force (which would require gears or another component) cheaply. Of course there are limitations (in this case the length of the arm) but for what is needed it works great.
Thanks Alex!
Thats helpful
My cats would rip that feeder to shreds if it takes them too long to get some food. Great idea to use a pritt though!
I am extremely underwhelmed by this project. The cat food will just spill out with no precise measuring. If you have multiple cats, then it is first come gets it all. And of course because it is cardboard, a hungry cat or dog will just chew through it.
Still in terms of simple ideas it is inspiring. Maybe I can combine this with several other ideas to get a good pet feeder for multiple pets.
Share Your Thoughts