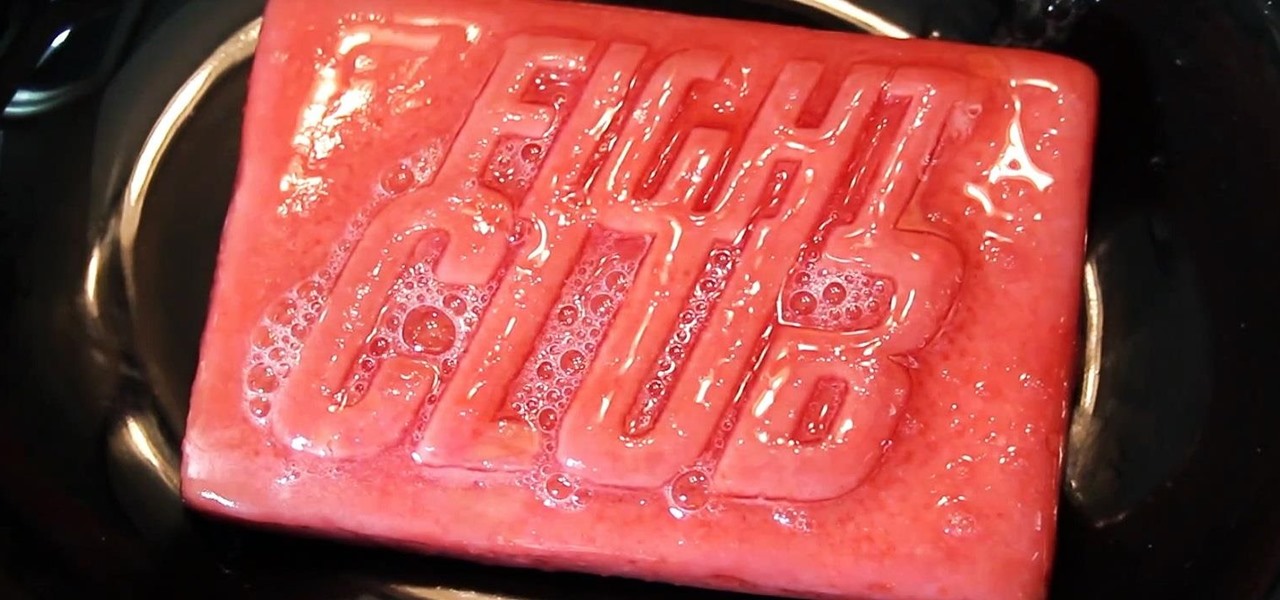

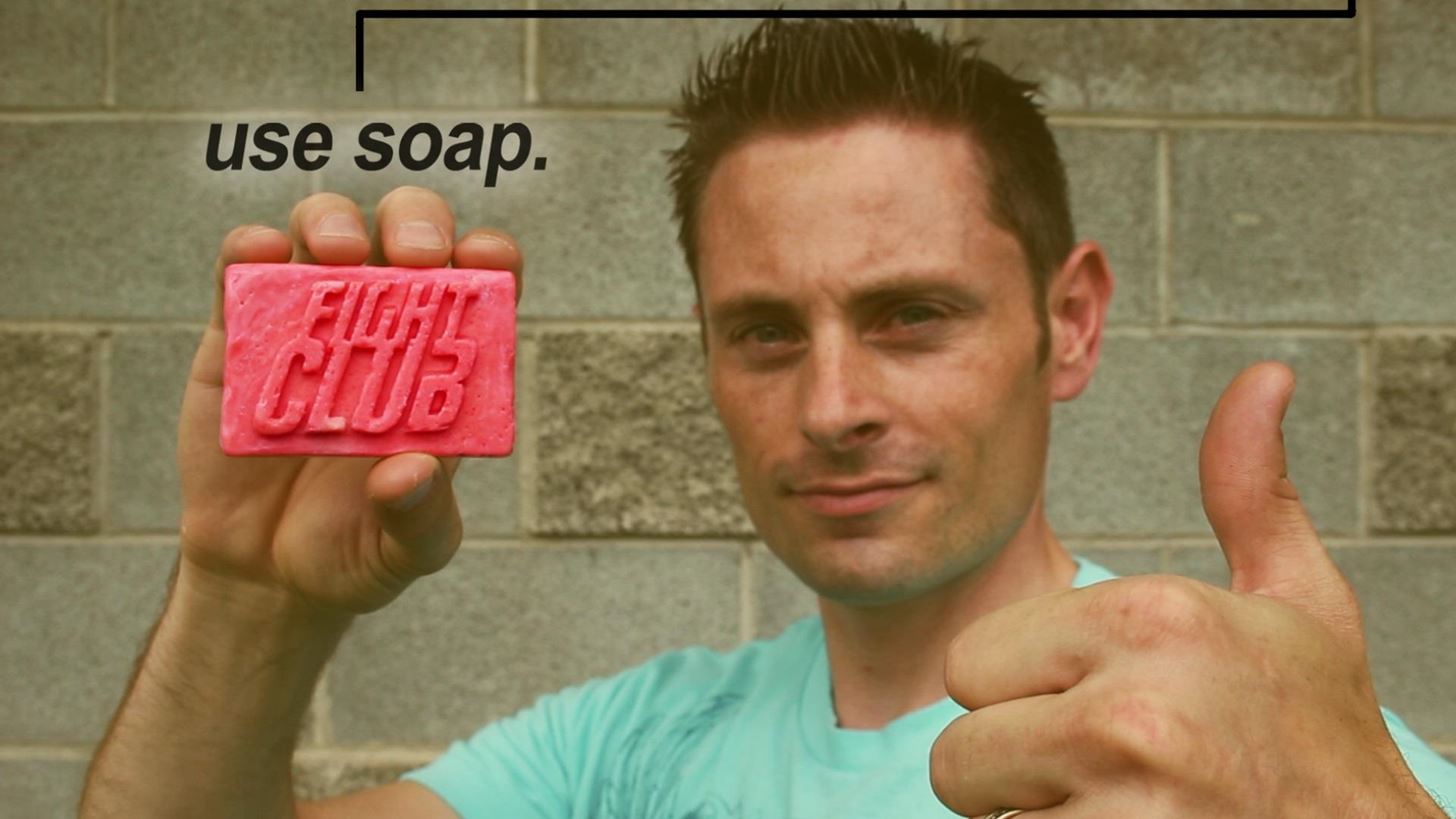
To make soap, you need fat, and if you've seen Fight Club, you're probably well aware of where soapmaker Tyler Durden got his fat from. Liposuction clinics. If you're not willing to go that far for a perfect bar of homemade soap, you can just use some drain cleaner and America's favorite food instead—bacon!
WARNING!
Use of video content is at own risk. Sodium hydroxide (NaOH) is highly caustic, poisonous, and can cause serious damage to tissue and/or property. Lye should be approached with care and caution, ensuring all suggestions listed on the container are complied with, and handled with gloves or other protection. There are risks associated with these projects that require adult supervision.
Ingredients
For this project, I tried making traditional "lye" soap, which consists of two main ingredients—animal fats and lye (aka sodium hydroxide).

I practiced with rendering beef fat to extract "tallow," and after a few successful attempts at making soap, I wondered if it could be done with bacon fat instead.
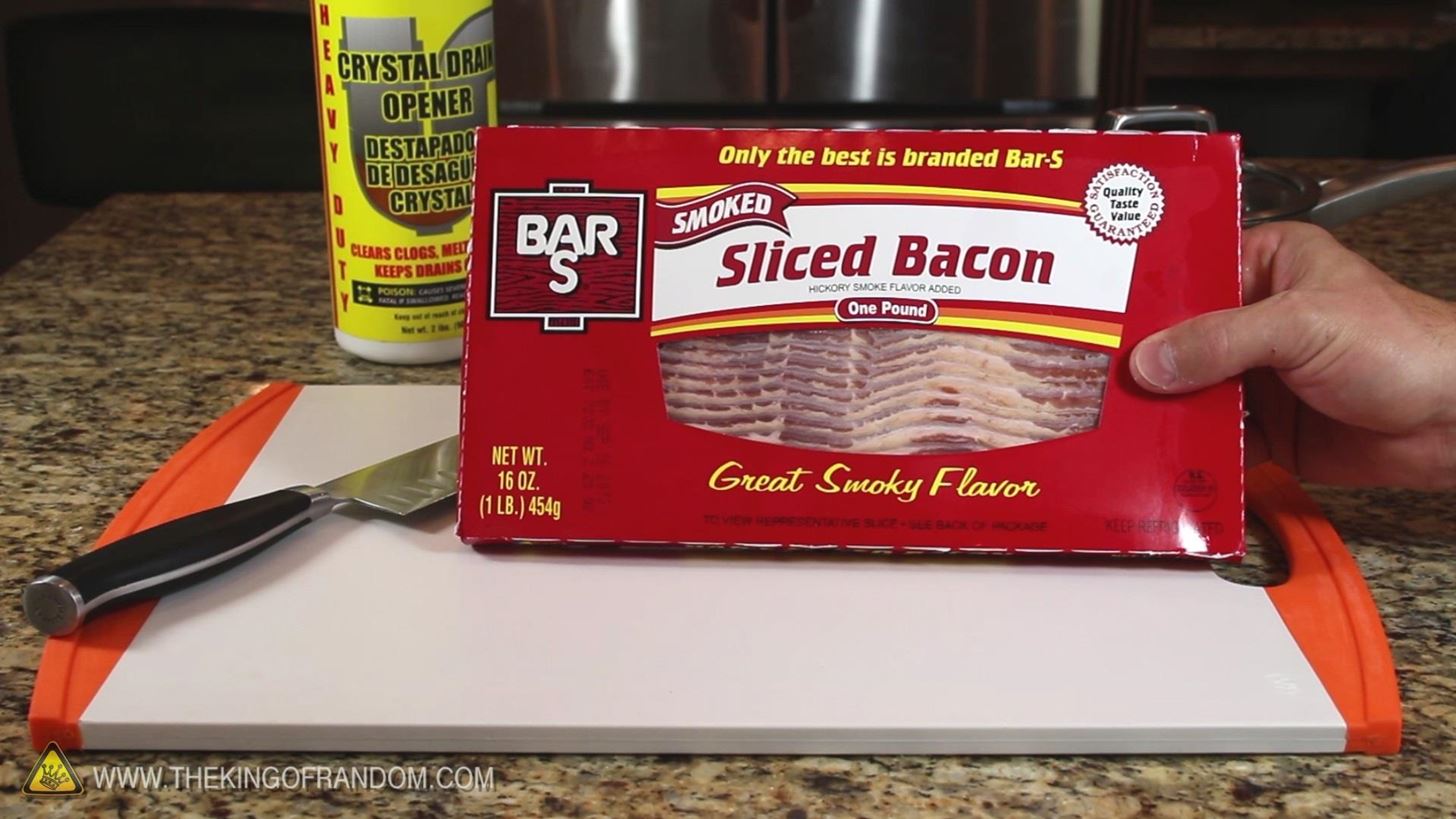
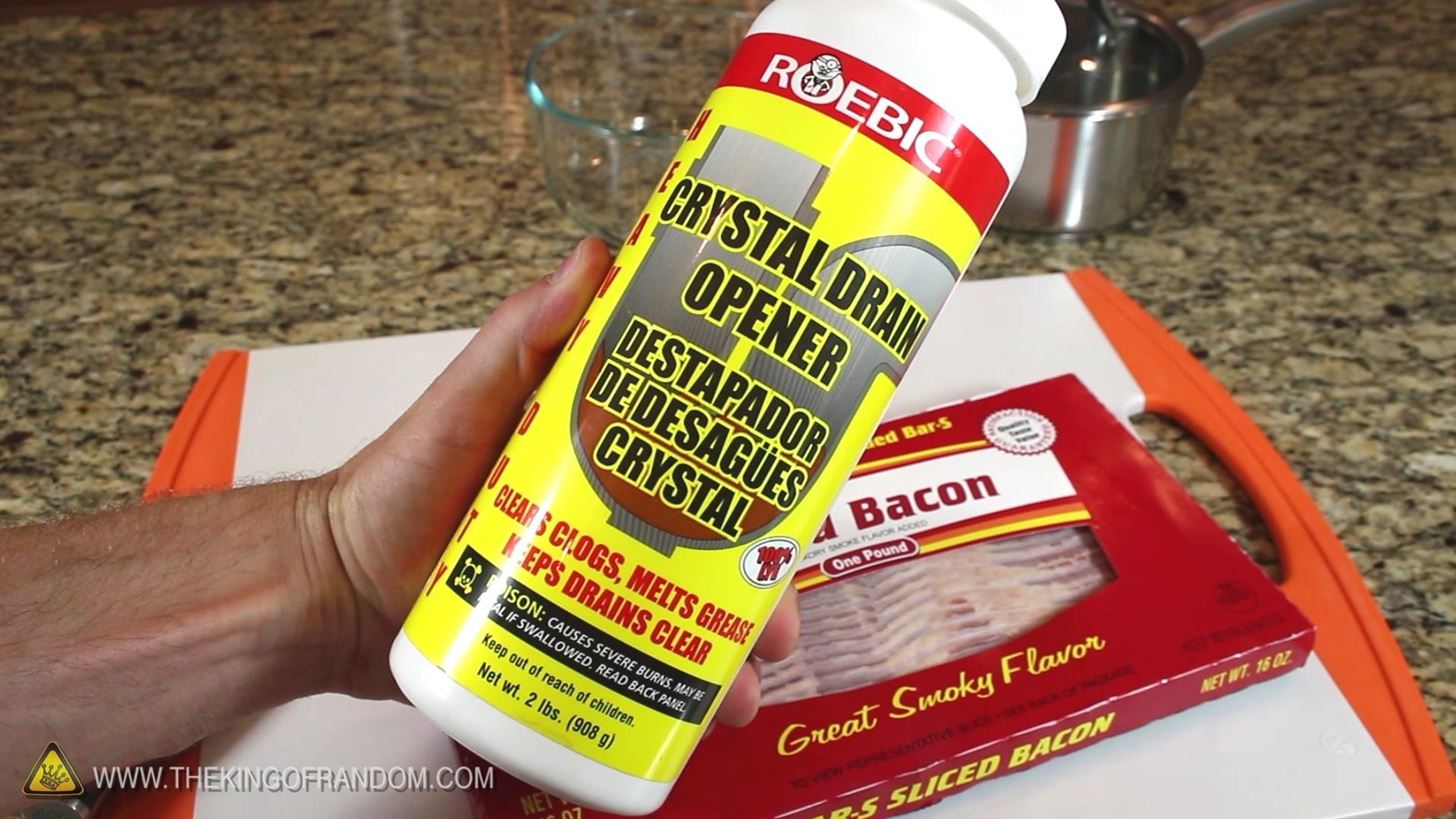
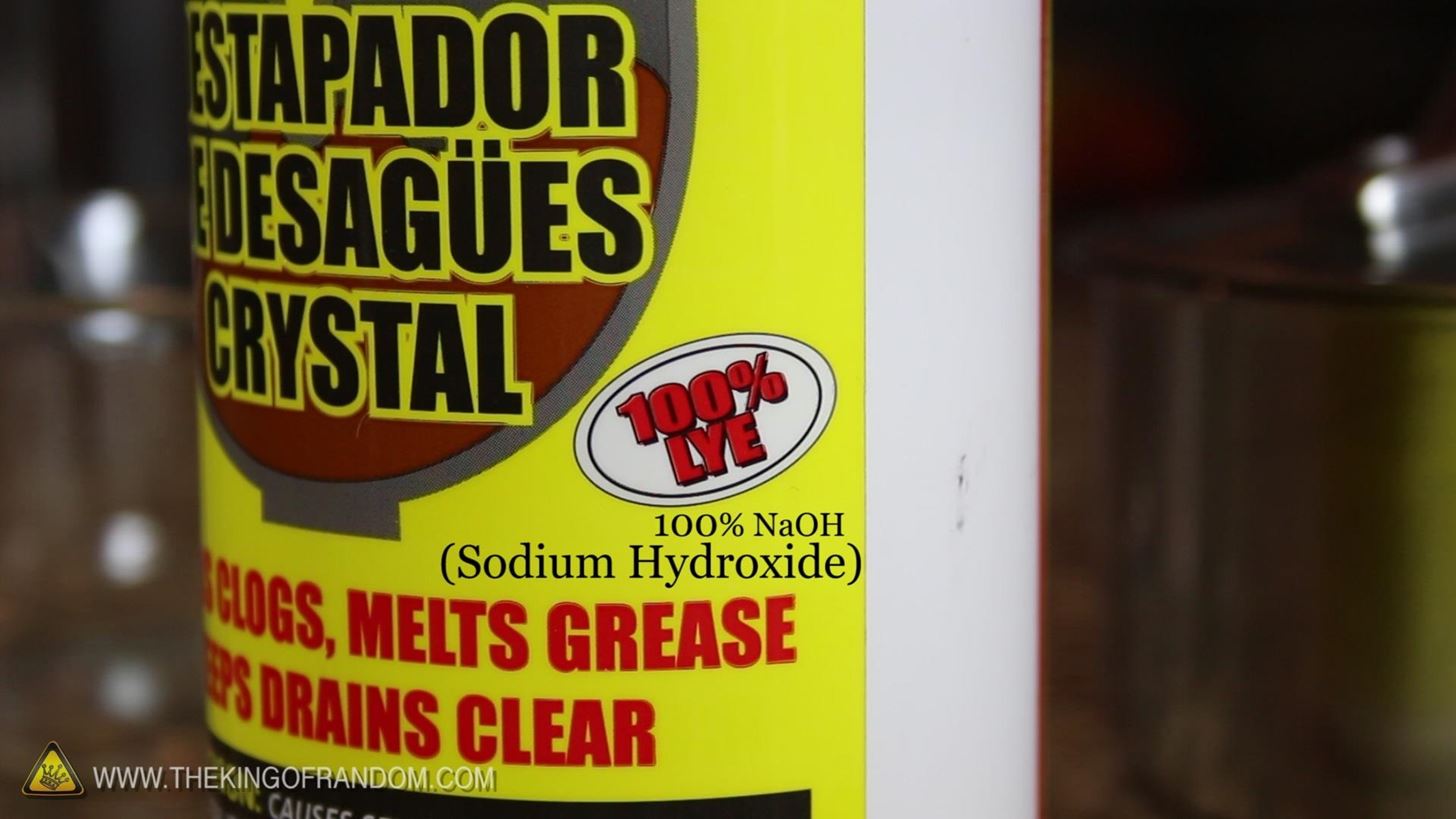
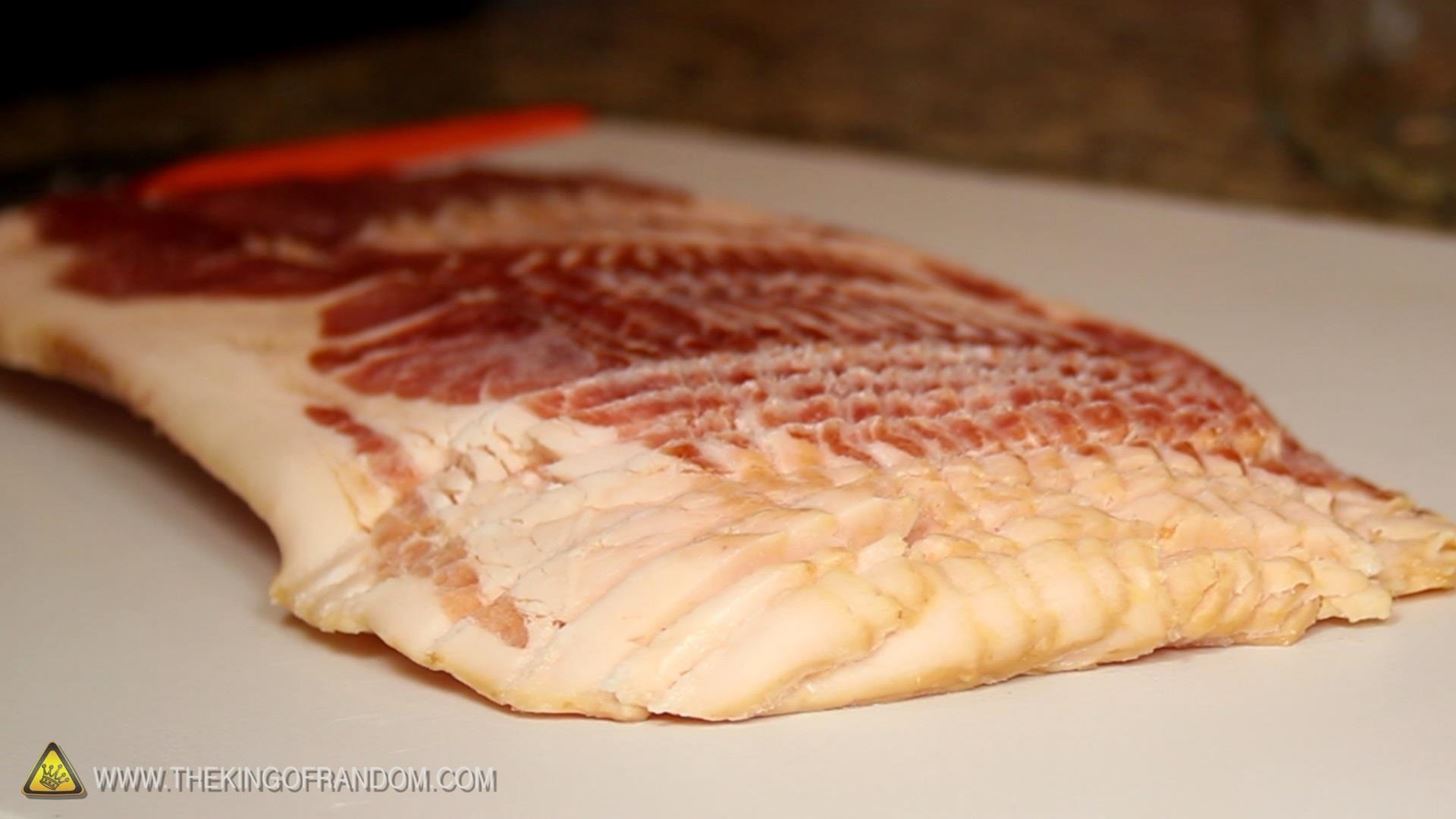
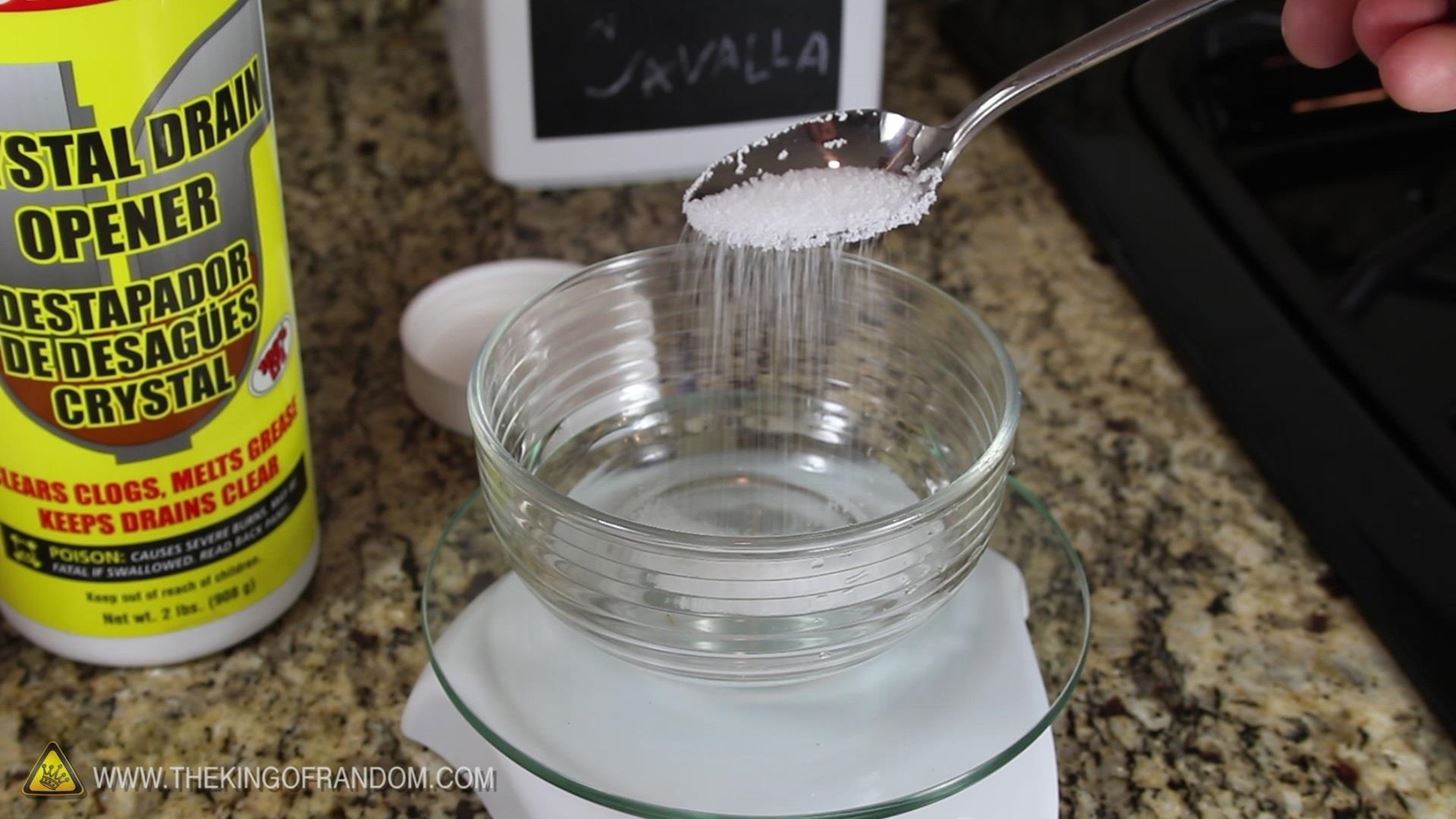
To give this project a bit of a twist, I tried using 1 pound of "American-style" bacon because it's very fatty, and some crystal drain opener marked as 100% lye. It's very important that this is 100% lye, and if there are any doubts, it shouldn't be used. The goal here is 100% sodium hydroxide, which this container is, according to the Material Safety Data Sheet (MSDS).
Step 1: Render the Bacon
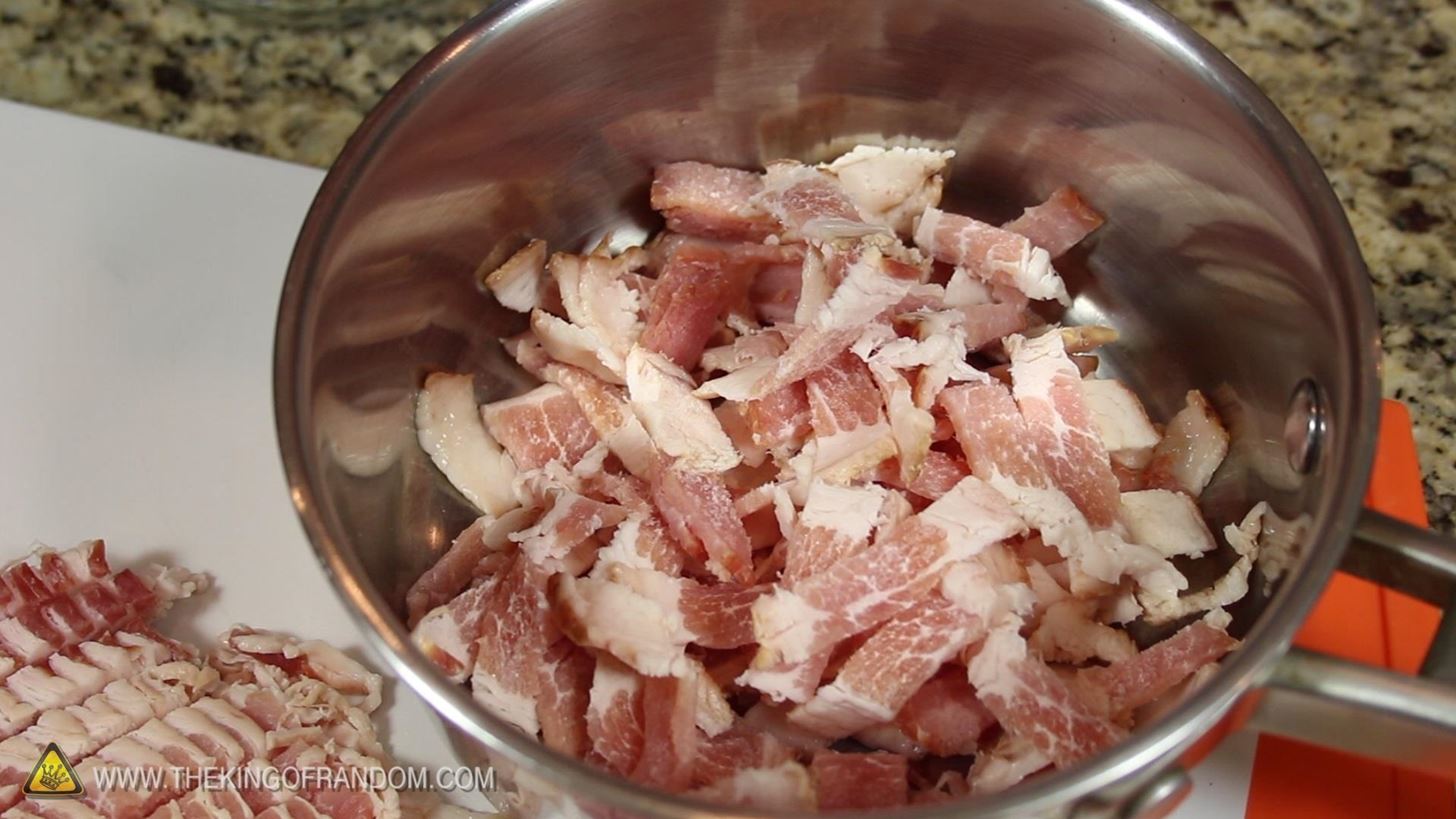
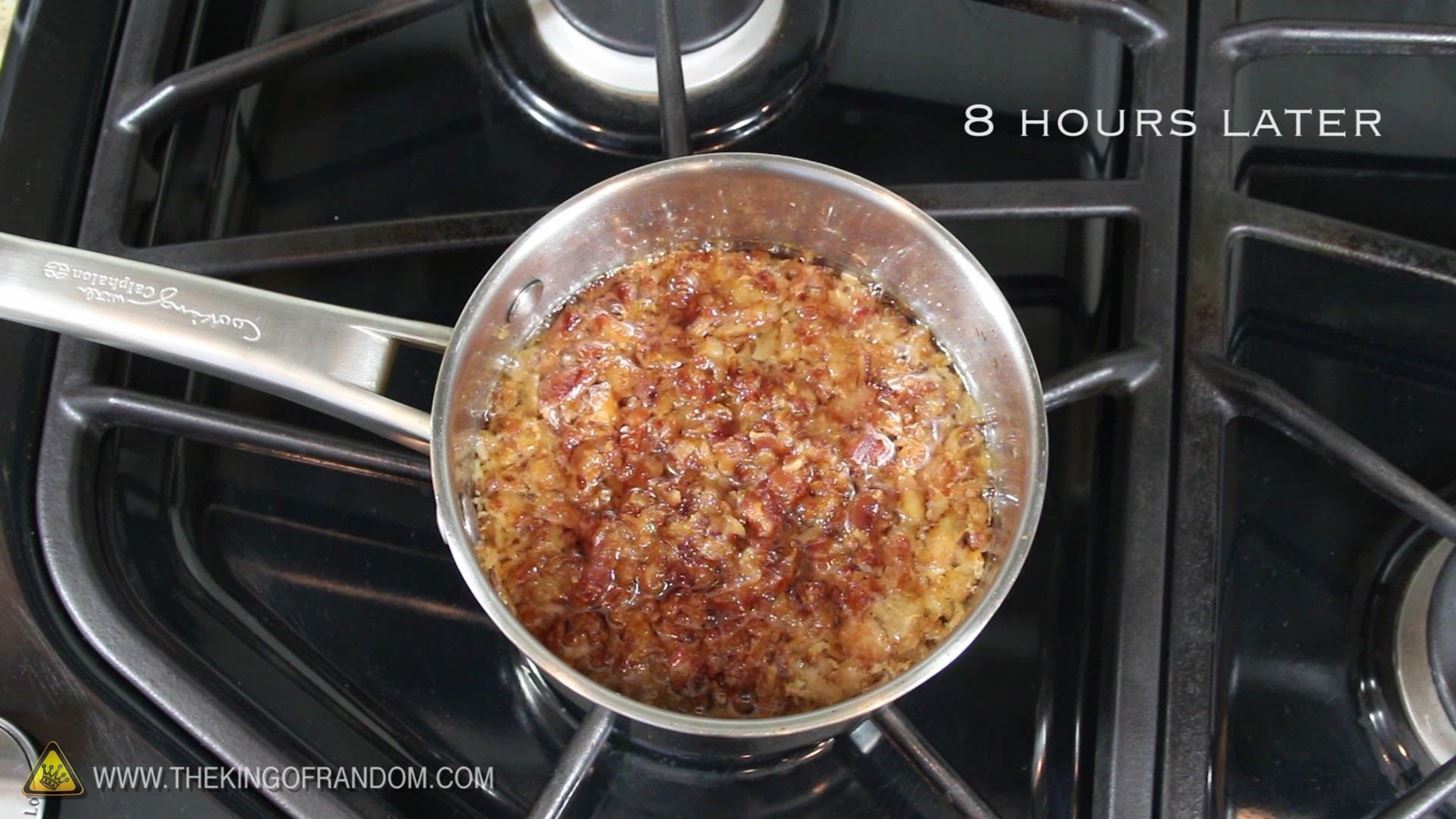
Bacon is salty and odorous, and to extract the pure fat, we need to render it. This is best achieved by cutting the bacon into very small pieces and placing in a pot with a lid on low heat.
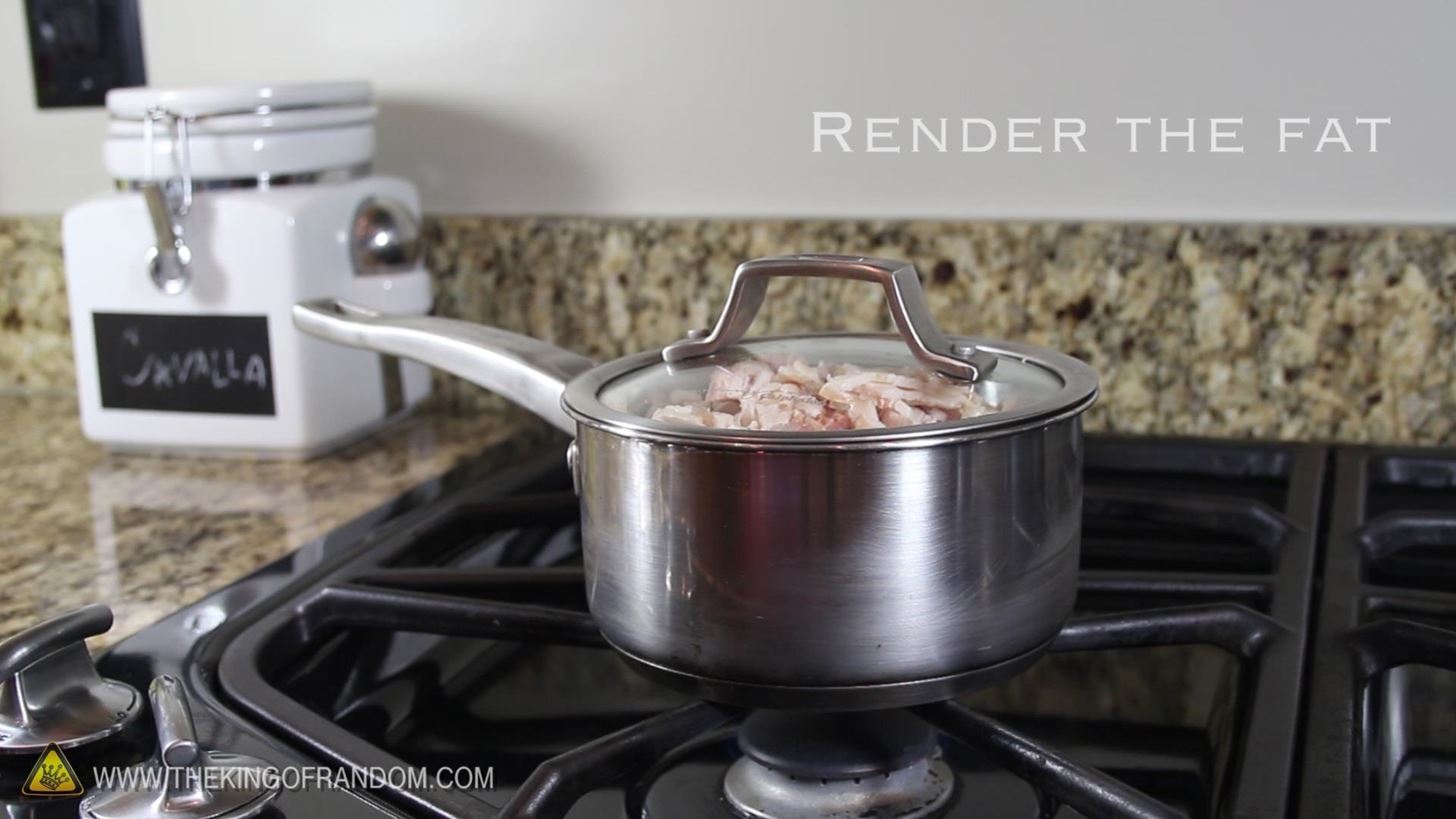
To get clean white fat, make sure you simmer on a very low heat. The lower the heat, the better. Higher temperatures will cause the fat to turn brown and retain some of the smell. Yes, it will take longer to extract the fat on low temps, but the quality will be worth it.
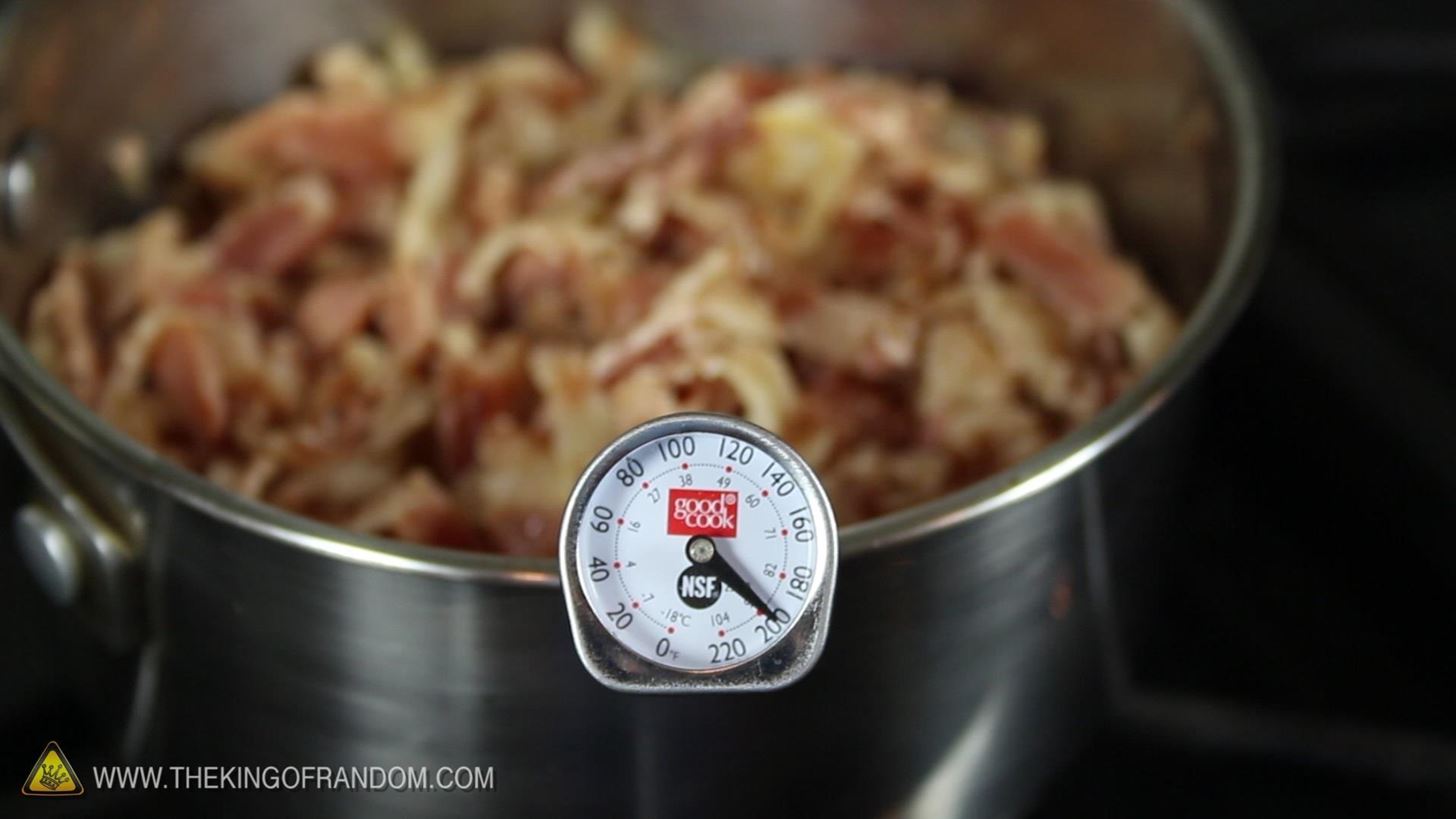
I found that a temperature of around 95°C (203°F) was enough to melt the fat and keep it nice and clean. After about 8 hours of simmering, the bacon should look cooked, and your house will smell delicious.
Step 2: Acquire the Fat
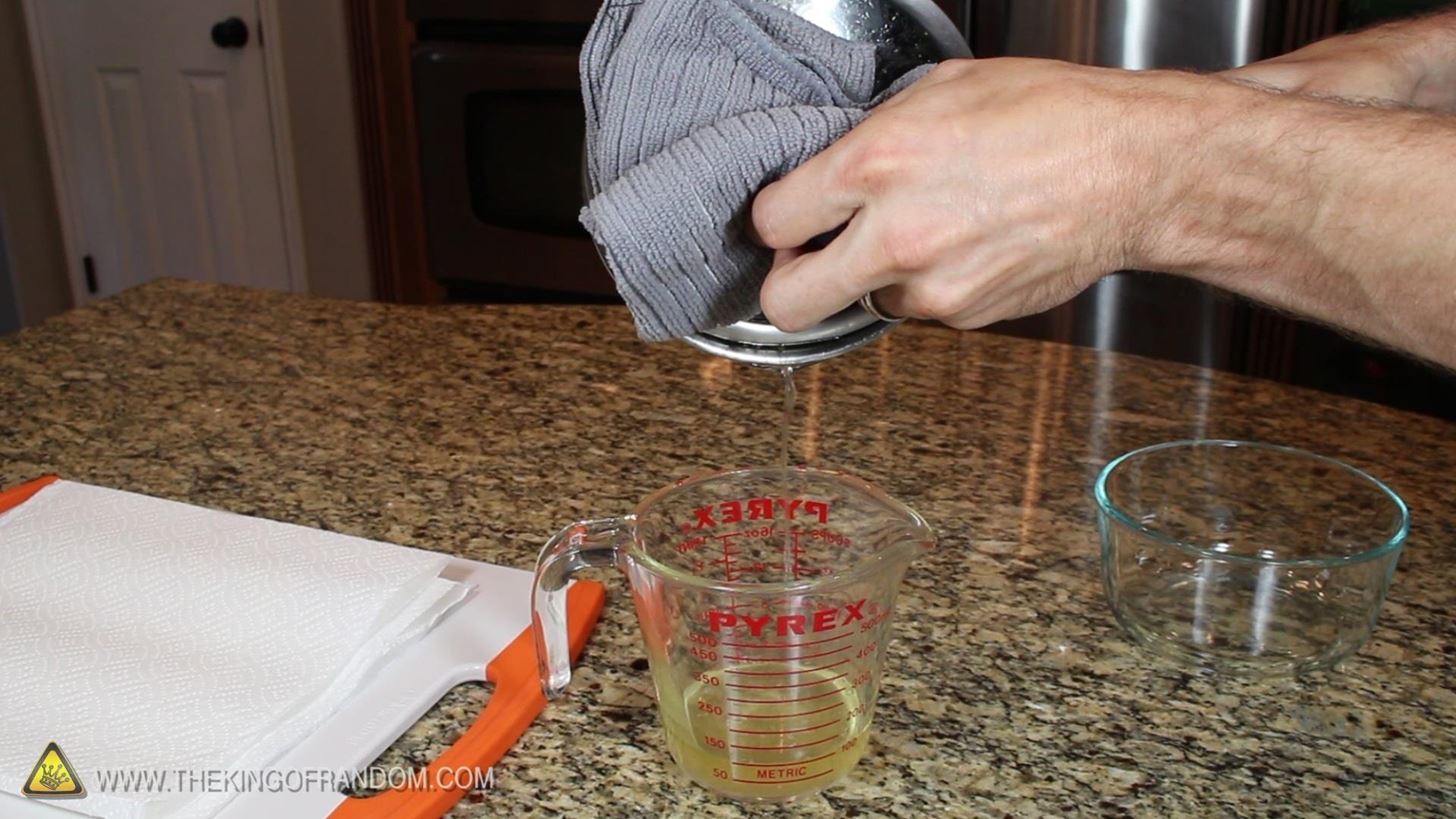
I used the lid as a strainer to pour the fat into a container, but this crude method does allow some impurities to pass through.
To "clarify" the fat, just pour a bit of water in the container, and watch the mixture separate into 2 different layers. The clarified fat floats on the top, while the water and impurities sink to the bottom.
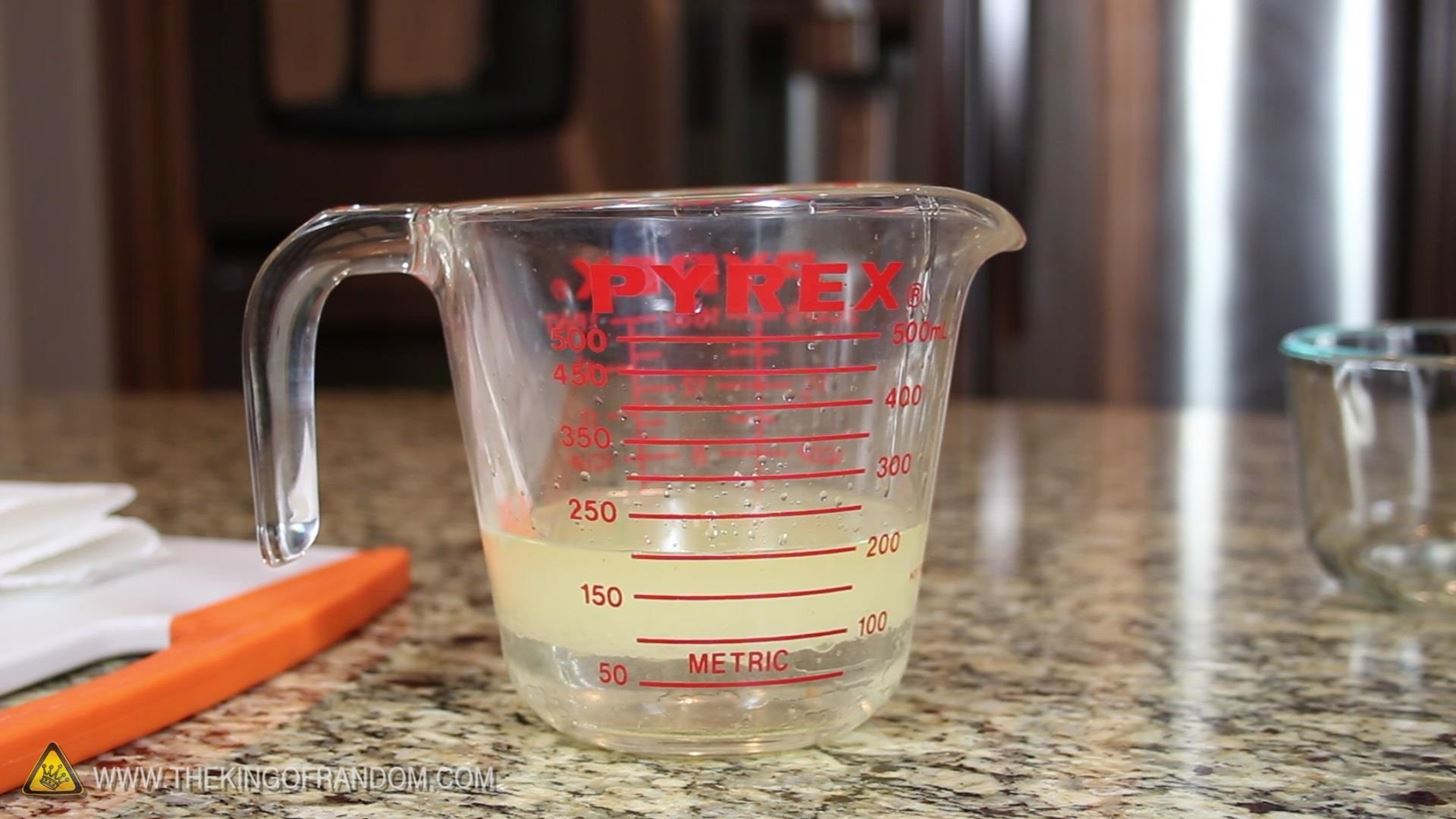
From here, it's easy to cool the mix in the fridge, and skim the fat from the top.
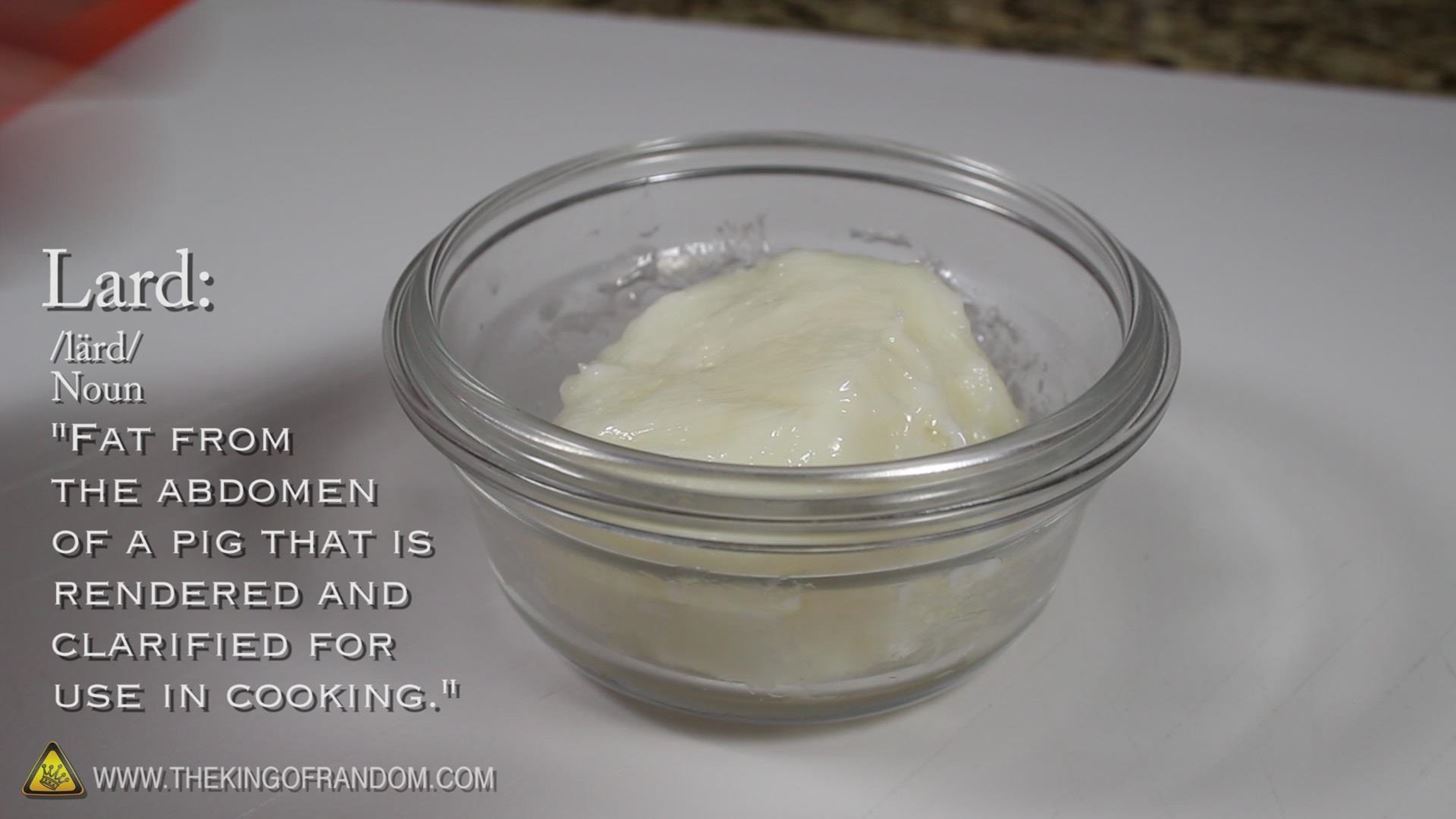
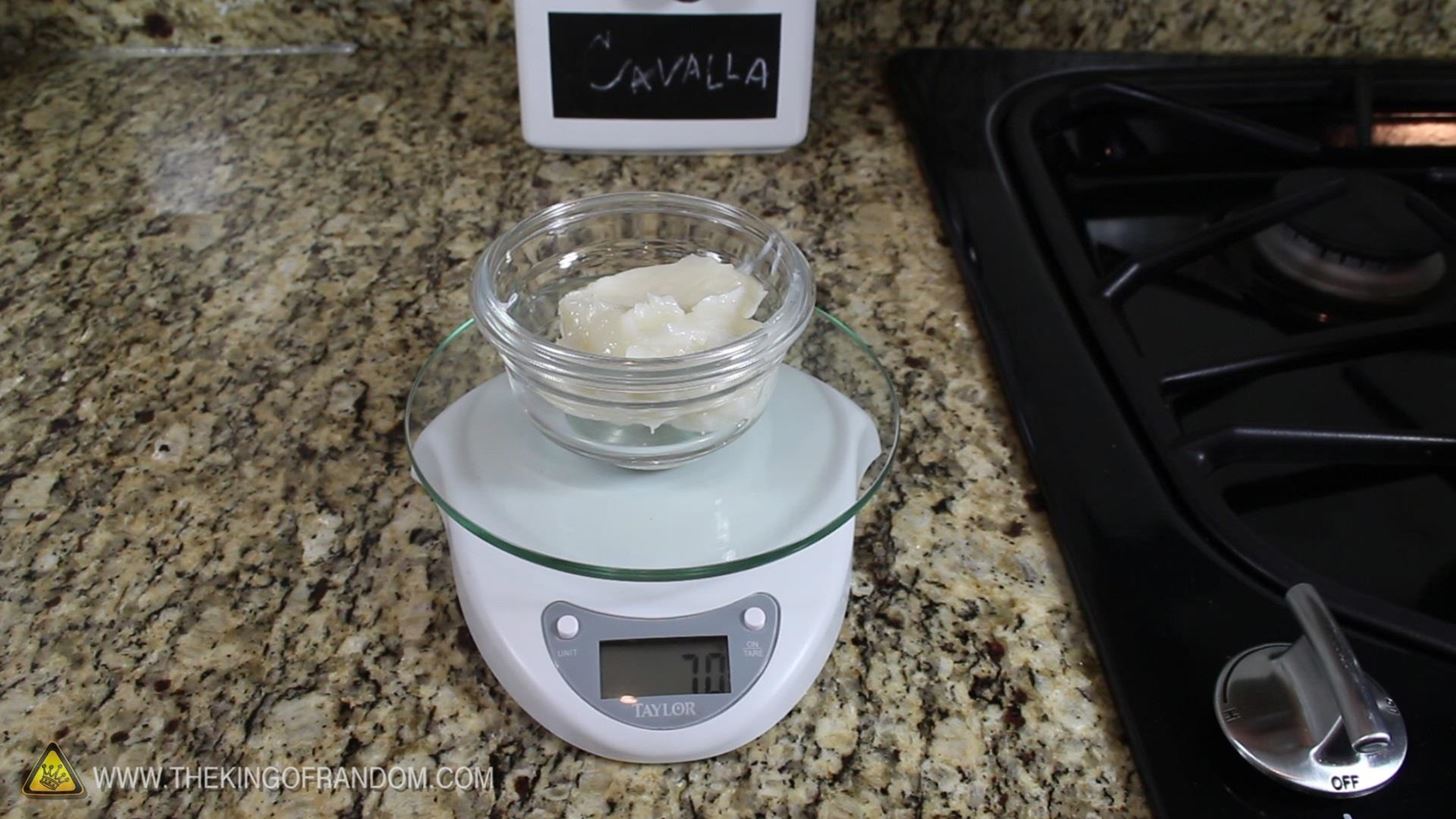
What you're left with is a beautiful, food grade, ball of lard!
From this pack of bacon, I recovered 70 grams of rendered and clarified lard. Perfect for a single bar of soap!
Step 3: Determine How Much You Need
To figure out the best recipe for traditional lye soap using pork lard, I visited soapcalc.net for use of their online soap making calculator.
For 70 grams of pork lard, the recipe called for 26 grams of distilled water, and 9 grams of sodium hydroxide.
Step 4: Start Simmering Your Soap Mixture
The pork lard went in a clean pot and started melting on low heat while the water and NaOH were mixed together.
Note: When working with sodium hydroxide, be mindful of all the risks and dangers associated with this chemical, because there are many!

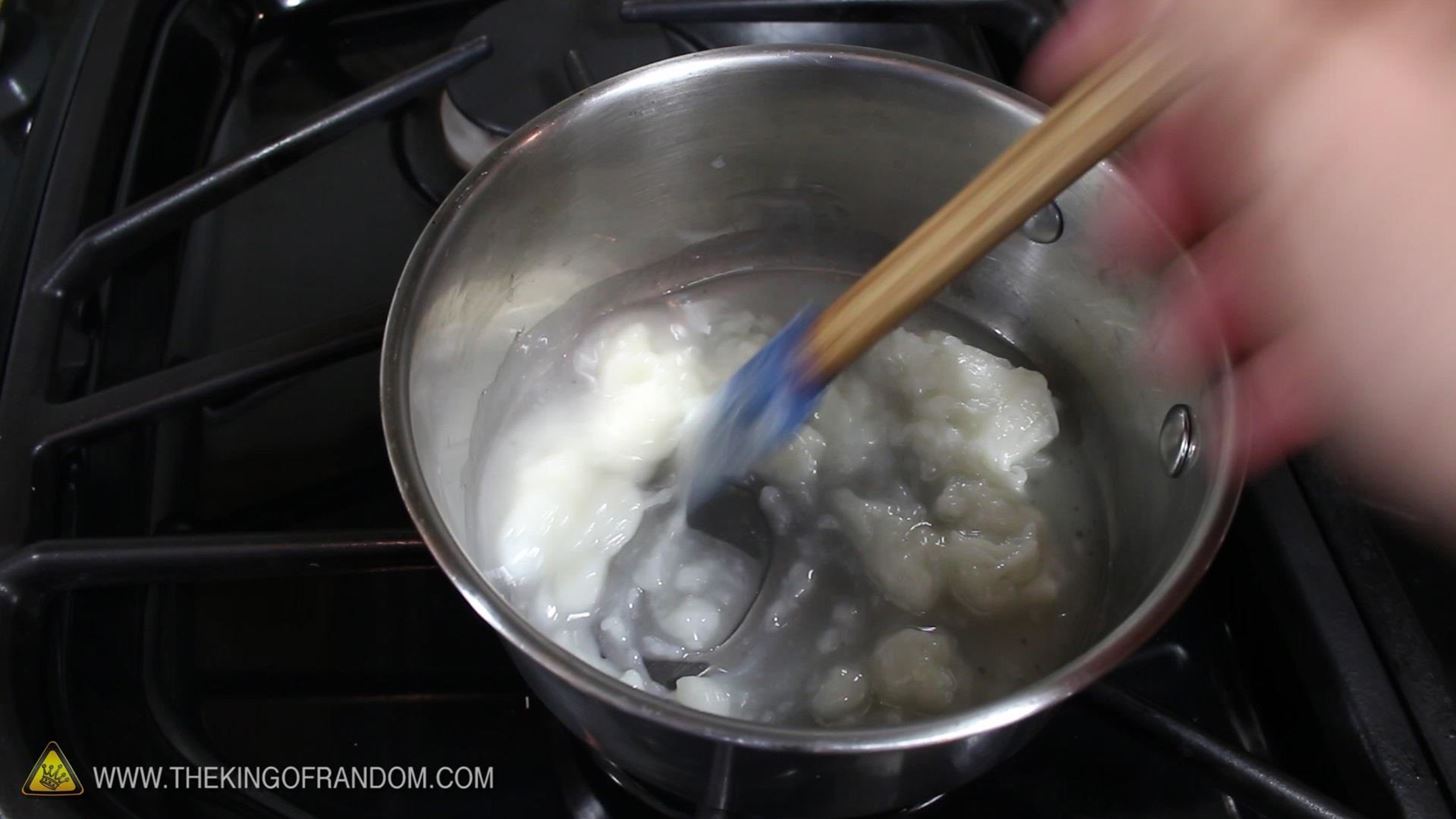
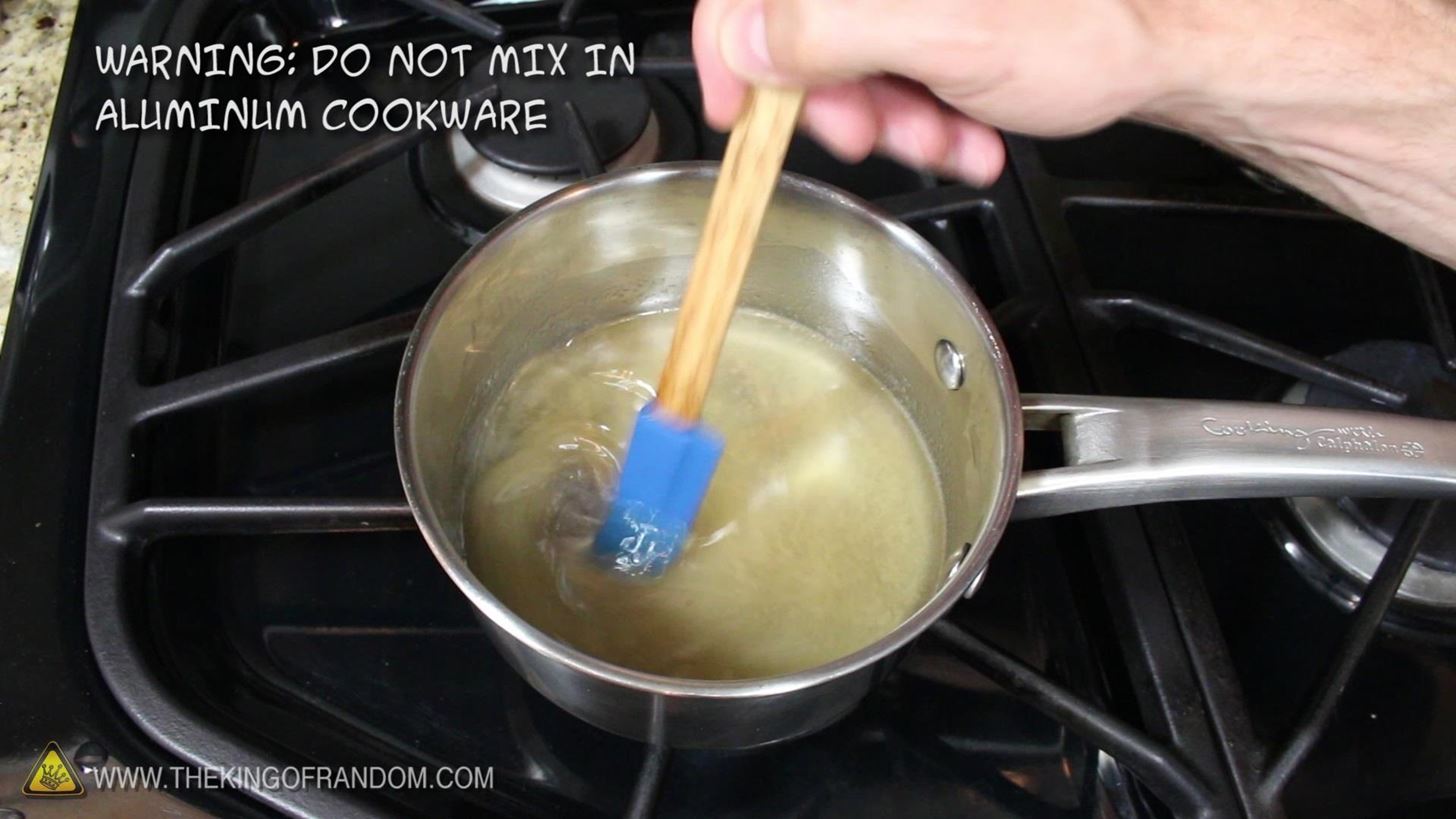
With the lard melted, the lye solution was carefully poured in and stirred constantly on low heat for 5 minutes, then left to sit for 5 minutes more.
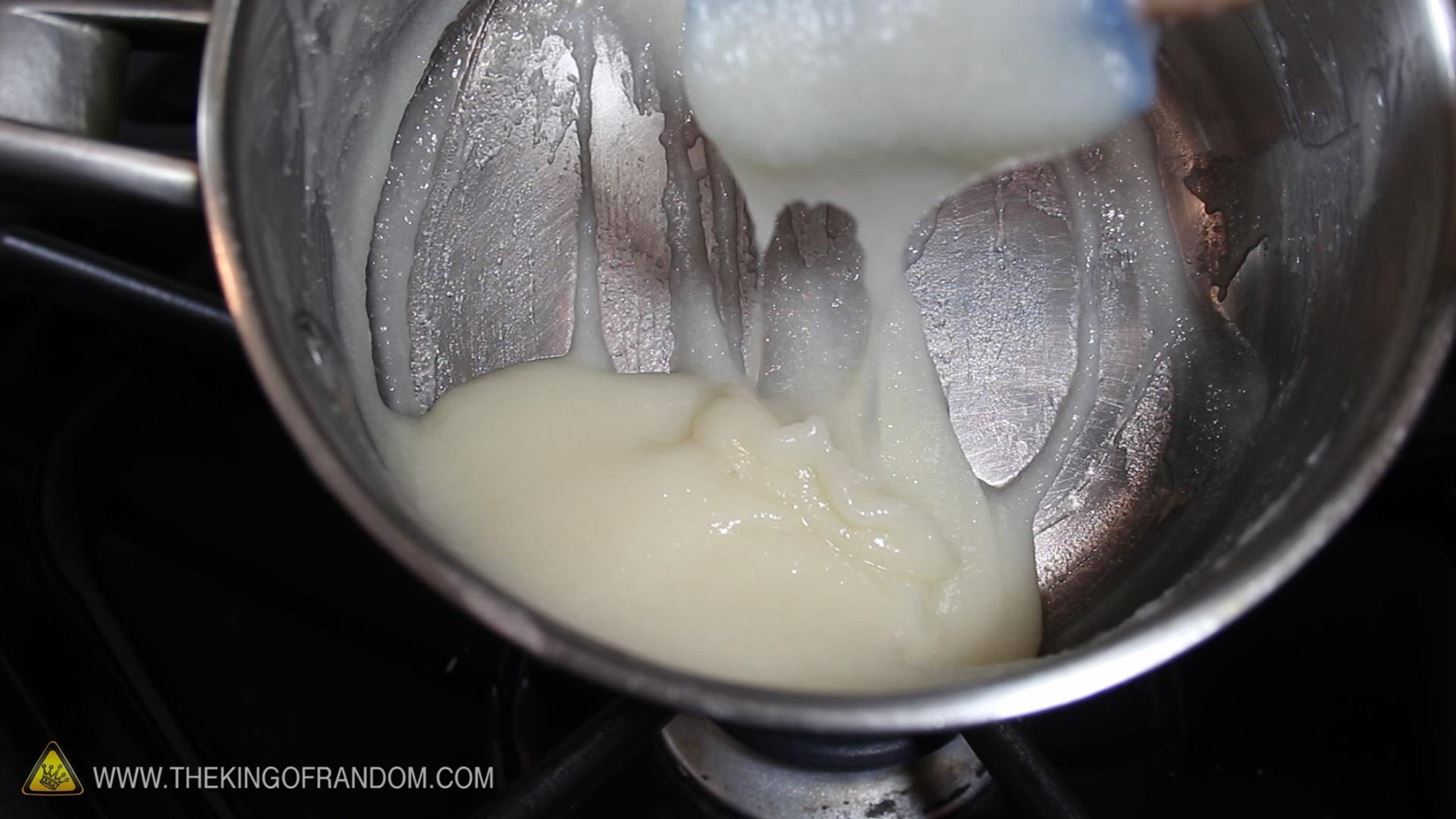
Every 5 minutes after that, I came back and stirred for 2 minutes, then let sit for another 5. This was repeated until the mixture had the consistency of vanilla pudding, and when dripped on itself, would leave blobs and ridges. This stage of the mix is called "trace."
Step 5: Add Your Colors & Smells
At the "trace" stage, aromas and colors could be added to make the bar a little more attractive, if desired. If the lard was rendered properly, it should be nice and white, and there should hardly be any smell of bacon at all.
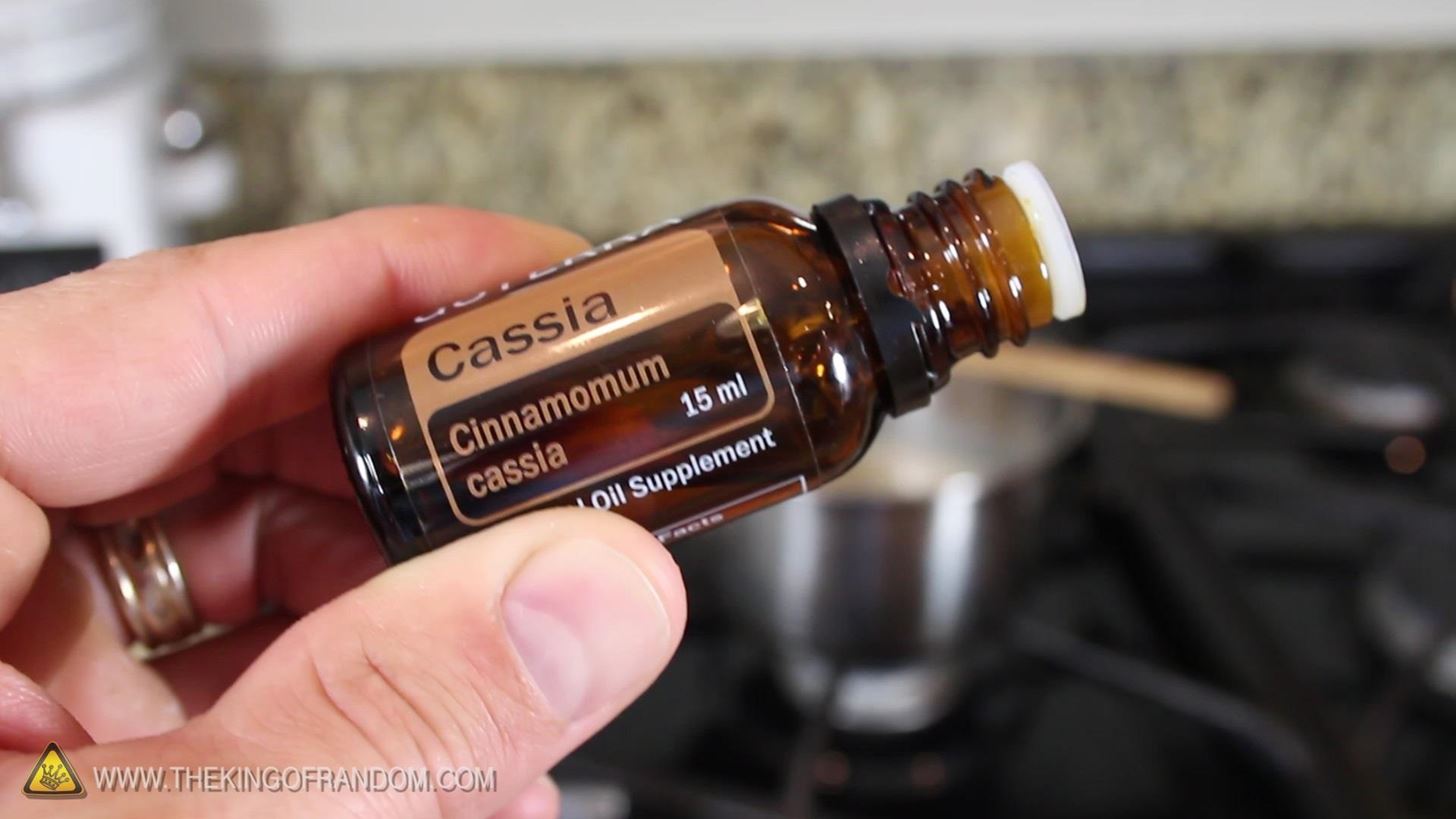
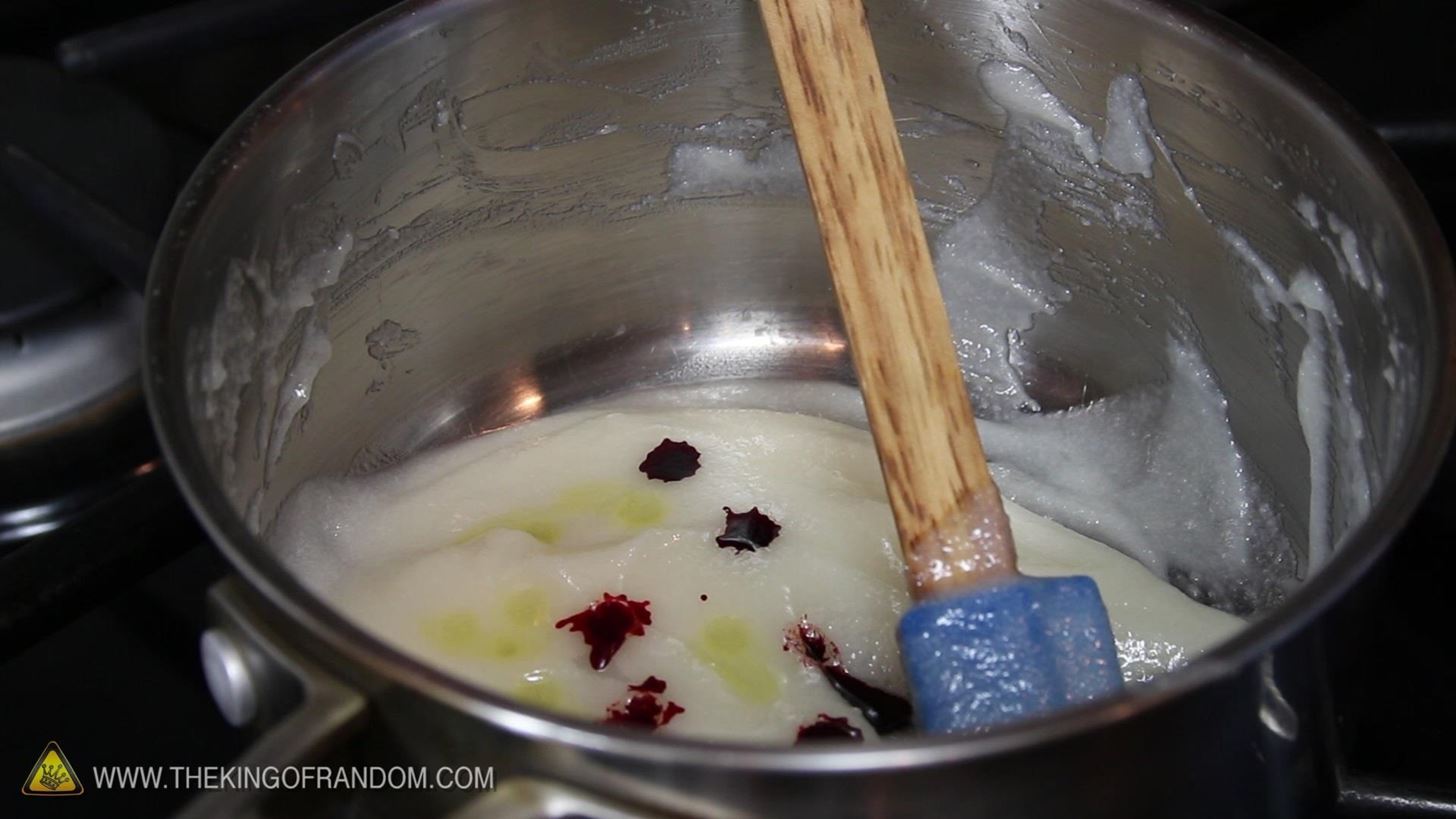
For aroma, I chose to use 7 drops of "Cassia" essential oil (smells like cinnamon). For color, I used 7 drops of red food coloring. For making soaps, food coloring probably isn't recommended, but it worked great for this purpose.
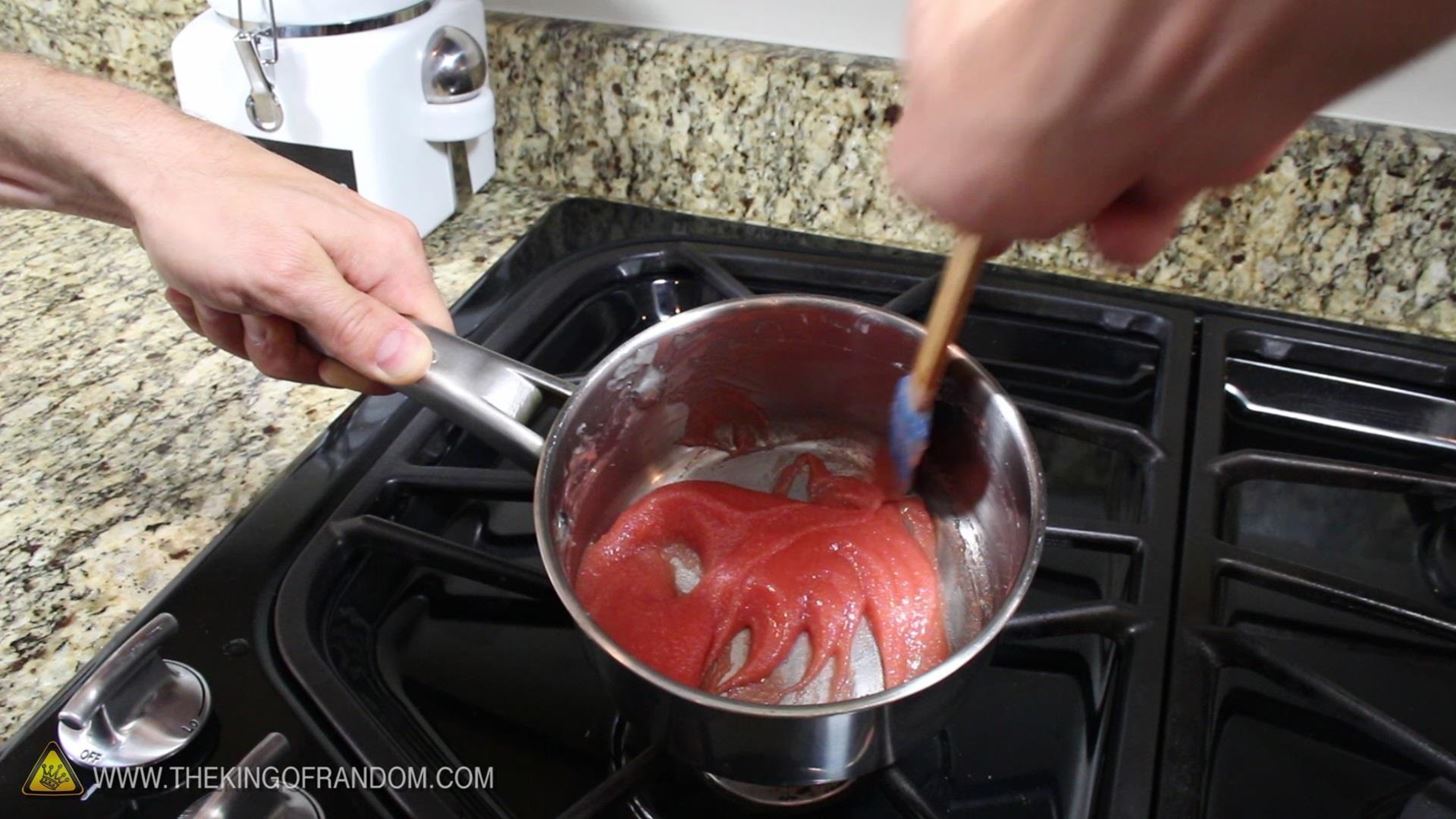
When the mix was stirred together, it all turned a bright pink and was ready for casting.
Step 6: Cast Your Bar of Soap
I fashioned a small silicone mold for the bar of soap I wanted, and poured the mix in to let it cure.
The curing process is called "saponification," which basically means the fats and alkaline solution are combining to form soap.
To help speed the process, I placed the soap mold in an oven with the door closed for 24-48 hours. The heat from the oven light is enough to help the saponification take place much quicker, and firm up the bar.
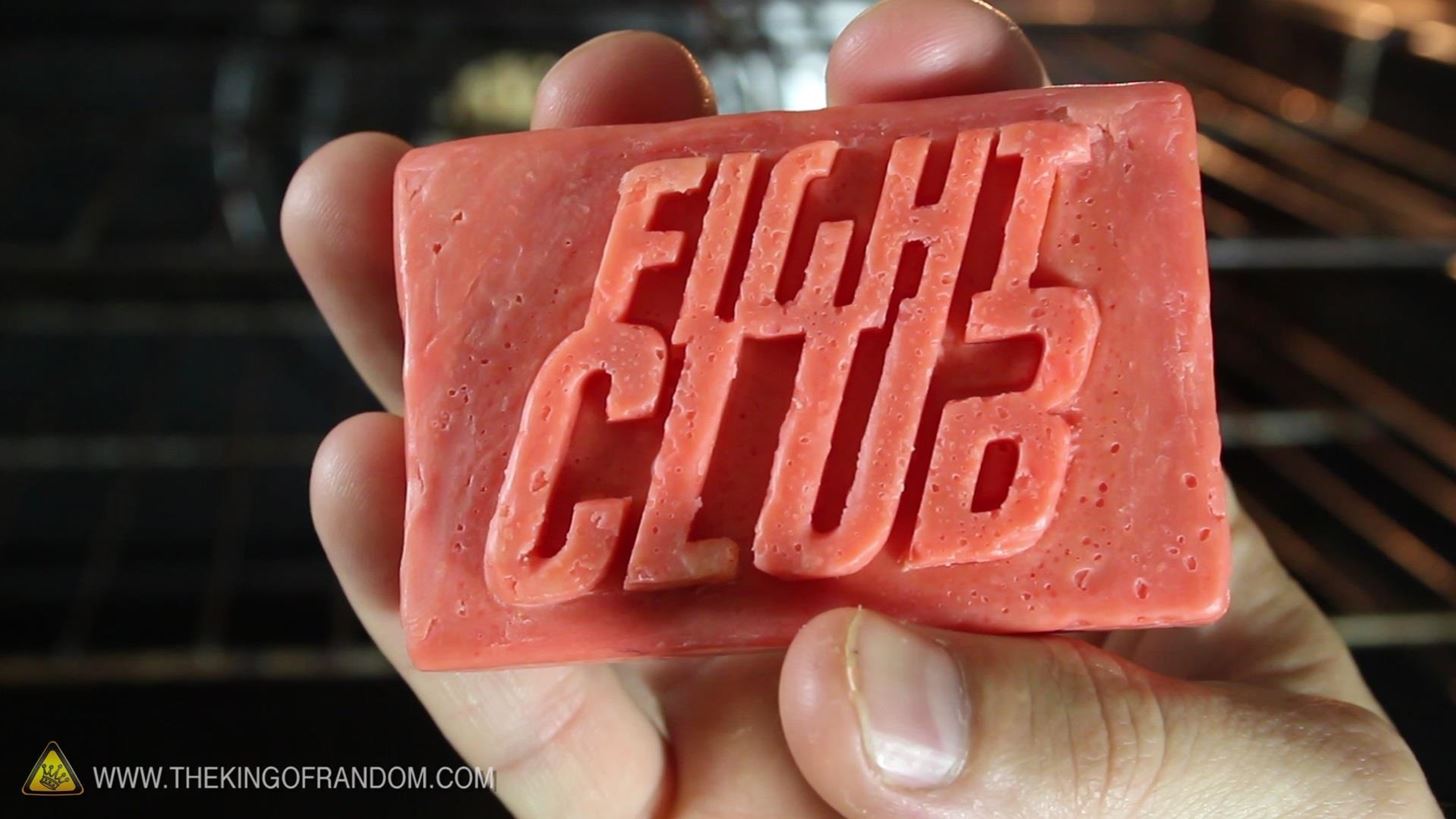
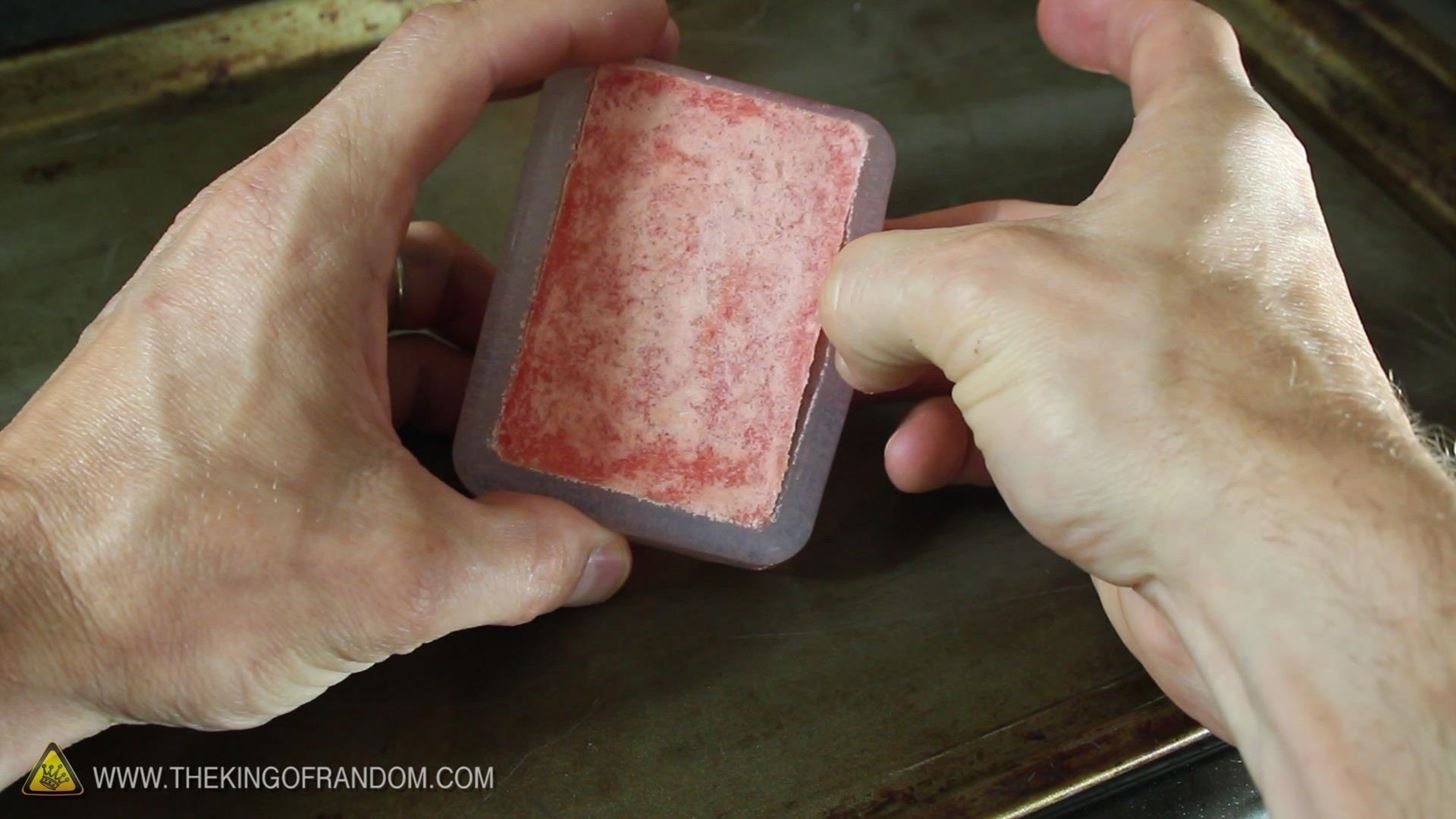
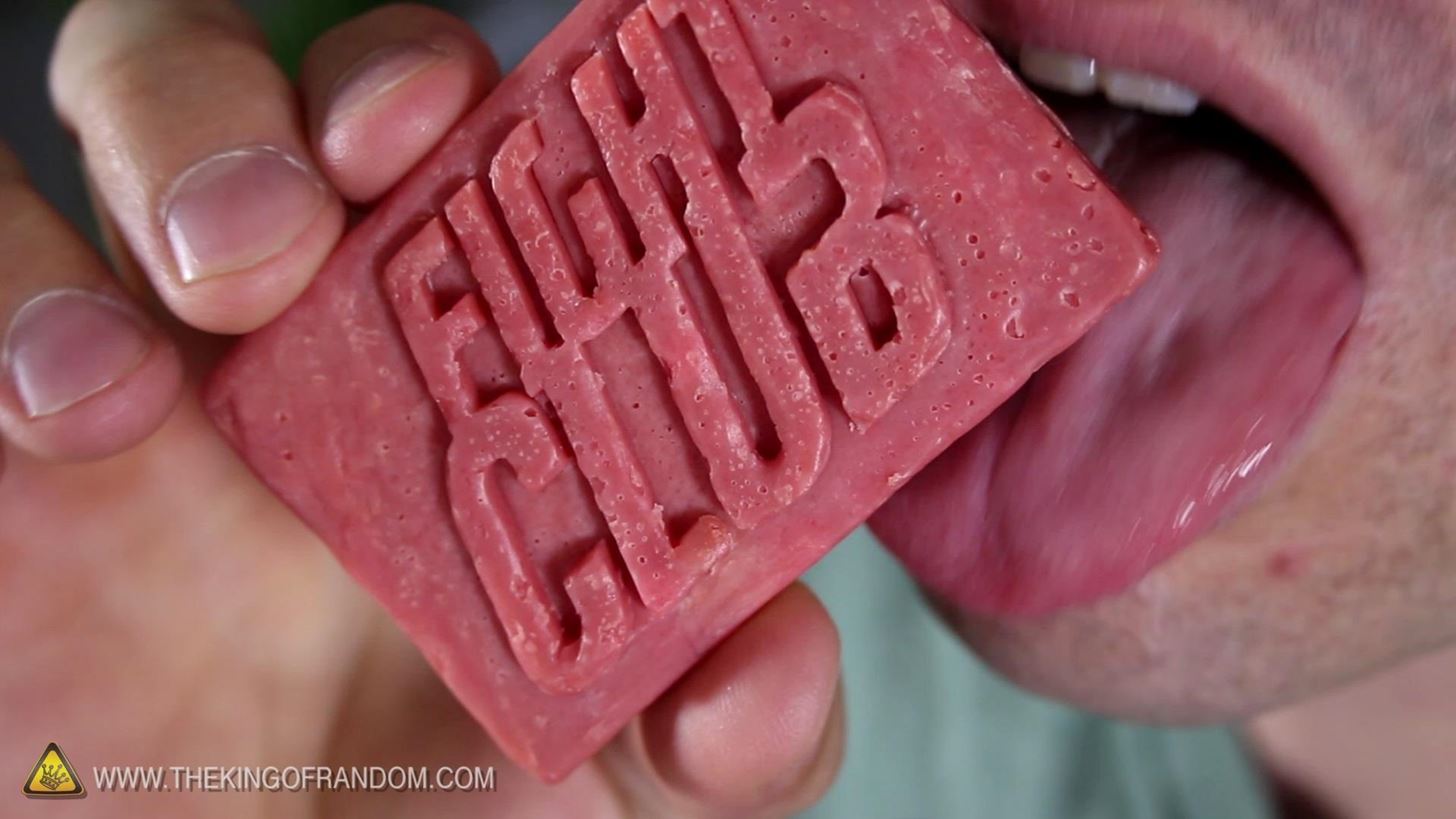
You can see when the bar was removed, it had nicely taken the shape of the mold.
Note: How to Get Rid of Bubbles
The bubbles in the soap were caused by a mistake on my part. I preheated the oven to 170°C before adding the soap, and this much heat deformed the bar with bubbles. Do not preheat the oven at all, and your bar should come out clean and smooth.
Step 7: Test Your Bar for Readiness
Before you use your bar of soap, you need to make sure it's fully saponified, or else the lye in the bar can burn your skin.
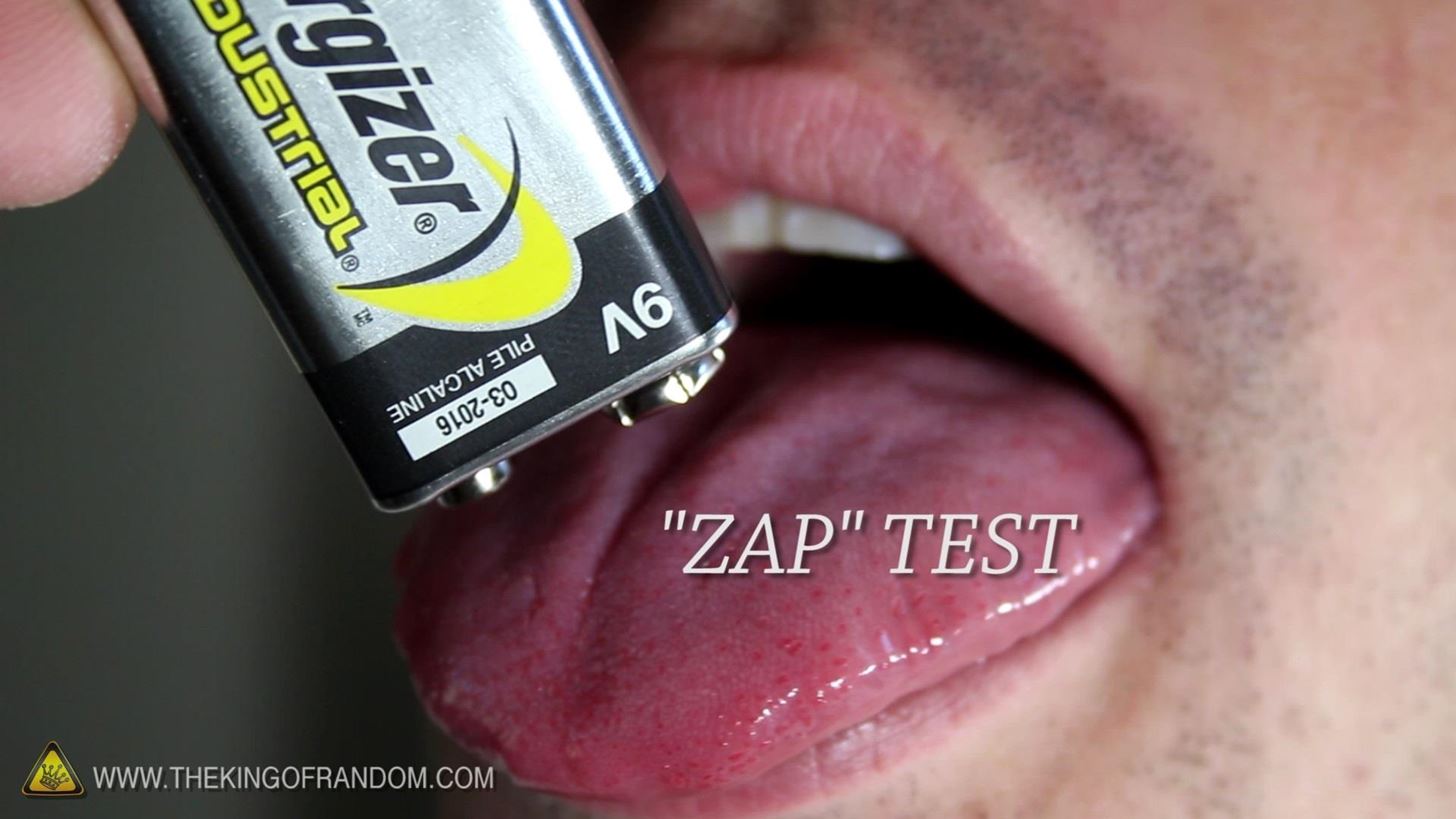
The easiest way to tell if the bar is ready, is to lick it. If it tastes like a bar of soap, it is. On the other hand, if it zaps you like licking a 9 volt battery, that means it needs more time to cure.
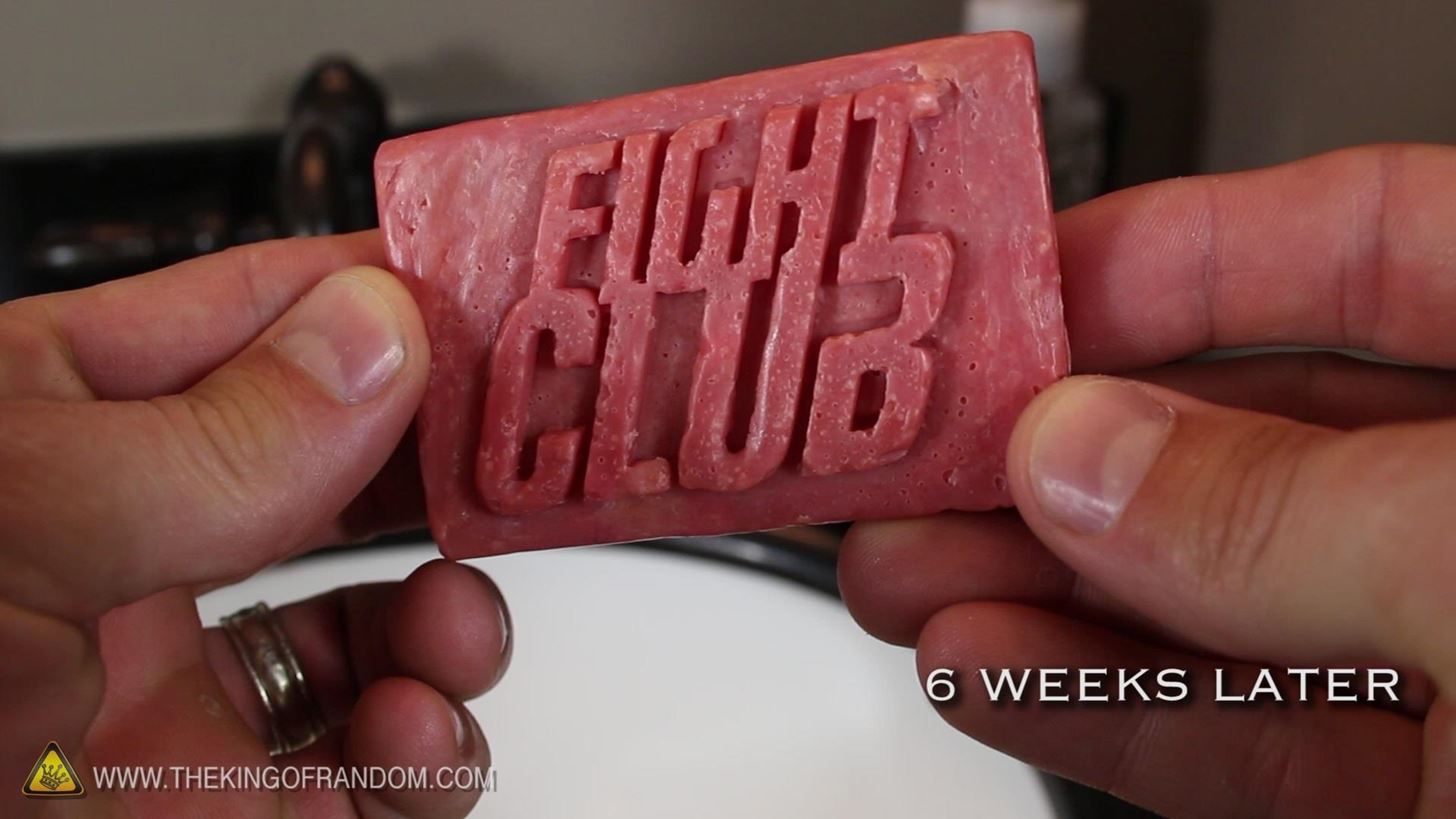
I let my bar cure for 6 weeks just to be safe.
The result was a much firmer bar that holds up substantially longer in the shower, and was richer in color.
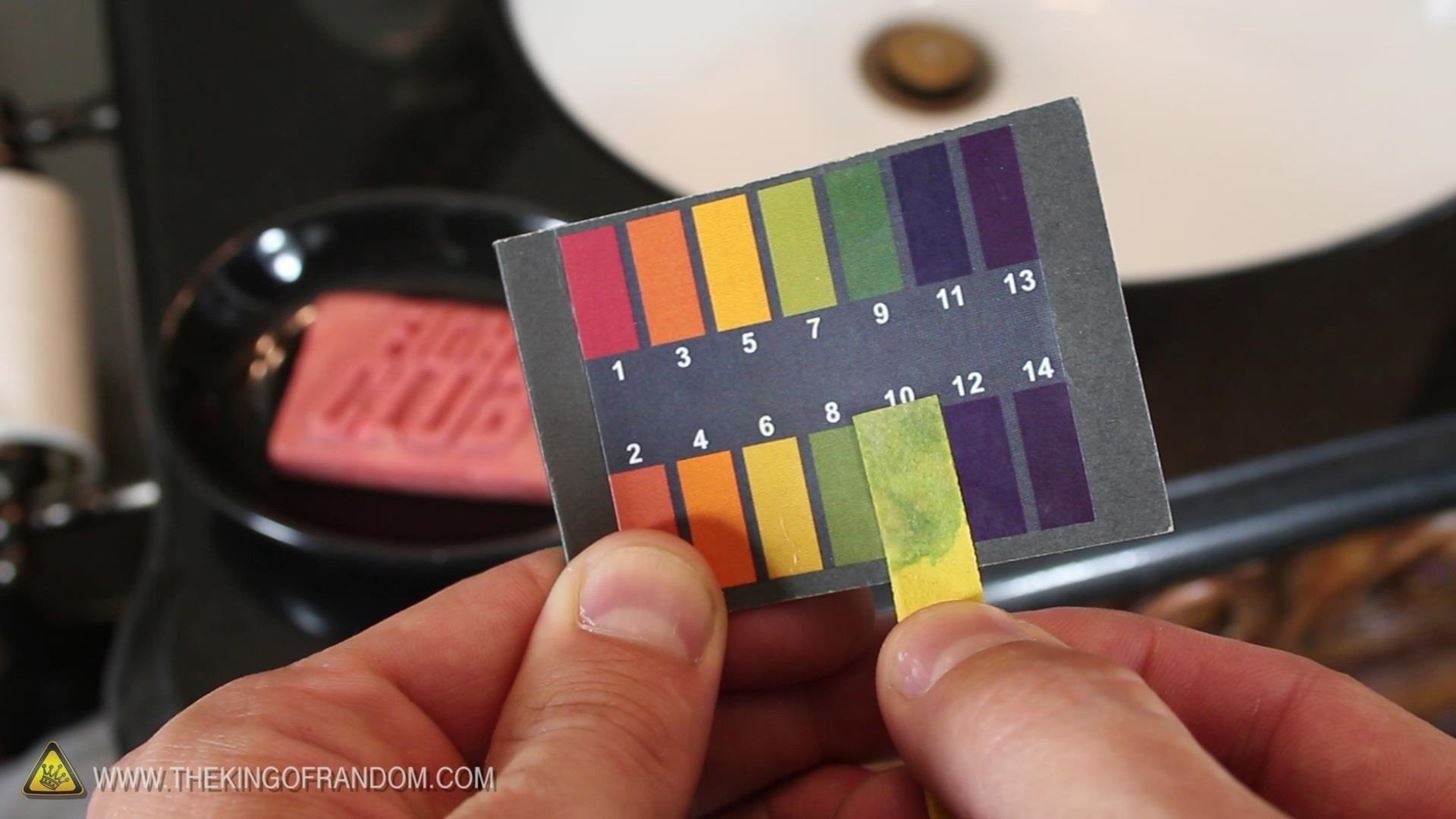
I tested the pH value with litmus paper, and got a value somewhere around 7.5. Anywhere between 7-10 should be fine for your soaps.
Step 8: Use Your Soap!
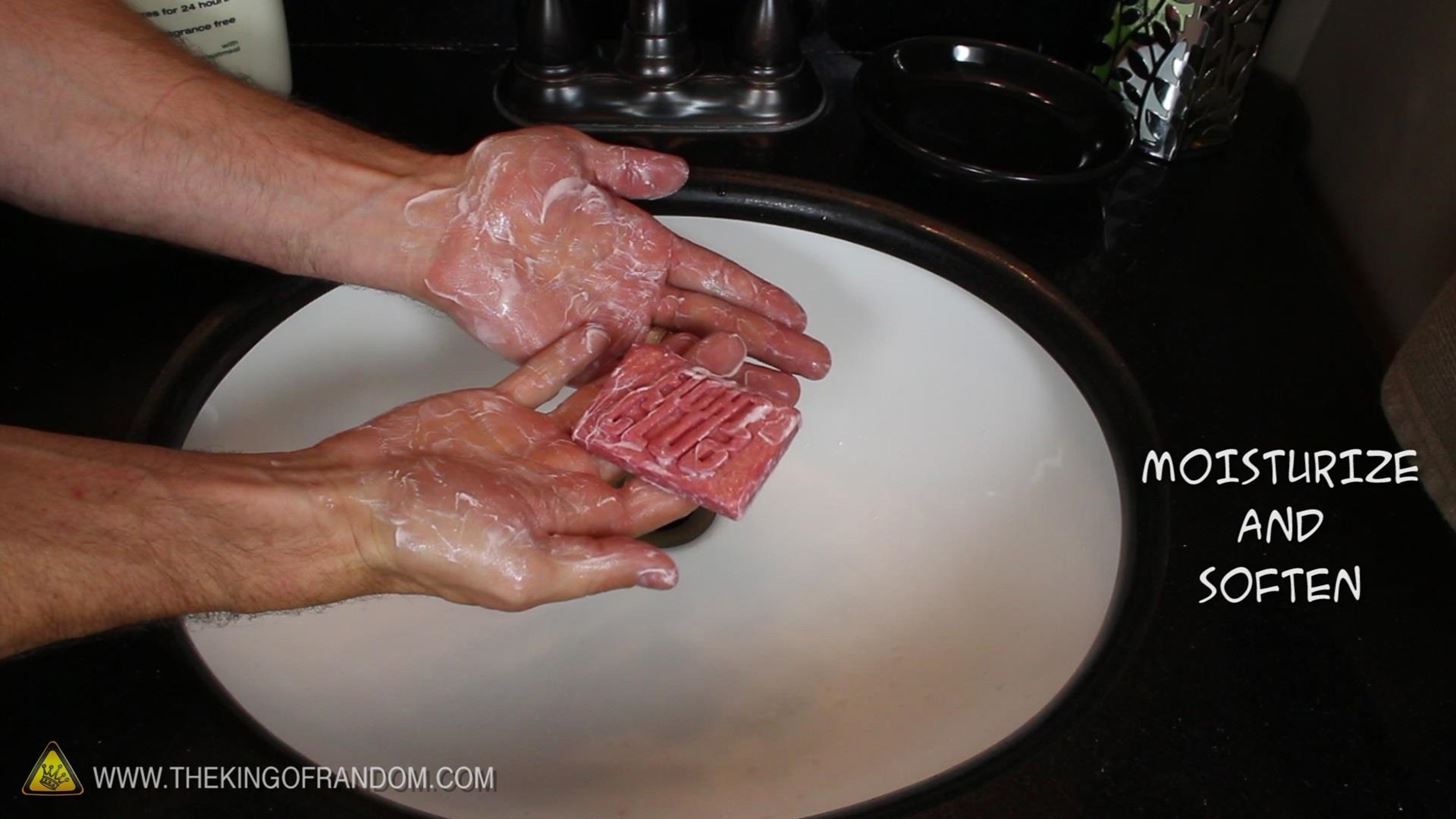
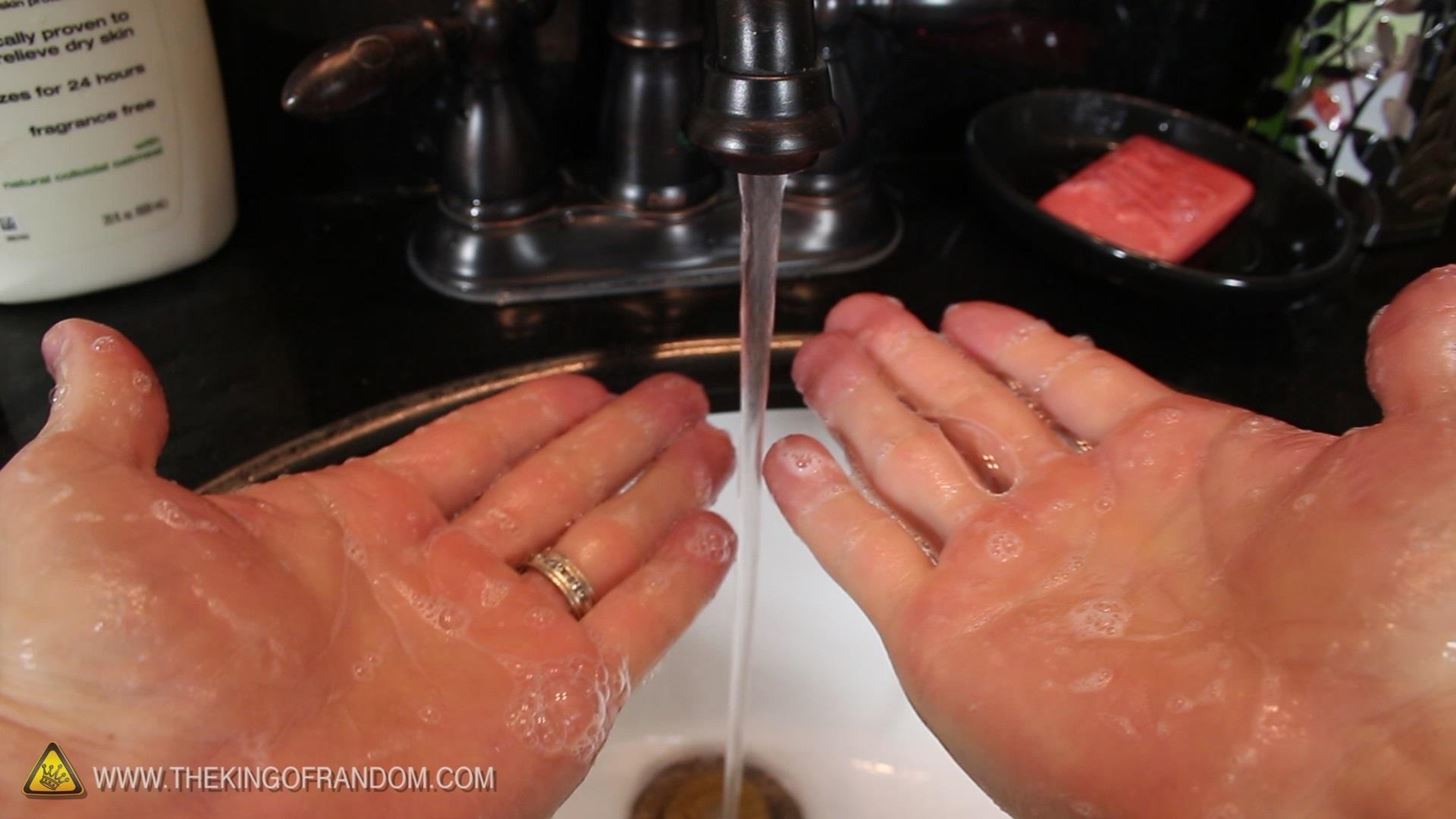
Washing my hands, you can see the soap bubbles like you'd expect. If you want more of a lather, there are other oils you can add for different effects like hardness, lather, cleansing, etc. Soapcalc.net should have plenty of info if you search around.
This is a glycerin soap, meaning the glycerin was left in the bar. Most manufacturers extract the glycerin out of the soap to resell as a different product. In Tyler Durden's case, he used it for explosives. So in a way, this soap may be superior to many soaps bought at the store.

The glycerin helps moisturize and soften the skin. I personally tested these bars in the shower over a period of 2 months. They retained their cinnamon scent and color, and did a good job cleaning the body.
Not surprisingly, they work just like soap!
What Do You Do with the Leftover Bacon?
Remember the leftover bacon in the pot? Try using it to make fresh homemade bacon bits! We used these ones for dinner on our baked potatoes!

Well, now you know how to make a beautiful bar of glycerin soap, from household drain cleaner and a pack of bacon.
That's it for now. If you liked this project, perhaps you'll like some of my others. Check them all out either here on WonderHowTo or over at thekingofrandom.com.
Just updated your iPhone? You'll find new emoji, enhanced security, podcast transcripts, Apple Cash virtual numbers, and other useful features. There are even new additions hidden within Safari. Find out what's new and changed on your iPhone with the iOS 17.4 update.


2 Comments
You should use the pH paper to check the saponification from the beginning, it's pointless to warn about sodium hydroxide and then suggest the licking as a test. I wouldn't use a soap with pH 10, anyway. It should be from 5.5 to 8
wow! That's interesting!
Share Your Thoughts