Hobby rockets are tons of fun. Vicarious astronaut adventures abound with every launch. What if you want to be closer to the action though? What if you want to feel what it's like to be in a rocket at takeoff? With the discovery of tiny keychain cameras, we have technology small and cheap enough to fit inside a model rocket!
Today, we make a customized camera rig for our rockets.
Materials
- Hobby rocket
- Clear sheet of plastic
- Keychain camera
- MicroSD card
- Tape
- A very large field
Customize Upper Rocket Tube
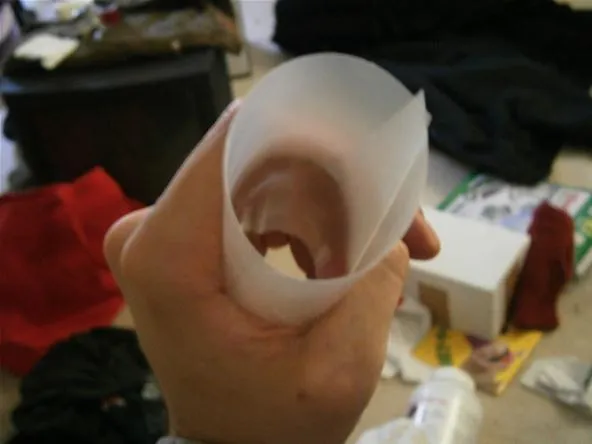
Because we want to be able to reuse the rocket as it was originally designed, we will make a new upper half for housing the camera. Remove the old upper half with scissors. Make a circular tube of clear plastic that fits just inside the lower body tube.

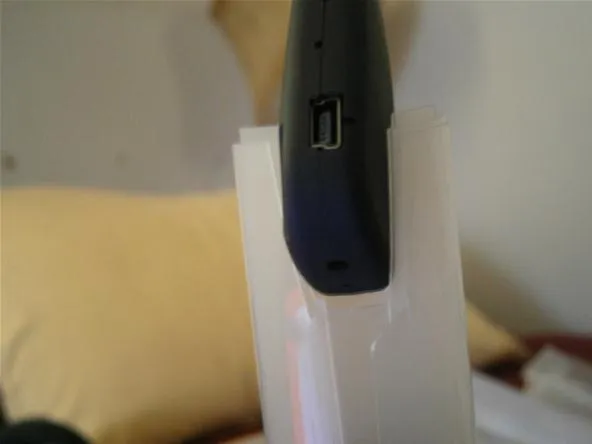
This will be our new upper body. Cut slits down the sides of the new clear tube and allow the key chain camera to rest snugly inside.

Be sure to point the camera lens outward so it's not blocked by the rocket tube.
Customize Nose Cone
You will need to make a new nose cone to fit over the upper body tube. Any kind of material will work for this. You can use cardboard, construction paper, plastic, but I just went with the same materials as the upper body tube.

When choosing a material, keep in mind that the nose will be the only thing between your camera and a crash landing. Be sure it is sturdy. You will need to cut two slits in the nose tube as well, so it can slide over the camera tube without pushing the protruding camera.
Tape!
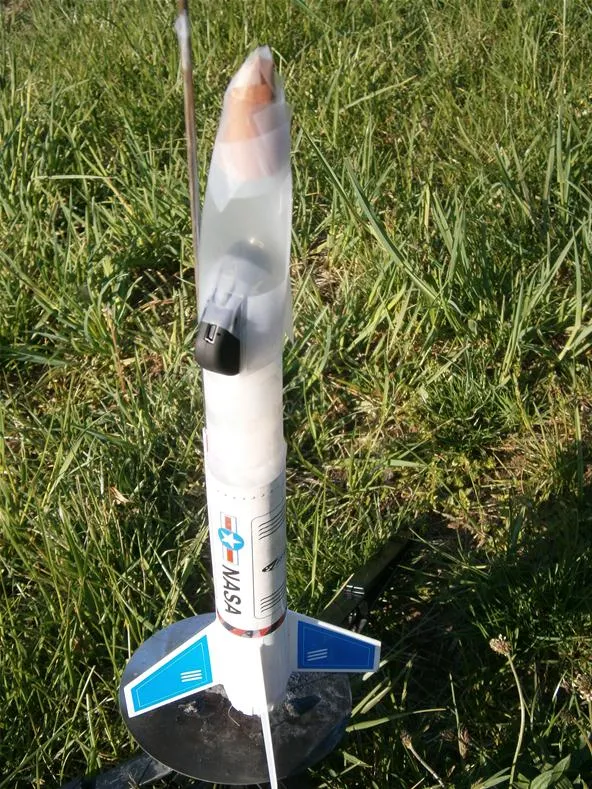
Tape everything. Tape the nose cone to the upper tube, tape around the camera to secure it, tape the upper tube to the lower tube, and tape the seams of your custom curled up plastic tube parts. Rocket flight is jarring and we do not want to take any chances with our camera falling out mid-flight.
Launch!
Always remember to start the keychain camera recording before you launch! Find a very large open field to test launch your camera rig. Pick a day with as little wind as possible to minimize the chances of your rocket veering wildly off course. I say this because I foolishly performed my launch on a windy day:
That's right. On my very first test launch my camera, microSD, and rocket all got blown right into the canopy of a 100-foot tall pine tree. Anger, anxiety, longing, self loathing—all of these bubbled up all at the same instant the rocket brushed through the first layer of pine branches. Don't let it happen to you! Go to the very center of your field. Only launch on windless days.
Here is some video of a launch by an operator with more foresight:
Do you have any heartbreaking rocket failures or amazing triumphs to share? Tell is in the forum and post your project videos to our corkboard! I would love to see some rocket-mounted camera footage from the community! If you have any questions, feel free to ask them in the comments below or message me personally. Let me share the experience I gain in failure to prevent the same from happening to you. Onward to the next launch my mad comrades!


Comments
Be the first, drop a comment!