

Homemade circuits are amazing. You can build any kind of circuit on a simple perfboard, as we have seen in previous projects. However, some projects require very tiny circuit boards. We could special order some boards from a printed circuit board (PCB) factory, but that will most likely involve a high price per board and a few thousand miles of delivery service to pay for.
For a small professional looking circuit, we are going to make our very own boards at home.
Materials
- Laser printer
- Glossy photo paper
- Clothes iron
- Ferric chloride (etchant)
- Copper-clad board
- Acetone
- Black Sharpie marker
- Steel wool
- Etch-resistant marker
Step 1 Design the Circuit
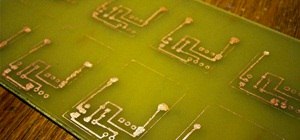
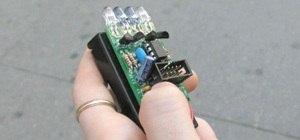
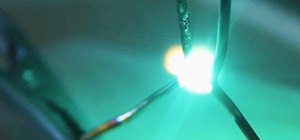
This is the fun part. What kind of circuit do you want to make? You can make custom shields to fit on top of Arduinos, you can make breakout boards to make tiny components easier to solder to, or you could even just etch a piece of artwork! I decided to make a board for the lucid dreaming goggles. A smaller PCB would make the goggles a lot more manageable and many of you asked about making your own goggles at home.
I used Fritzing to design my board because I find it the most user friendly application for beginner PCB design. The really useful thing about Fritzing is that you can build the circuit on a breadboard and the application will automatically generate a PCB file for you to manipulate.
This is my breadboard circuit. It isn't pretty, but it doesn't have to be for Fritzing.
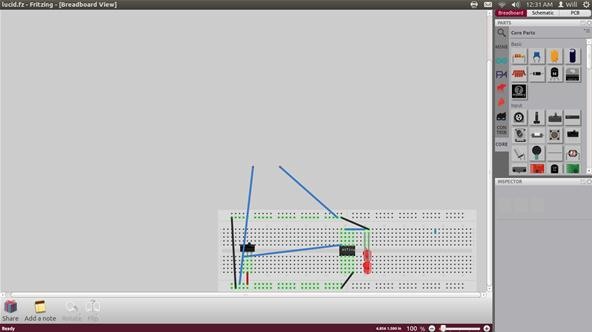
While you make the circuit in the breadboard, Fritzing is simultaneously constructing a schematic and PCB in separate tabs.
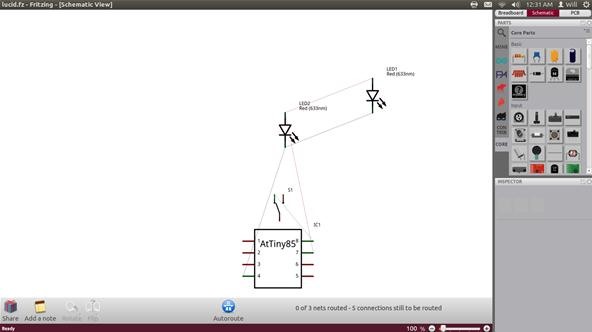
The automatically generated files are not finished products, but they seriously cut down on design time.
Step 2 Layout the PCB
Now that the program has connected up a rats nest PCB design, it's time impose some order onto it. The first thing you will want to do is determine the preferred location of the components on the board. This will depend on where you plan to mount the board, the project enclosure, and whether you have any buttons or switches that need to be accessed.
Now the components are placed. If there are any obvious adjustments that will make placing down the traces simpler, make those adjustments. This could mean flipping the orientation of a switch or swapping the position of two components. Routing a PCB is an art in compromise between your creativity and the physical universe. Be patient.
Now that you have done all you can to make routing simple, hit the autoroute button at the bottom of the program window. This will create traces on the board connecting all your components.
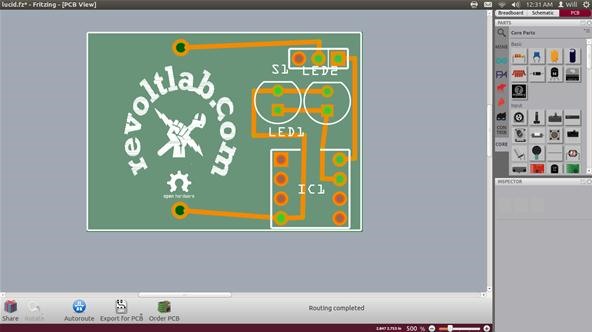
While the autoroute does technically do a good job laying out the traces, it is always a good idea to adjust traces so that they are as far apart from other traces and components as possible. Too close and even a perfect etch won't save your circuit from short circuits!
Step 3 Silkscreen
This is an optional step that will only be relevant if you send your board file to a professional manufacturer. The silkscreen layer is the layer of white text and design printed over the traces of a circuit board. They usually provide clues for how to orient components on the board or display the logo of the manufacturer.
Fritzing has already created the silkscreens for the components automatically. If you want to add your design, scroll down the component menu on the right side of the window. Select silkscreen from the boxes and import the image you wish to add. Solid color images work best.
Step 4 Get Image Files
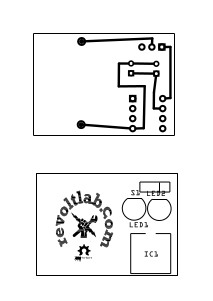
Once you are totally satisfied with your board design, click "Export for PCB" at the bottom of the window. This will give you two images files. One is the silhouette of the copper traces for the circuit. The other is the silhouette of the silkscreen pattern.
Step 5 Print
Using a laser printer and glossy photo paper, print out a copy of your copper trace image. Laser printers work by mixing plastic and pigment and then heating the plastic until it melts onto the paper. We are going use the highest toner setting to get the maximum amount of plastic onto our photo paper.

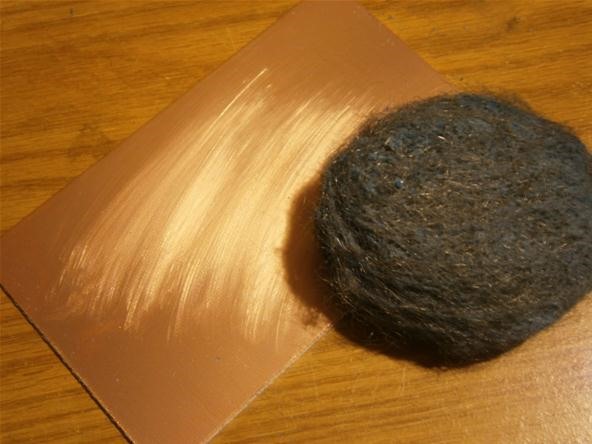
Step 6 Prepare Board
Scour the copper surface of the board with steel wool to remove the thin layer of oxidation. After scouring, clean the board with a paper towel and isopropyl alcohol. This ensures the plastic ink can make a strong bond with the copper board.
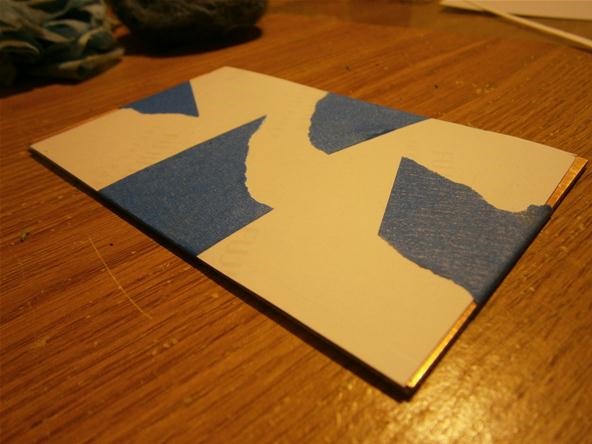
Step 7 Cut and Tape
Cut your photo paper image so that it can fit neatly on the copper surface of the board. Tape the image face down so that all of the traces are contained within the copper boundary.
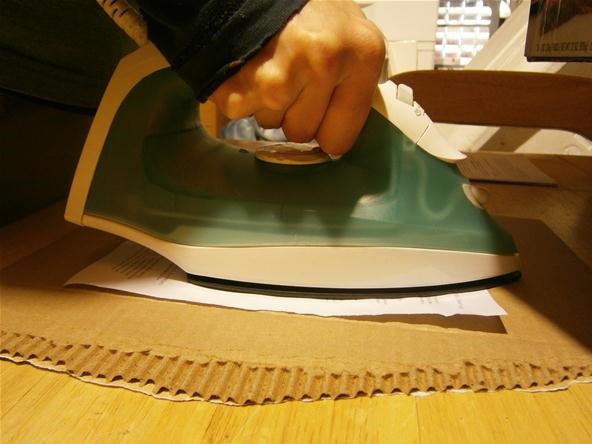
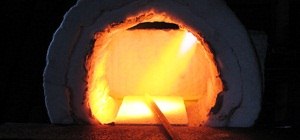
Step 8 Iron
Place the board with the image taped to it on a flat hard surface. Set your iron to maximum heat with no steam. Press down on the paper so that you push it into the copper board. Hold the iron to the board with force for 10 minutes, periodically using the tip of the iron to press down the areas of the paper where the traces are located.
This part takes some practice, so don't worry if you mess it up on the first go. I went through three boards before I figured it out.
Step 9 Soak and Peel
After ten minutes, immediately place the board in a bath of water. Be sure to use gloves because the board will be burning hot by now. Allow the board to soak for 15 minutes.
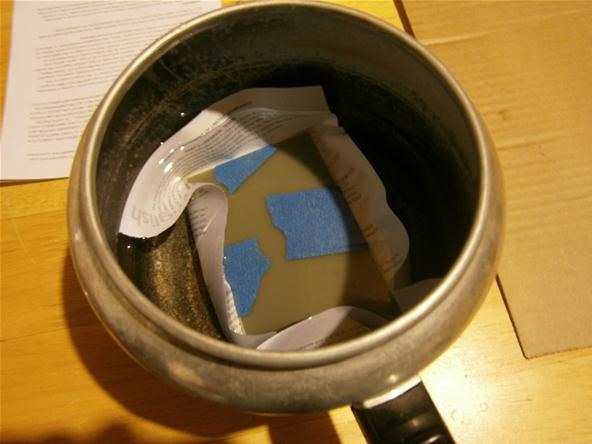
After 15 minutes, remove the board and gently scrape off the layers of paper. You should be able to peel off most of it in one shot if you start from the edge.
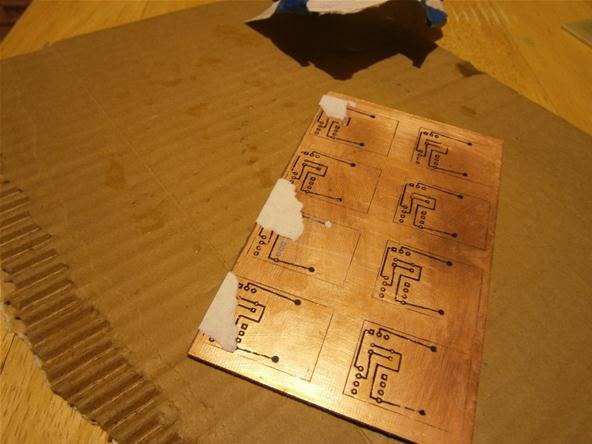
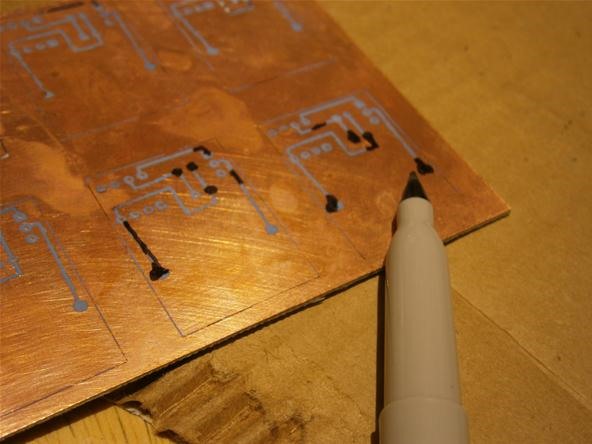
Step 10 Fill Gaps
Use your etch-resistant marker to fill in any gaps in the traces. I also used it to make the contact pads larger and easier to drill.
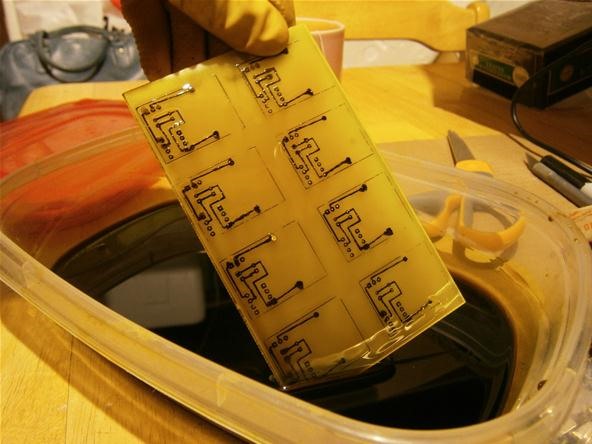
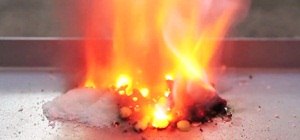
Step 11 Etch
Place your board, now with black traces, into a plastic container. Pour ferric chloride into the container until it covers the surface of the board. The ferric chloride will eat away at the exposed copper and leave our circuit copper behind.
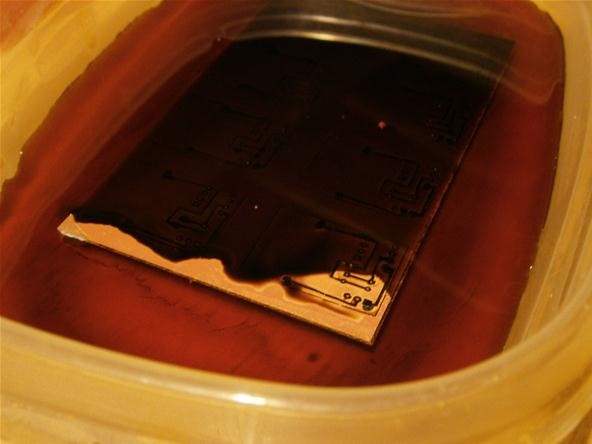
This can take up to 45 minutes to finish.
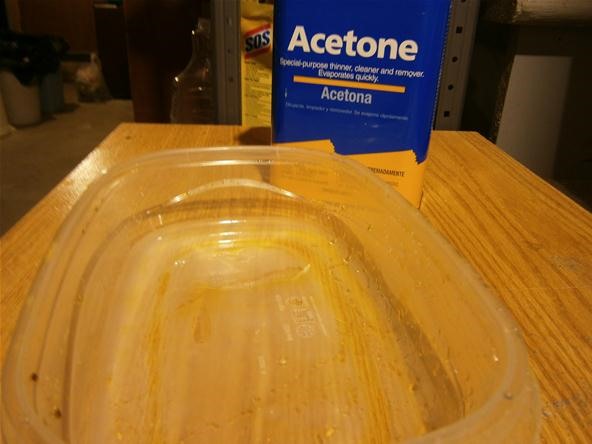
Step 12 Clean
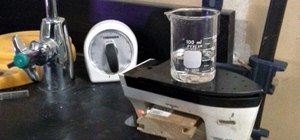
Once you have removed all the paper you can, place the board in a bath of acetone for 10 minutes. When the time is up, remove the board and gently scrub away the plastic and remaining paper.
The etch-resistant marker is the first part to wash off. Below you can see it dissolving in the acetone.
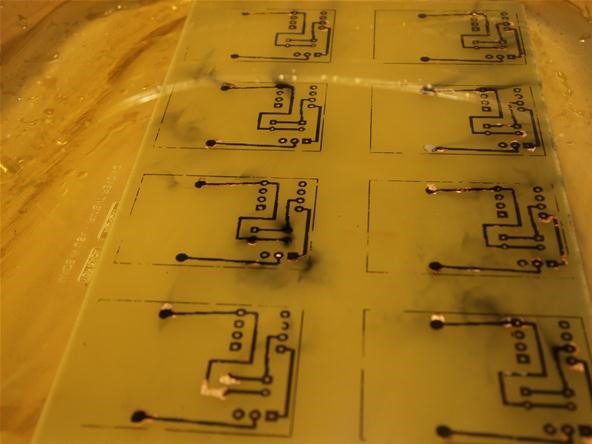
Below, a beautiful set of eight lucid dreaming circuit boards.

Step 13 Drill
If you are making a board for surface mount components, you can skip this step. My board uses through-hole components that need to fit into tiny holes on the board. Any drill or rotary tool can take care of this job in a jiffy. Remember to choose a drill bit the same size as the holes left in your copper traces. If you use a bit that is too large, you will drill out the entire copper pad.
Step 14 Solder
Check to see if your components fit into the proper holes on the board. Because of the way PCB images are oriented, every thing should be placed down through the blank side of the board and out through the copper etched side.
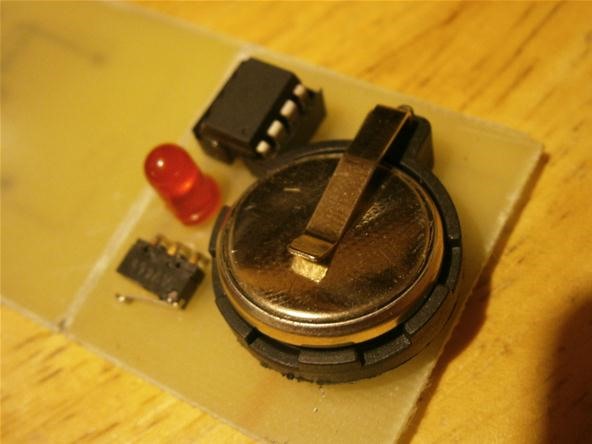
That's it! Your very own circuit in a professional package.
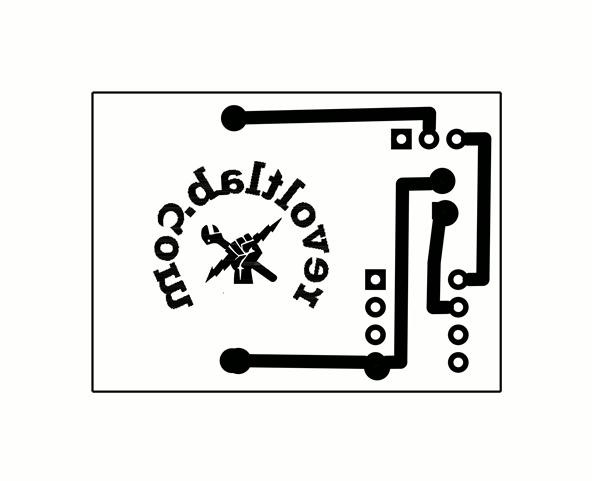
Here is the final circuit image with extra thick traces and large pads for easy drilling and soldering:
Once you have the process down you will be up and running your own mini-PCB factory in a matter of days. I'm finding PCB etching to be an addictive hobby and am already planning out some circuits for an Arduino shield!
What circuits will you make at home? Share your thoughts and questions in the forum or in the comments below. If you do make a board at home, be sure to snap a picture and post in on the corkboard for a chance to win a lucid dreaming kit!
Just updated your iPhone? You'll find new emoji, enhanced security, podcast transcripts, Apple Cash virtual numbers, and other useful features. There are even new additions hidden within Safari. Find out what's new and changed on your iPhone with the iOS 17.4 update.


Be the First to Comment
Share Your Thoughts