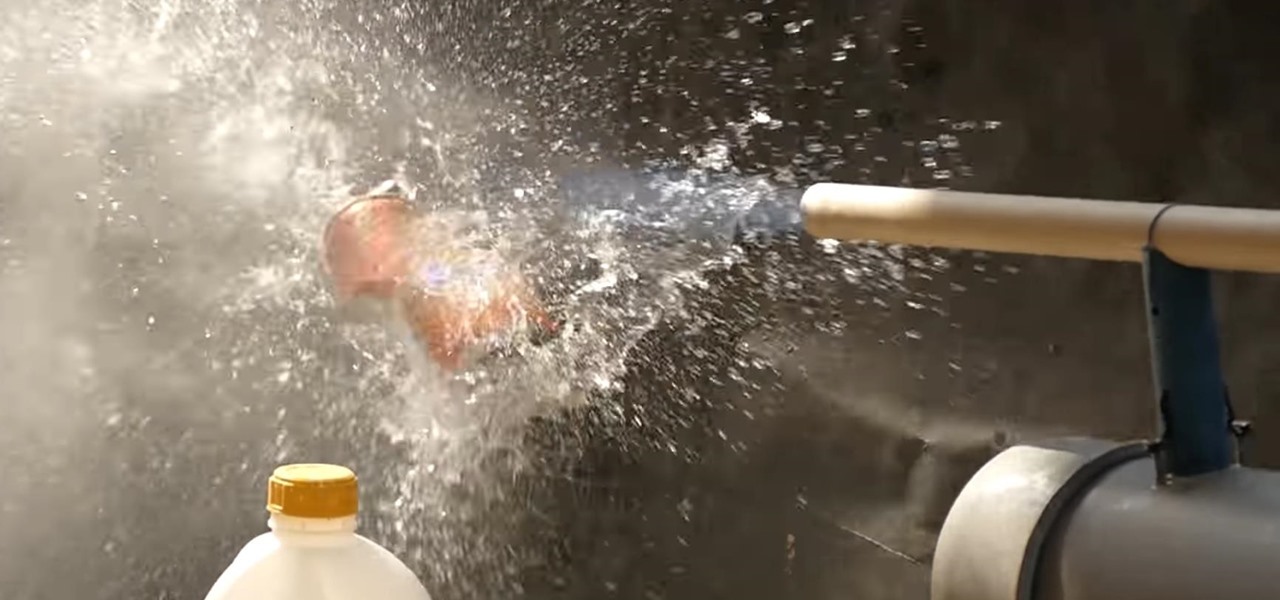
As you read in the heading this is simple compressed air cannon which you can build with PVC pipes from your local hardware store for a couple of bucks.
Warning: This is common drainage PVC pipes used in this project which is not pressure rated and charging the system above 45-50 psi can cause an explosion. The use of this video content below is at your own risk.
This is a video on my YouTube channel - THE YOUNG TECH SCIENTIST
All the materials you need for this project can be found in a hardware store.
-- 4 inch PVC Pipe
-- 4 inch PVC End Cap
-- Tire Schrader Valve
-- 3/4 inch PVC / CPVC Pipe
-- 3/4 inch PVC / CPVC Elbow
-- 3/4 Inch PVC / CPVC Ball Valve
-- If you are using all PVC pipes, only PVC cement is required. But using both PVC and CPVC pipe means both PVC and CPVC cement is required
-- 5 minute setting epoxy ( to speed things up a little bit, but normal setting epoxy can be used as well )
You can find detailed information on building this cannon in the video available above.
STEP 1 - Lets start off by cutting the 4 inch PVC pipe to about 20 inches and clean it off with some sand paper.
Step 2 - The tire schrader valve can be fixed on to any one of the 4 inch PVC end caps by drilling a hole and Pulling the valve through the hole.
STEP 3 - Drill a large enough hole to fit the 3/4 inch PVC / CPVC pipe to fit through and add a little bit of epoxy to hold it in place.
STEP 4 - Get the 3/4 inch elbow and glue it to the PVC / CPVC Pipe with some PVC / CPVC cement.
STEP 5 - Cut the 3/4 inch pipe to 1.5 inches and make two of these. Take the first piece and glue it to the elbow and glue the 3/4 ball valve to the piece if pipe which is protruding from the 3/4 inch elbow.
STEP 6 - Take the other piece of 3/4 inch pipe and glue it to the other side of the ball valve. Also be very cautious to not drop any cement into the ball valve.
Step 7 - Glue another 3/4 inch elbow to the piece of 3/4 inch pipe protruding from the ball valve.
step 8 - Cut a long piece of 3/4 inch pipe about 25 - 30 inches long. Now glue it to the 3/4 inch elbow.
Step 9 - Check for right alignment from joint to joint and make adjustments before the cement sets.
Step 10 - Now both the 4 inch end caps can be cemented to the 4 inch PVC pipe and make sure you use ample amounts of PVC cement as this is the chamber which will be pressurized.
Step 11 - You might have noticed that the 3/4 inch PVC pipe is unsupported at the other end, so a piece of 3/4 inch piece of pipe can be cut to the right length to the gap between the 3/4 inch pipe ( which is the barrel of the cannon ) and the 4 inch PVC pipe (which is the Pressure chamber of the cannon). To make sure its a perfect bond, we need to increase the surface area by placing some sand paper on the 4 inch PVC pipe and rubbing the supporter 3/4 in pipe against it until the supporter pipe has the curve of the 4 inch PVC pipe, the same process should be done to the 3/4 inch barrel pipe as well. Now the supporter 3/4 inch PVC pipe can be glued in place with some epoxy or some superglue. ( there is much more detail about this step in the video placed above )
STEP 12 - Let the cement set for about 24 hours and hook up a bike pump to the tire schrader valve and keep in mind to not charge the cannon above 50 PSI, and shoot on anything except living organisms or property.
This cannon is no joke and can shoot ammo to incredible distances with incredible speeds!
You are probably thinking to yourself "Hmmm well, that's all right but what kinds of ammo can I shoot?" And the answer to this question is in the video below!
Basically you cut standard A4 sheets into 3cm long strips and you roll them into small cylinders and make sure that they are tight enough to fit in the barrel and loose enough to slide through the barrel freely, this provides the maximum speed when the bullet exits the barrel.
That's it for now guys, hope you found this project interesting and waiting to see you in the next project article.
Thank You for taking your time and reading till the end.
Take a look on my YouTube channel - The Young Tech Scientist and click here to watch.









Be the First to Respond
Share Your Thoughts